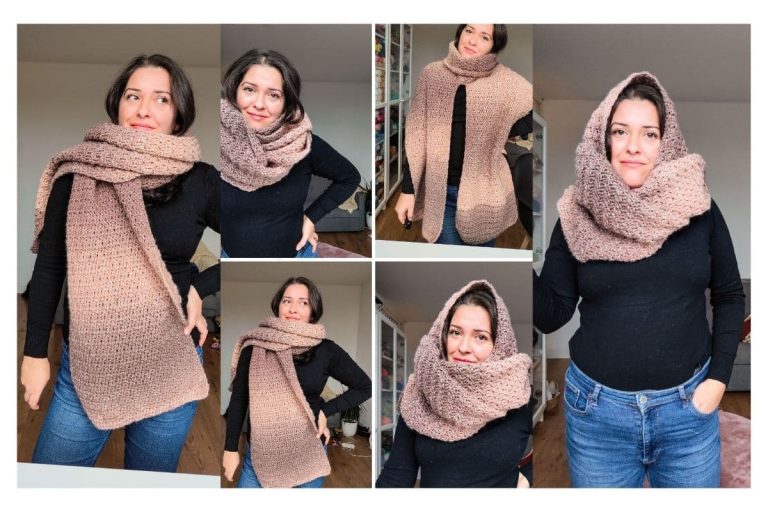
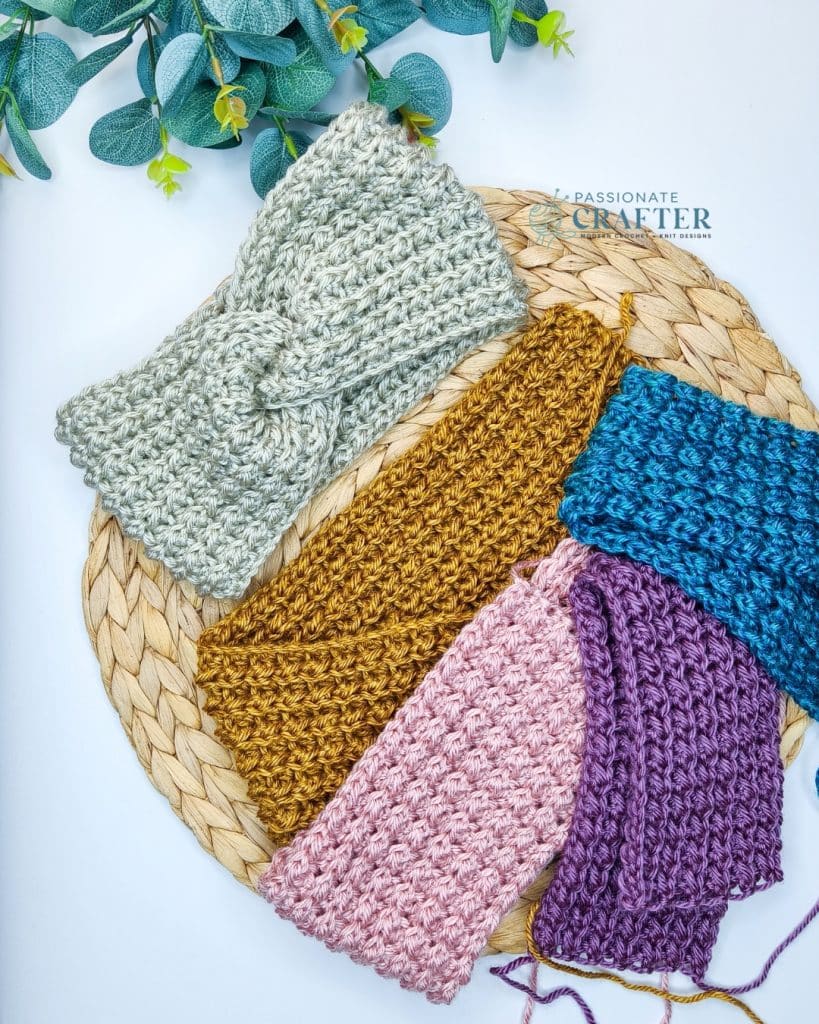
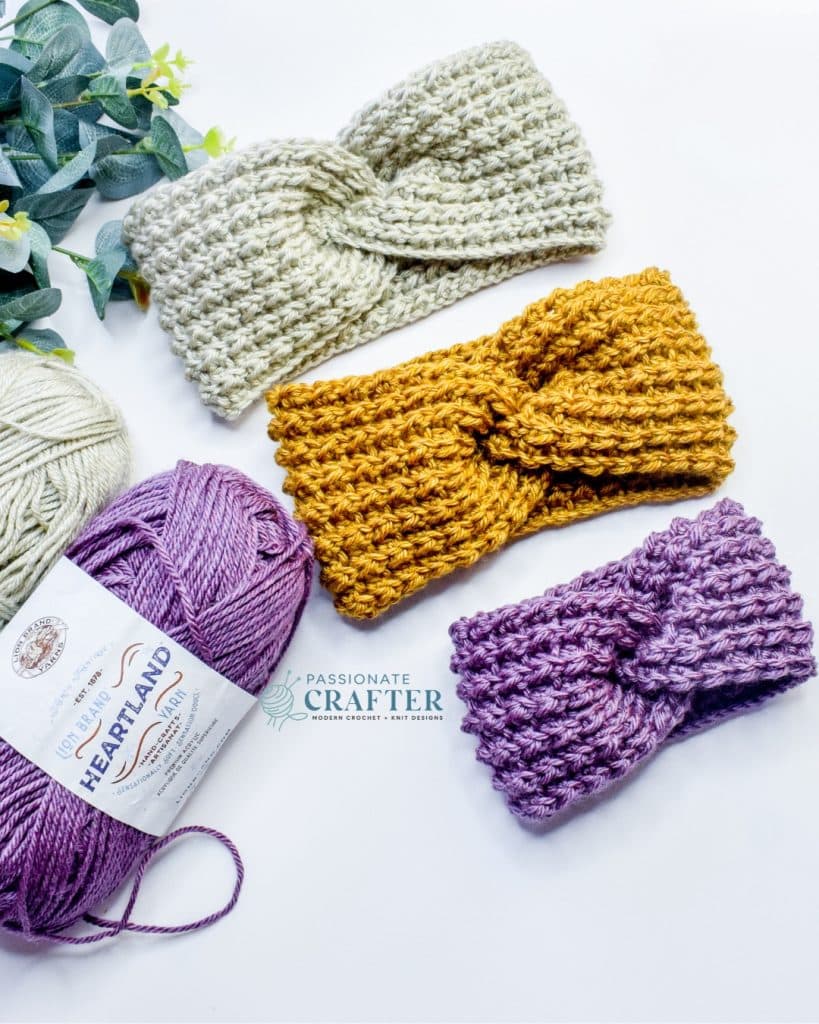
If you love beautiful texture and quick, satisfying projects, you’re going to love this Crochet Twisted Pixel Ear Warmer Pattern.
This beginner-friendly ear warmer uses the same textured Pixel stitch that made our Pixel Beanie an all-time favorite and bestseller. Now you can create a cozy, stylish headband version that works up quickly and looks stunning in any color.
And yes — the full pattern is completely free here on the blog, with a step-by-step video tutorial to guide you through every stitch.
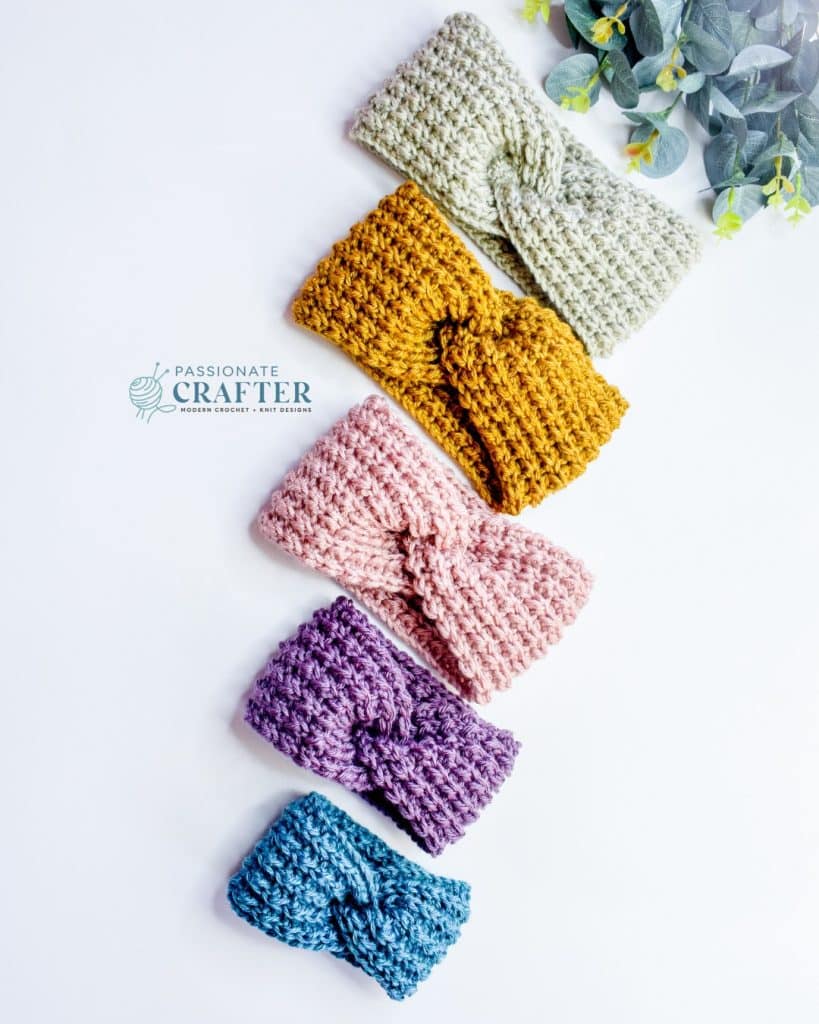
Why You’ll Love the Pixel Ear Warmer
- Beginner-friendly stitch pattern
- Gorgeous textured Pixel stitch
- Includes 6 sizes (Baby to Large Adult)
- Perfect for fall and winter
- Great for gifts and market prep
- Quick and satisfying make
The Pixel stitch creates a rich, modern texture that looks intricate but is simple and relaxing to crochet.
If you loved the Pixel Hat, this headband is the perfect addition to your handmade collection.
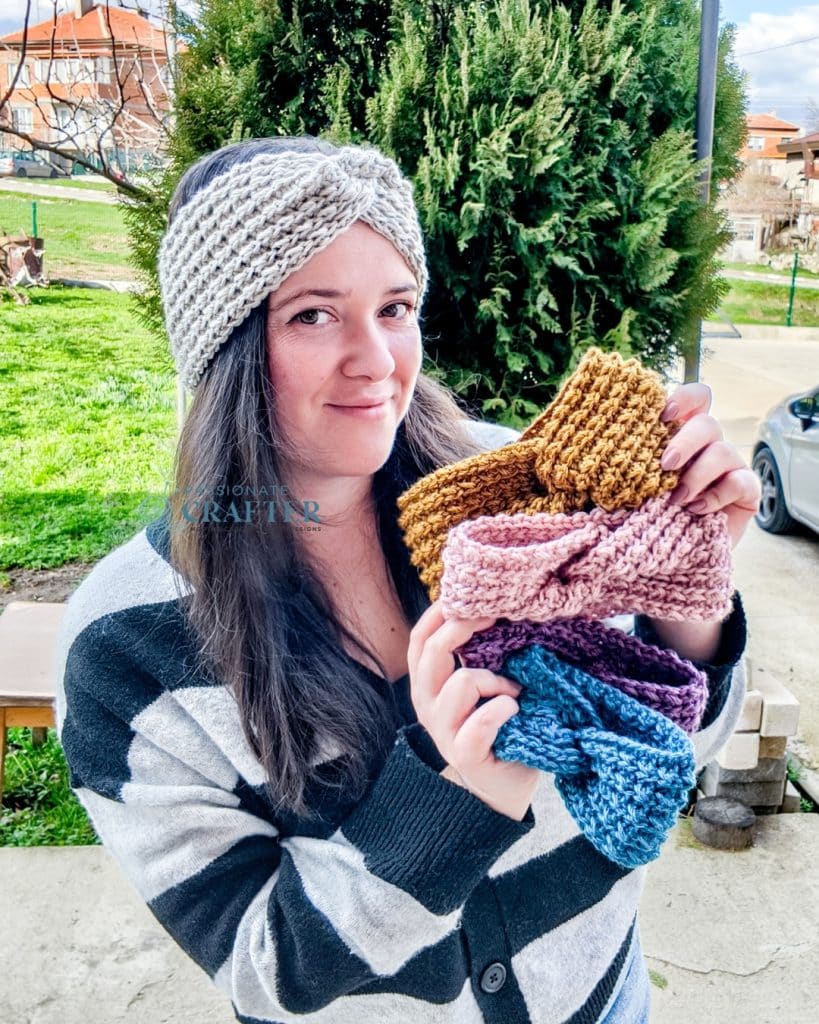
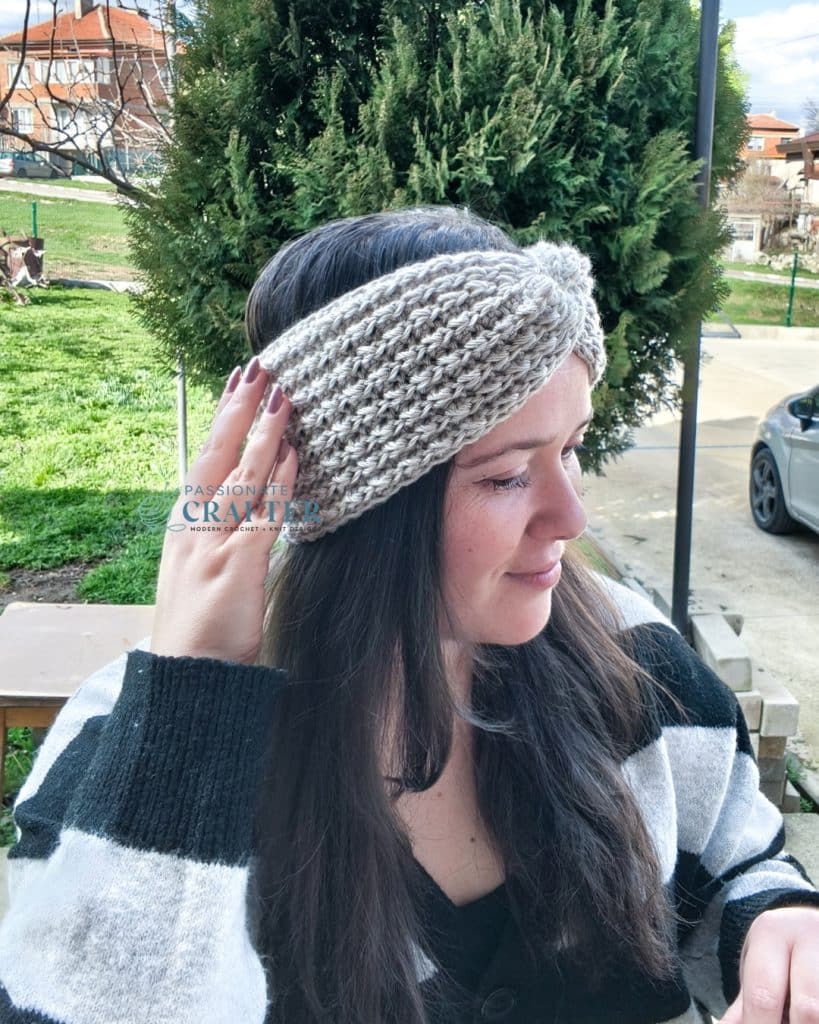

Purchase the Beautifully Designed AD-FREE PDF Download
Construction of the Pixel Ear Warmer
This ear warmer is worked top down and flat. The Pixel Ear Warmer begins with a foundation chain that determines the length of the headband. Pattern rows are then worked back and forth until the required width for the selected size is reached. Once complete, the ends are seamed together to form the twisted front detail.
Skill Level
Beginner
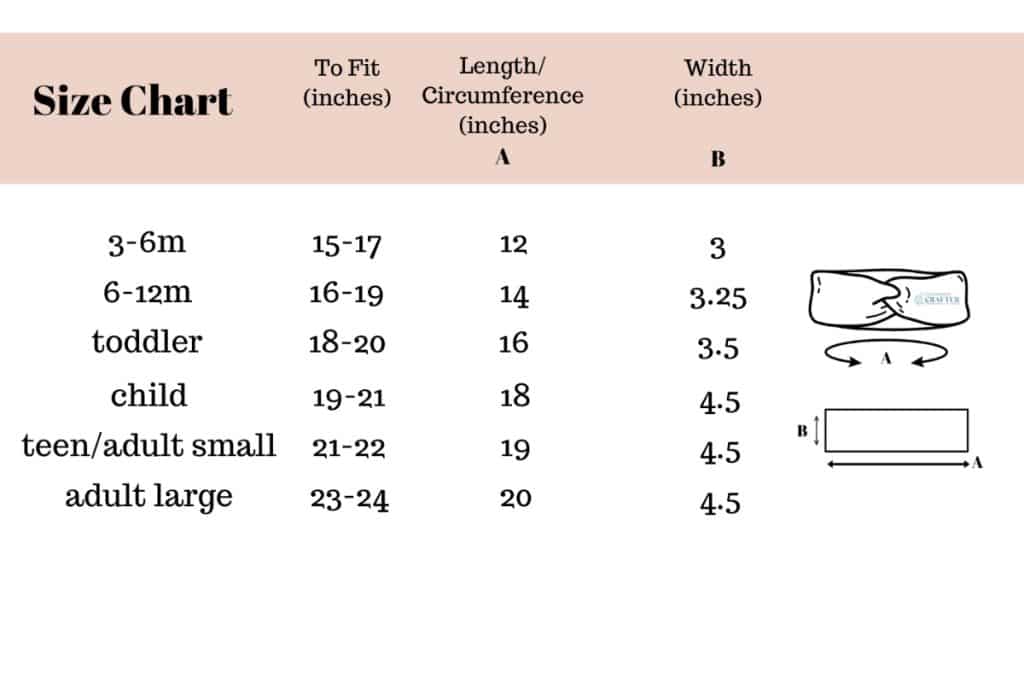
Crochet Pixel Ear Warmer Sizes
6 sizes: 3-6m (6-12m/toddler/child) (teen-adult small/adult large)
To fit Head Circumference
15-17 (16-19, 18-20, 19-21) (21-22, 23-24)
Actual measurements are in the schematic and size chart.
Ease
This pattern is designed with 1-2 inches of negative ease.
Yarn Requirment
#4 medium worsted
Heartland by Lionbrand 100% Acrylic 142g/5oz, 230m/251yds.
Quantity needed:
3-6m: 22g 6-12m: 29g
toddler: 36g child: 42g
teen-adult small: 50g
adult large: 55-60g
GAUGE:
8 sts x 8 rows= 2′ by 2′ in pattern repeat (see gauge swatch instructions), not blocked
GAUGE SWATCH
Row 1: Ch 20, sl st in 2nd from your, *hdc in first, sl st in next* rep across, turn (19)
Row 2: in BLO, ch 1, sl st in first, *hdc in next, sl st in next* rep across, turn (19)
Row 3-16: in BLO, Repeat row 2
Crochet Hook Required
6mm crochet hook or any size needed to obtain the gauge.
Other supplies needed
- Tapestry needle
- a pair of scissors
- measuring tape
Abbreviation ( American Crochet Terms )
sl st – slip stitch
ch(s) – chain(s)
st(s) – stitch(es)
rep – repeat
** – repeat the sts in the ** indicated times
FO – fasten off
hdc- half double crochet stitch
BLO- back loop only
Pattern notes
- The pattern is written in US Crochet Terminology.
- The ch 1 in the beginning does not count as a stitch.
- The pattern is written for the smallest size, with instructions for larger sizes shown in parentheses.
- The ear warmer is worked from top to bottom.
- You can make the ear warmer’s width narrower by making fewer rows, and you can make it wider by adding more rows.
Construction
This ear warmer is worked top down and flat. The Pixel Ear Warmer begins with a foundation chain that determines the length of the headband. Pattern rows are then worked back and forth until the required width for the selected size is reached. Once complete, the ends are seamed together to form the twisted front detail.
Size Chart
Video Tutorial: How to Crochet the Pixel Ear Warmer
In this video tutorial, I will show you how to crochet this beautiful Pixel Ear Warmer using the textured and beginner-friendly Pixel Stitch.
I’ll walk you through the process step by step so you can confidently crochet your own Pixel Ear Warmer, whether you’re new to the stitch or already a fan of the Pixel collection.
Watch the tutorial
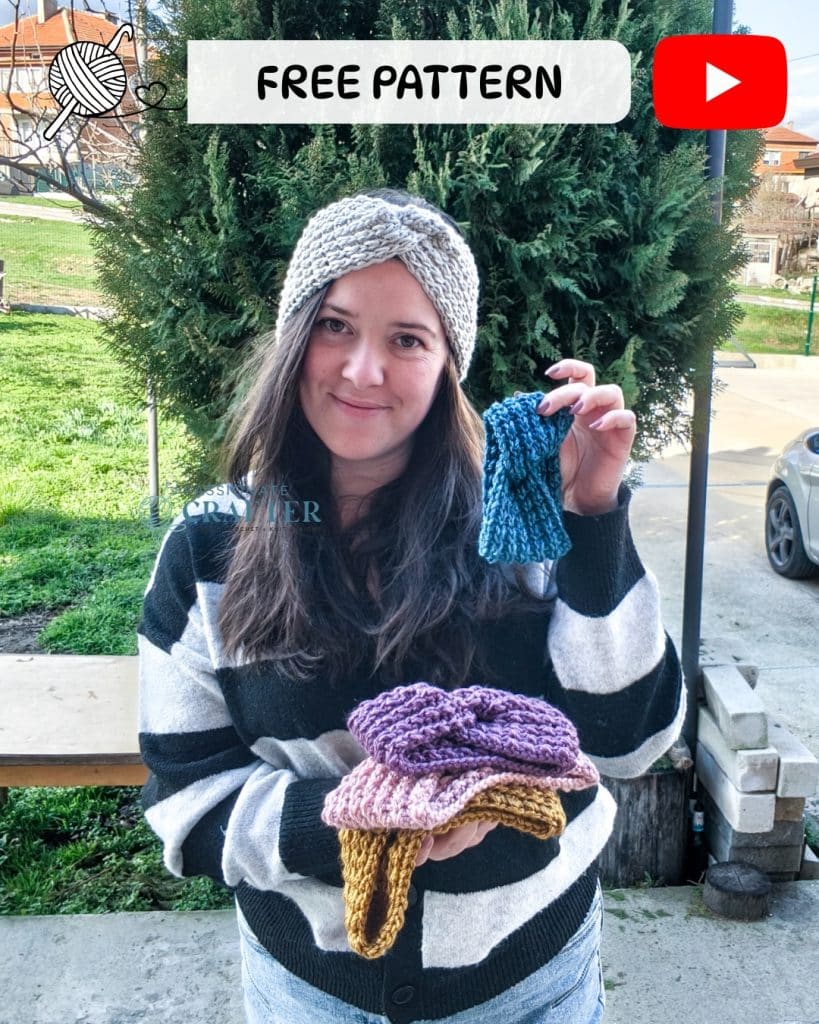
To make this pattern even easier to follow, I’ve created a full step-by-step video tutorial that walks you through the entire process from start to finish.
Purchase the Beautifully Designed AD-FREE PDF Download
Free Crochet Pixel Ear Warmer Pattern
COPYRIGHT
The crochet Pixel Ear Warmer pattern and its contents are the property of Passionatecrafter LTD and are protected by copyright laws. This pattern may not be copied, shared, distributed, or reproduced in any form without prior written permission, except for sharing links on social media. Unauthorized use of this pattern may result in legal action.
This free crochet pattern is provided for personal use and viewing on the blog only. By accessing and using this pattern, you agree to respect and comply with all copyright terms and conditions.
If you have any questions about these terms or how this pattern may be used, please contact Passionatecrafter LTD. in writing for clarification.
Thank you for respecting my work and creativity!
Pattern support
Support for this pattern is available through the blog post and the accompanying YouTube tutorial only. Any modifications included are outlined in the PDF; if you choose to adjust the pattern or substitute a different yarn weight, you’ll need to make those changes independently.
Thank you for your understanding! I hope you enjoy making this project, and I encourage you to connect with and support fellow makers in the community as we crochet and create together.
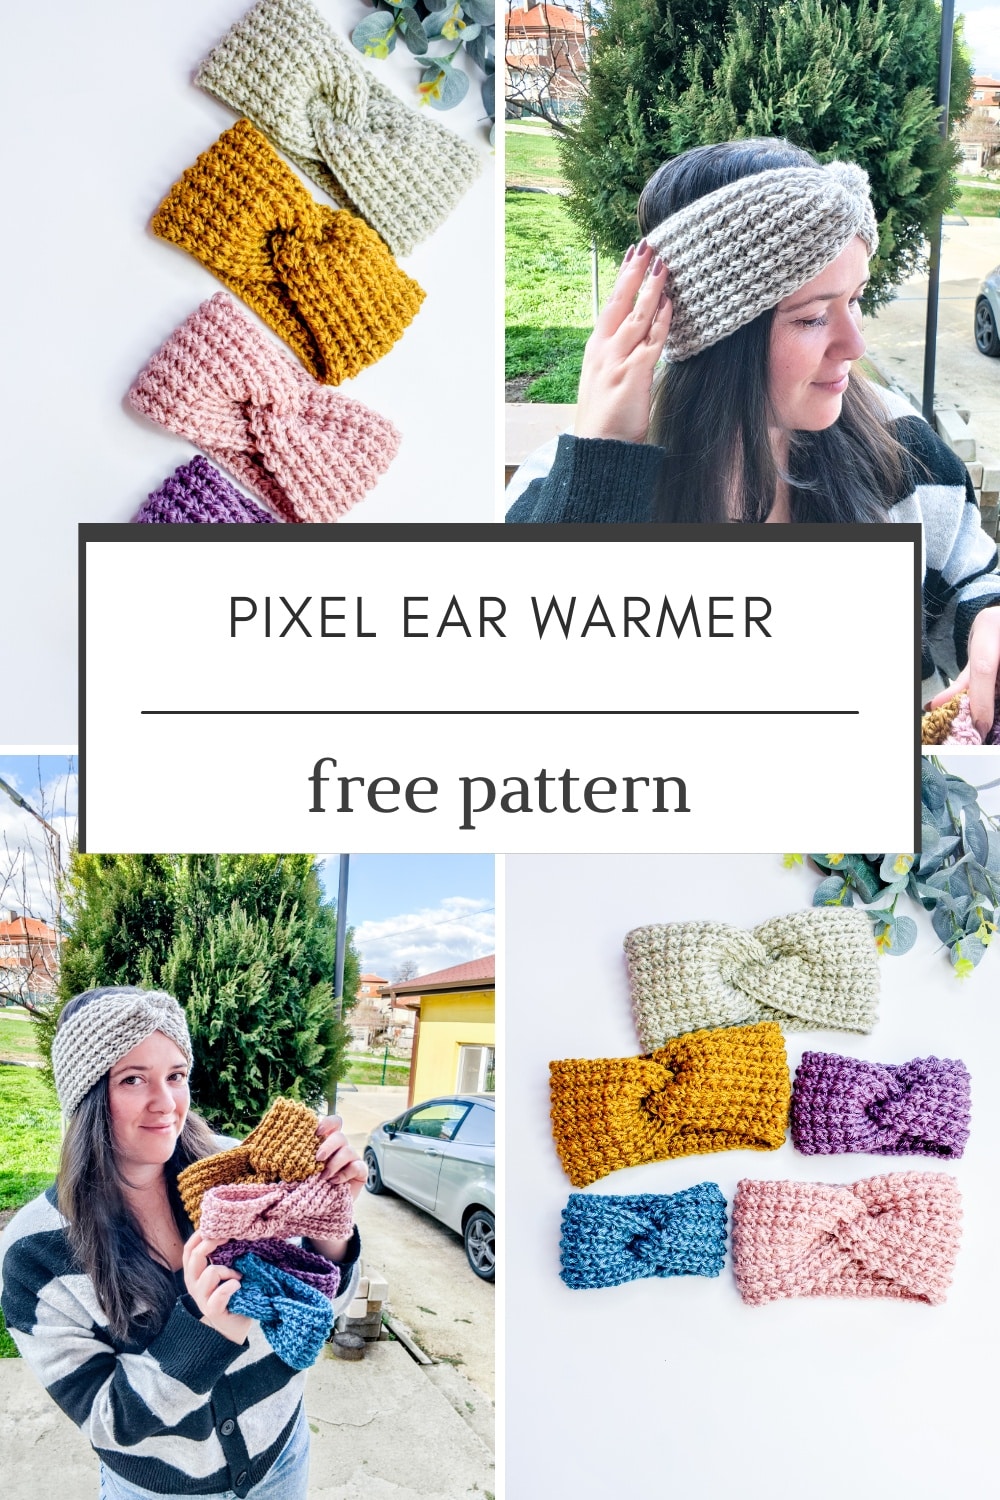
Pin this for later!
Pixel Ear Warmer Pattern
Written in order 3-6m (6-12m/toddler/child) (teen-adult small/men-adult large)
Row 1 (RS): Loosely ch 50 (56, 66, 72) (76, 80) sl.st in 2nd from your hook, * hdc in next , sl st in next* rep across , ch 1, turn. | 49 (55, 65, 71) (75, 79)
After row one , each row is worked in BLO throughout the pattern.
Row 2 (WS): sl st in first, * 1 hdc in next, 1 sl st in next* rep across, ch 1, turn. | 49 (55, 65, 71) (75, 79)
Row 3-11: sl st in first, * 1 hdc in next, 1 sl st in next* rep across, ch 1, turn. | 49 (55, 65, 71) (75, 79) 3-6m proceed to finish
Row 12-13: sl st in first, * 1 hdc in next, 1 sl st in next* rep across, ch 1, turn. | X (55, 65, 71) (75, 79) 6-12m Proceed to finish
Row 14-15: sl st in first, * 1 hdc in next, 1 sl st in next* rep across, ch 1, turn. | X (X, 65, 71) (75, 79) Toddler Proceed to finish
Row 16-17: sl st in first, * 1 hdc in next, 1 sl st in next* rep across, ch 1, turn. | X (X, X, 71) (75, 79) Child /Teen, Adult Small/ Adult Large Proceed to finish
Finishing
Fasten off at the end of the last row, leaving a long tail for seaming.
For the best fit, refer to the finished measurements. Variations in yarn thickness and gauge may affect the final length and width of the headband. You may need to add or remove rows to achieve the correct size.
Seaming and How to Make the Twist
With the right side facing, hold each end of the headband and fold the ends in half lengthwise.
Bring the folded ends together, positioning them so they overlap to create the twist. Make sure the starting yarn tail is tucked to the inside of the layers (leaving it accessible for knotting), and the ending yarn tail is positioned along the outside edge for seaming.
Using a yarn needle, seam through all four layers of the folded ends to secure the twist.
Once seaming is complete, knot and weave in both yarn tails, then trim any excess yarn.
For a visual demonstration, please refer to the accompanying video.
More Crochet Hat & Headband Patterns


Save this tutorial to your Pinterest boards so that you can come back to it later.
We’d love to hear your feedback. Drop a comment below and tell us your thoughts! And don’t forget to follow us on your favorite social platform!
Invitation to our Facebook group
You are welcome to share your projects made by our patterns with the community and us. Moreover, we are thrilled to see your creations, and you are very welcome to share them on our FACEBOOK PAGE HERE or our FACEBOOK GROUP or on INSTAGRAM by using the hashtag #passionatecrafterr.