Spring is finally here, and with it comes one of my favourite things to crochet—flowers!
This crochet tulip pattern is part of my growing Spring Collection, and it’s designed to be simple, elegant, and fun to make. Whether you’re decorating your home, making gifts, or preparing for markets, these tulips are a beautiful way to bring a little sunshine indoors.

Part of Our Spring Crochet Collection
These crochet tulips are part of our growing Spring Crochet Collection, alongside our textured Easter eggs, rustic carrots, and cozy marble chickens. Mix and match them to create a beautiful handmade spring display full of charm.
Pattern Details
- Skill level: Beginner
- Terminology: US crochet terms
- Construction: Worked in parts and assembled
- Time to make: Quick project (perfect for an evening!)
- Yarn used: Worsted weight yarn
- Crochet hook: 5 mm
Why You’ll Love This Pattern
- Tulips are timeless, and this crochet version gives you all the beauty—without ever wilting!
- Quick and satisfying project
- Perfect for using scrap yarn
- Great for gifts, teacher appreciation, or Mother’s Day
- Adds a soft, handmade touch to your home
- Easy to customize in any color
- Make just one, or create a full bouquet to brighten up any space.
Video Tutorial for Crochet Spring Tulips
If you prefer visual learning, this pattern also includes a detailed video tutorial to help you every step of the way—perfect for beginners!
Watch the video tutorial here.
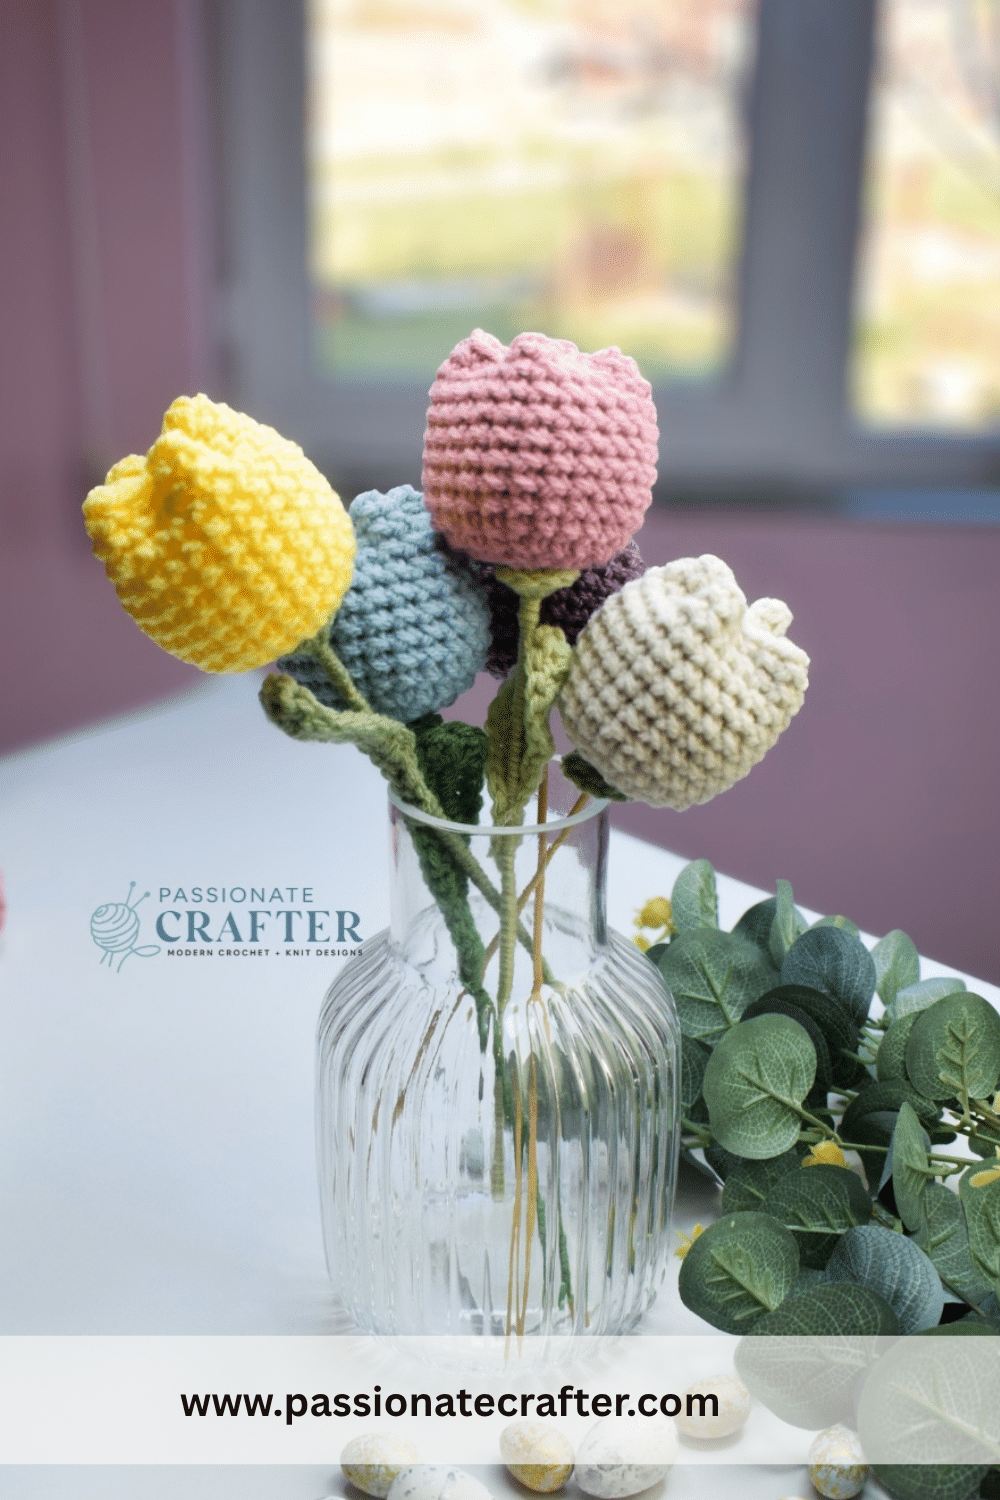
Crochet Tulips Finished Size
One size – 3.5′ inches= 9cm
Gauge
Not important for this project
Yarn Requirments
#4 medium worsted/ different brands from my stash
Starlette by Mary Maxim 100% Acrylic 100g/3.5oz, 165m/180yds.
Main color for the tulip- 10gr
Stem and leaf- around 5-10 gr
Skill Level
Easy
Crochet Hook Required
5 mm or any suitable hook size to obtain gauge
Other supplies needed
- Tapestry needle
- a pair of scissors
- fiberfill for stuffing
- wire or wooden stick
Abbreviation ( American Crochet Terms )
sl st – slip stitch
ch(s) – chain(s)
st(s) – stitch(es)
rep – repeat
** – repeat the sts in the ** indicated times
FO – fasten off
sc- single crochet
PATTERN NOTES
- The pattern is written in US Crochet Terminology.
- The pattern is worked in continuous/ spiral rounds. Do not join your rounds with a sl st unless stated otherwise.
- Use a stitch marker or a piece of yarn to mark the first stitch of each round. Move the marker after completing the round.
- The pattern is worked bottom up.
- You can adjust the size by using thinner or thicker yarn with appropriate hook.
- Thinner yarn + smaller hook= smaller tulip
- Thicker yarn+ bigger hook= bigger tulip
- When stuffing your tulip don’t over do it.
- Use a wooden stick or wire for the stem. If you use wire you can bend it and position it.
Digital Download + No ADS!
DIGITAL PDF DOWNLOAD!
The PDF includes: clean and beautiful formatted layout for easy printing, an ad-free version and printable gift tags!
Digital download only. No physical item will be shipped.
Crochet Spring Tulip Flower Free Pattern
with main color
Rnd 1:
Start with a MR, make 6 sc into it. (6)
Rnd 2:
2 sc in each st around (12)
Rnd 3:
*sc in first, 2 sc in next* rep 6 times (18)
Rnd 4:
*sc in first, 2 sc in next, sc in next* rep 6 times (24)
Rnd 5-12:
sc in each st around (24)
FO and leave a long tail for sewing.
Fill the tube but don’t over do it.
Take a tapestry needle and pinch both sides of the piece together at the center. Sew through the middle to secure the sides together.
Next, fold the remaining open sides toward the center and sew them together in the middle as well. When stitching, make sure to pass the needle through the first join again to secure everything firmly and create a neat tulip shape.
Tulip’s leaf
* with green color
Ch 12, sl st in 2nd from your hook, sl st in next 2, sc in next 3, hdc in next, dc in next 3, 5 dc in last, continue working across the other side, dc in next 3, hdc in next, sc in next 3, sl st in next 3, sl st on top of first to join.
FO.
Stem circle
*with green color
Rnd 1:
Start with a MR, make 8 hdc into the ring, sl st in first to join. (8)
FO. Weave ends in.
Assembly
Step 1 – Attach the Stem
Take the small stem circle and insert the wire or stick through the center of the magic ring (MR). Then insert the wire or stick into the center of the tulip’s base. Secure it in place using craft glue or a hot glue gun.
Step 2 – Wrap the Stem
Take green yarn and place a small dot of glue just below the tulip. Begin wrapping the yarn around the stick to cover it completely. Add small amounts of glue along the stem as you wrap to keep the yarn secure.
Step 3 – Attach the Leaf
Once the stem is fully wrapped, take the leaf and attach it to the stem using craft glue or a hot glue gun. Adjust the leaf to your desired position and allow the glue to dry completely.
Thank you
Thank you so much for being here and for supporting my work—it truly means more than I can put into words. Every pattern you choose helps me continue doing what I love, and I’m so grateful to have you as part of this creative journey.
I’m so excited for you to make your very own Spring Tulips!
Whether you’re making one for yourself or whipping up a few as gifts, this Easter eggs is sure to become a favourite go-to pattern in your collection for the holidays.
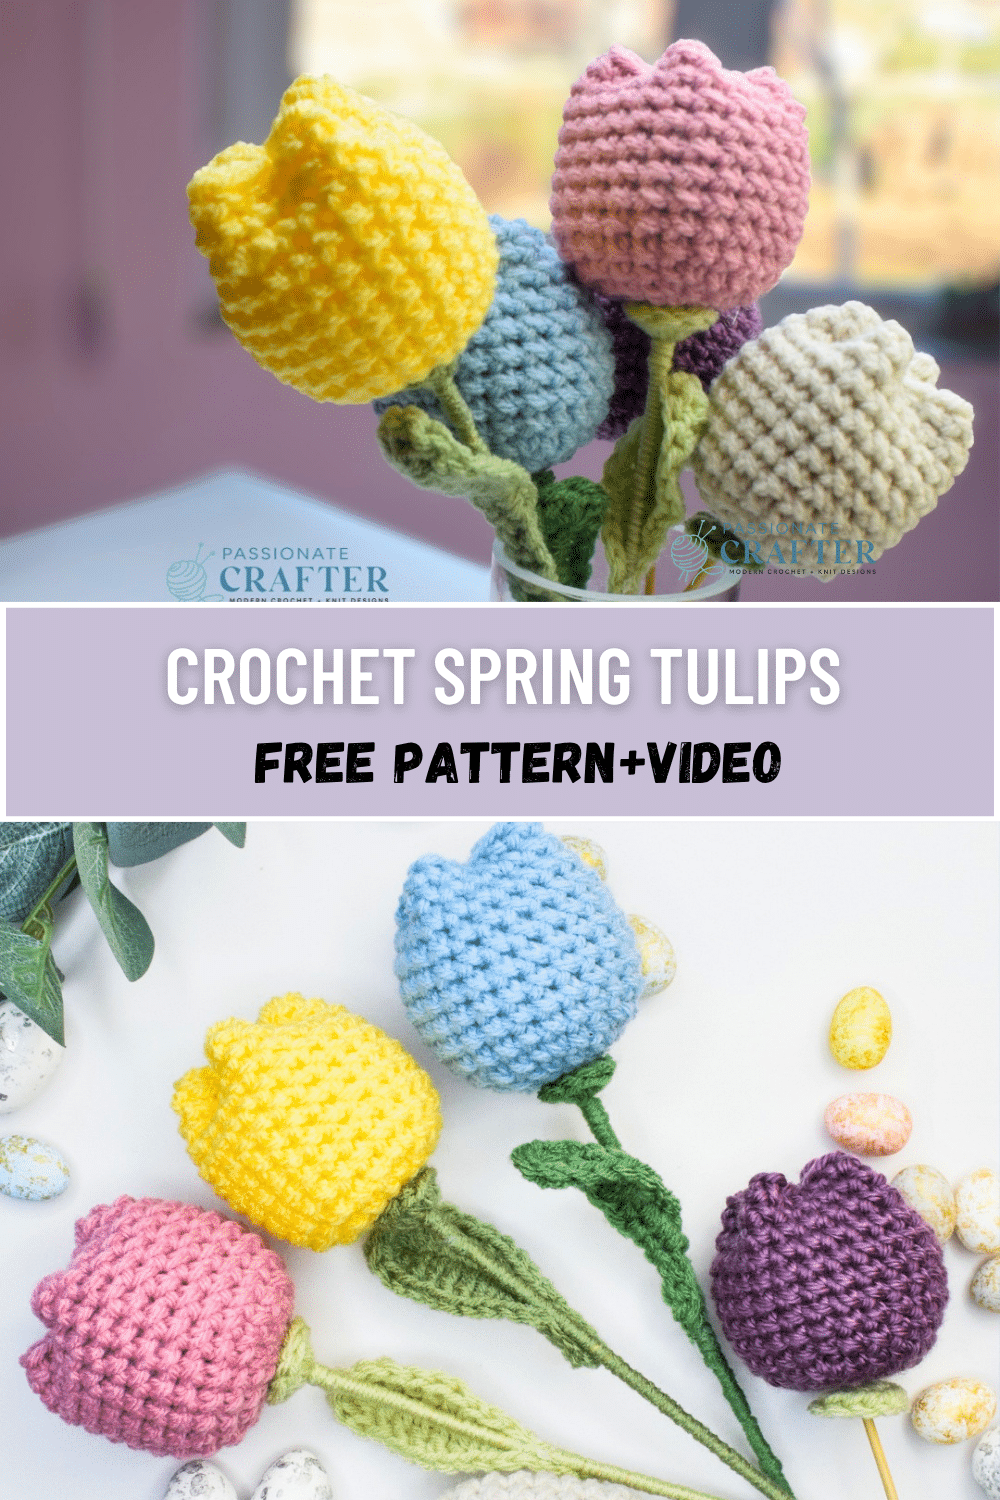
Pin this Pattern for Later!
Don’t forget to pin this for later!
Our Favorite
Easter Crochet Patterns
Save this tutorial to your Pinterest boards so that you can come back to it later.
We’d love to hear your feedback. Drop a comment below and tell us your thoughts! And don’t forget to follow us on your favorite social platform!
Invitation to our Facebook group
You are welcome to share your projects made by our patterns with the community and us. Moreover, we are thrilled to see your creations, and you are very welcome to share them on our FACEBOOK PAGE HERE or our FACEBOOK GROUP or on INSTAGRAM by using the hashtag #passionatecrafterr.