Looking for a quick and beginner-friendly Easter crochet project? These crochet Easter eggs are the perfect way to add a handmade touch to your spring decor!
Soft, textured, and endlessly customizable, these eggs work up quickly and are ideal for using up leftover yarn. Whether you decorate them with simple stitches or add embroidery details, each egg turns out unique and full of charm.

Part of Our Spring Crochet Collection
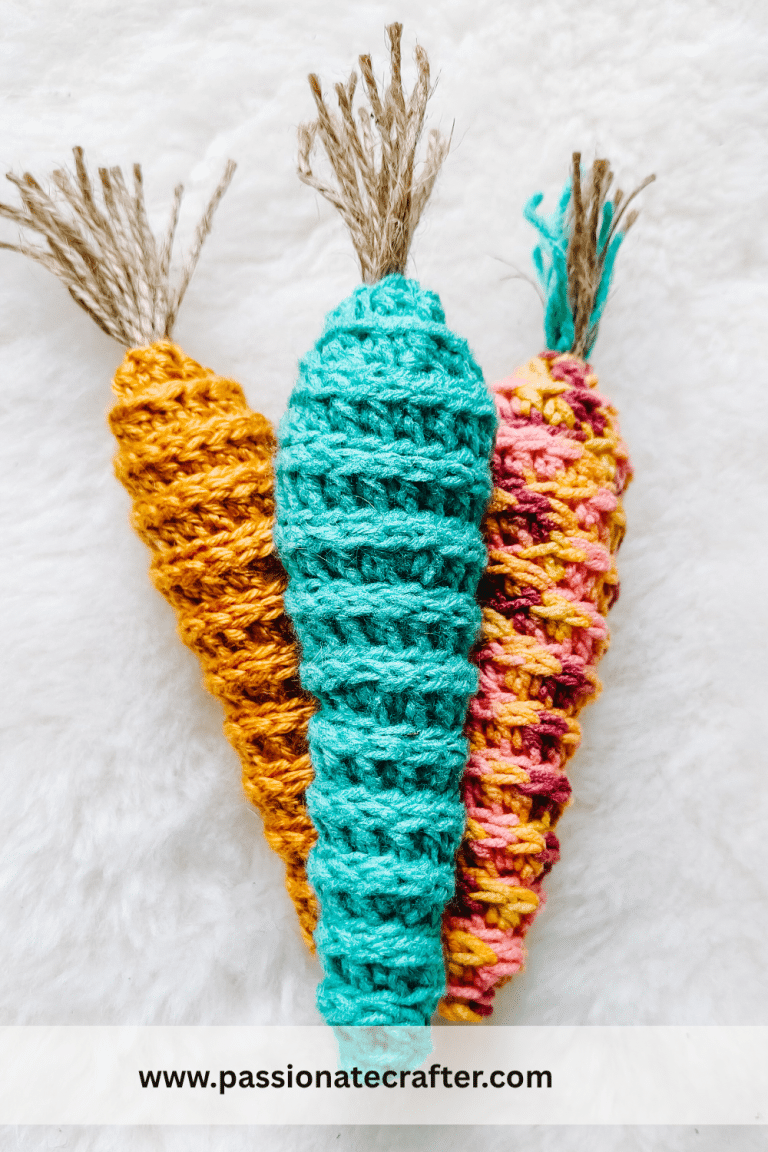
These crochet Easter eggs are part of our growing Spring Crochet Collection, filled with cheerful seasonal makes! If you love quick and decorative projects, be sure to check out our crochet carrot pattern, perfect for Easter baskets and playful spring decor, as well as our delicate crochet tulip pattern, ideal for adding a soft floral touch to your home.
And if you’re looking for something extra special, don’t miss our Marble Chicken crochet pattern—a beautiful textured design that pairs perfectly with these eggs for a cozy, farmhouse-inspired Easter display.
Mix and match your favourites or create the full collection for a coordinated spring setup that’s full of handmade charm.

Why You’ll Love This Pattern
- Quick & satisfying (great for last-minute Easter makes!)
- Perfect stash-buster project
- Customizable with colors, textures, and embroidery
- Low-sew and beginner-friendly
- Great for gifts, table decor, or Easter baskets
Video Tutorial for Crochet Easter Eggs
If you prefer visual learning, this pattern also includes a detailed video tutorial to help you every step of the way—perfect for beginners!
Watch the video tutorial here.
How to Use Your Crochet Eggs
- Fill an Easter basket
- Create a spring centrepiece
- Hang them as ornaments
- Use them for egg hunts (especially for little ones!)
- Add them to gift packages
Crochet Easter Egg Finished Size
3.5′ inches= 9cm
Gauge
Not important for this project
Yarn Requirments
#4 medium worsted/ different brands from my stash
Starlette by Mary Maxim 100% Acrylic 100g/3.5oz, 165m/180yds.
Skill Level
Easy
Crochet Hook Required
5 mm
or any suitable hook size to obtain gauge
Other supplies needed
- Tapestry needle
- a pair of scissors
- measuring tape
Abbreviation ( American Crochet Terms )
sl st – slip stitch
ch(s) – chain(s)
st(s) – stitch(es)
rep – repeat
** – repeat the sts in the ** indicated times
FO – fasten off
hdc- half double crochet stitch
BLO- back loop only
hdc2tog – work two hdc sts together= hdc decrease
PATTERN NOTES
- The pattern is written in US Crochet Terminology.
- The pattern is worked in continuous/ spiral rounds. Do not join your rounds with a sl st unless stated otherwise.
- Use a stitch marker or a piece of yarn to mark the first stitch of each round. Move the marker after completing the round.
- The pattern is worked top down.
- You can adjust the size by using thinner or thicker yarn with appropriate hook.
- Thinner yarn + smaller hook= smaller egg
- Thicker yarn+ bigger hook= bigger egg
- When stuffing your egg don’t over do it.
- The flowers are optional. There is a step-by-step video tutorial explaining how to make the embroidery flowers.
Special Stitches
WORKING IN 3RD LOOP OF HDC(camel stitch)
- This loop is located just behind and nearly parallel to the normal loops typically worked on.
Once done, you have the front loop and back loop on top.
2. Turn your stitch a bit, and you will see the third loop right below the back loop.
3. Once you work in the 3rd loops of hdc you will get raised stitches in the right side of your work
HOW TO CLOSE A GAP OPENING
- Insert the needle from outside going in (in the front loop only of next stitch)
- Now insert the needle from the inside going out in the next front loop.
- Repeat around and pull the tail to tighten. Weave end in.
EMBROIDERY FLOWERS
The flowers are made with two different colors of yarn and a tapestry needle. We have a step-by-step video tutorial showing you how to make them. Wacth tutorial here
Digital Download + No ADS!
DIGITAL PDF DOWNLOAD!
The PDF includes: clean and beautiful formatted layout for easy printing, an ad-free version and printable gift tags!
Digital download only. No physical item will be shipped.
Crochet Easter Egg Free Pattern
- with main color
Rnd 1:
Start with a MR, make 8 hdc into it. (8)
Rnd 2 (Inc):
Working in 3rd loop, sl st in each st around (8)
Rnd 3 (Inc):
Working in BLO, 2 hdc in each st around (16)
Rnd 4:
Working in 3rd loop, sl st in each st (16)
Rnd 5 (Inc):
Working in BLO, *hdc in first, 2 hdc in next* rep 8 times (24)
Rnd 6:
Working in 3rd loop, sl st in each st around (24)
Rnd 7:
Working in BLO, hdc in each st around (24)
Rnd 8:
Working in 3rd loop, sl st in each st around (24)
Rnd 9:
Working in BLO, hdc in each st around (24)
Rnd 10:
Working in 3rd loop, sl st in each st around (24)
Rnd 11 (Dec):
Working in BLO, *hdc in first, hdc2tog over the next 2 sts* rep 8 times (16)
Rnd 12:
Working in 3rd loop, sl st in each st around (16)
Rnd 13 (Dec):
Working in BLO, *hdc2tog over the next 2 sts* rep 8 times (8)
FO. Leave a longer tail.
Take a tapestry needle and using the long tail close the gap opening (See Special stitch section)
Making the flower embroidery
To make the flowers we will use a needle and two colors of yarn.
Watch the video tutorial to see how HERE.
How to adjust the size
You can use thinner or thicker yarn to crochet different size eggs.
You can use DK weight with 4mm hook for smaller size.
Use thicker yarn with bigger hook to crochet big egg.
Thank you
Thank you so much for being here and for supporting my work—it truly means more than I can put into words. Every pattern you choose helps me continue doing what I love, and I’m so grateful to have you as part of this creative journey.
I’m so excited for you to make your very own Easter eggs!
Whether you’re making one for yourself or whipping up a few as gifts, this Easter eggs is sure to become a favourite go-to pattern in your collection for the holidays.
Pin this Pattern for Later!
Don’t forget to pin this for later!

Our Favorite
Easter Crochet Patterns
Save this tutorial to your Pinterest boards so that you can come back to it later.
We’d love to hear your feedback. Drop a comment below and tell us your thoughts! And don’t forget to follow us on your favorite social platform!
Invitation to our Facebook group
You are welcome to share your projects made by our patterns with the community and us. Moreover, we are thrilled to see your creations, and you are very welcome to share them on our FACEBOOK PAGE HERE or our FACEBOOK GROUP or on INSTAGRAM by using the hashtag #passionatecrafterr.