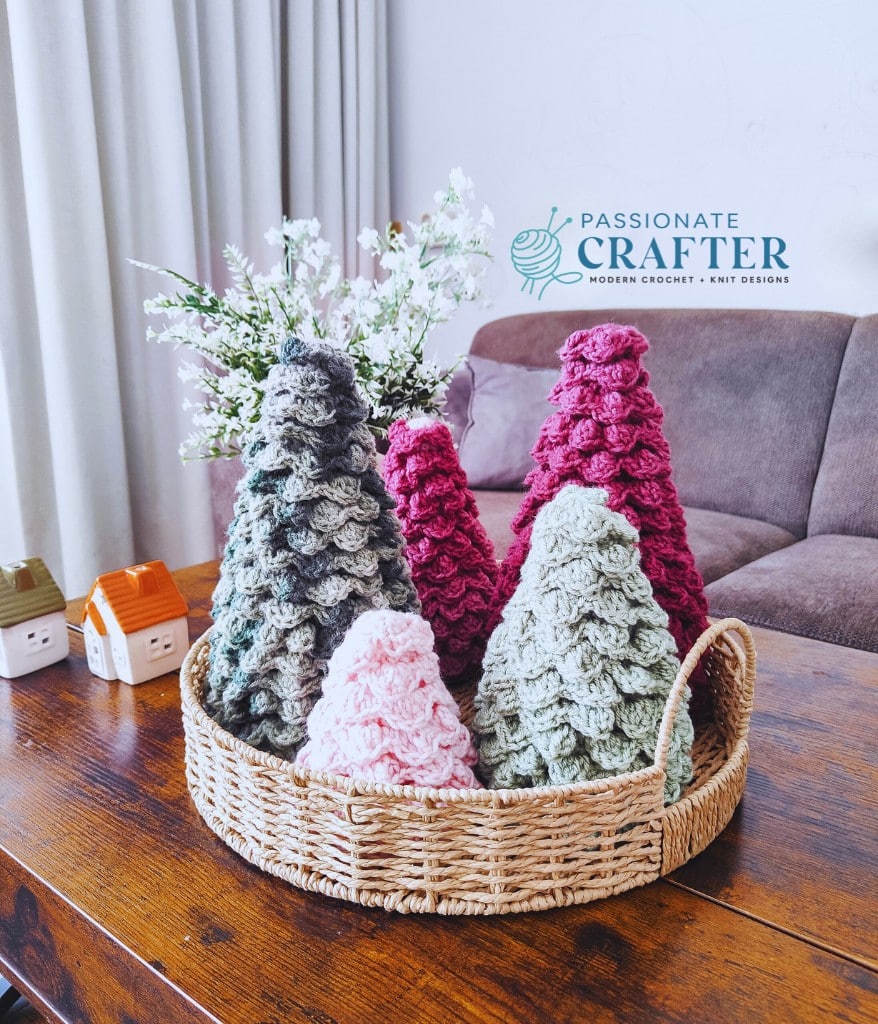
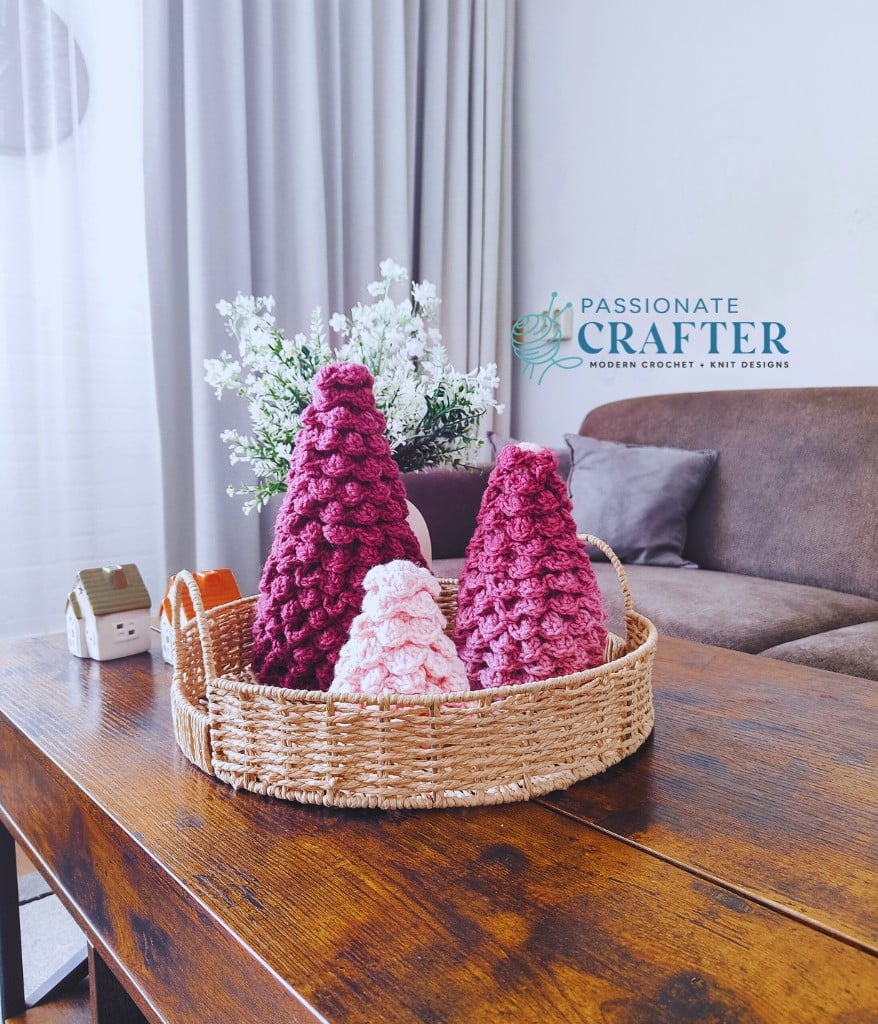
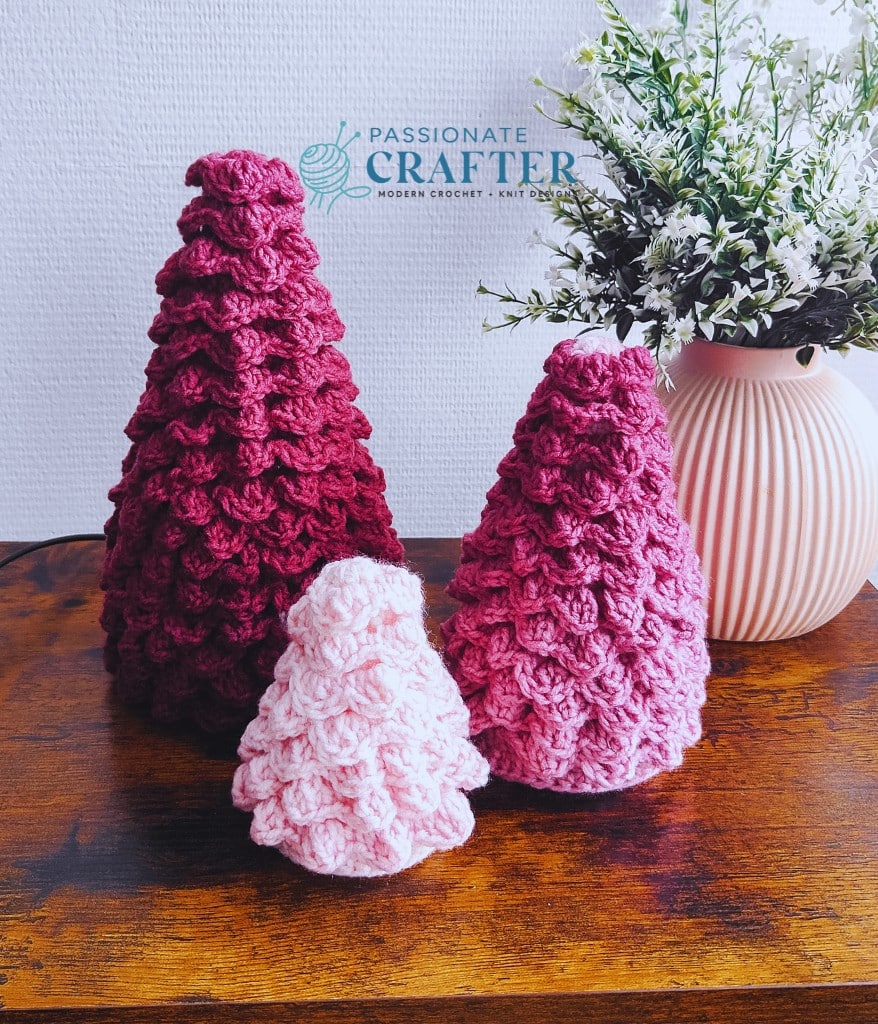
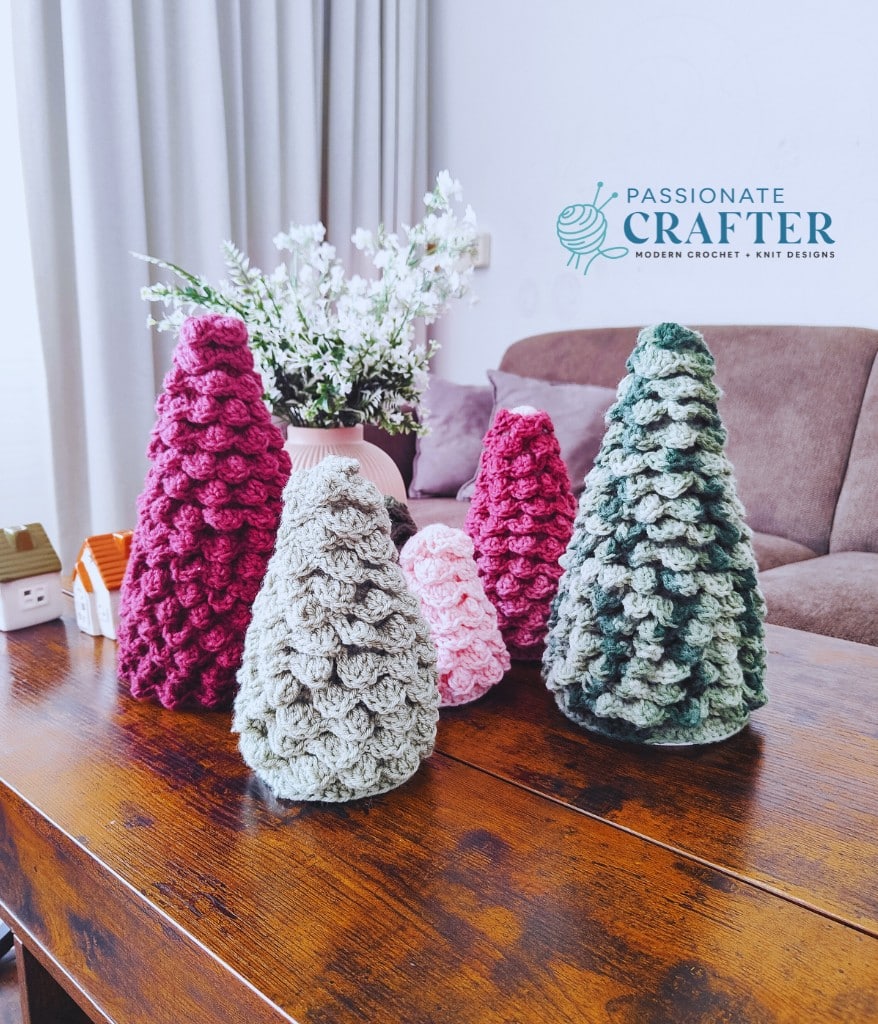
The Evergreen Christmas Tree crochet pattern is a festive favorite in the making — and this year, it comes with even more options to make it your own. The pattern includes three different sizes, so you can create a charming set of trees perfect for decorating mantels, shelves, or your holiday table.
And to make it extra beginner-friendly, I’ve also included a step-by-step video tutorial that walks you through the entire process, from the base to the final layered petals, making it easy to follow along at your own pace.

There’s something truly magical about bringing handmade touches into your holiday décor, and this year, we’re adding a fresh twist to a beloved classic. The Evergreen Christmas Tree was inspired by two of our most loved designs from previous years — the Standing Tree and the Xmas Tree Gnome. Both patterns received so much love, it felt only right to bring them back to life with a brand-new look.
This updated version embraces a more rustic, farmhouse style, perfect for cozy winter decorating. While the construction remains similar to the originals, we’ve added more layers with soft, petal-like details to create a fuller and more realistic tree shape. Whether you keep it traditional or get creative with color, this crochet Christmas tree makes a stunning handmade accent for your home or holiday table.
Purchase the Beautifully Designed AD-FREE PDF Download
Related posts:
And if you’re in full winter and Christmas home décor mode, you’ll love making the Alpine Stocking and Meadow Stocking to match your holiday setup — or browse all of our Christmas patterns for even more festive inspiration.
Yarn Requirments
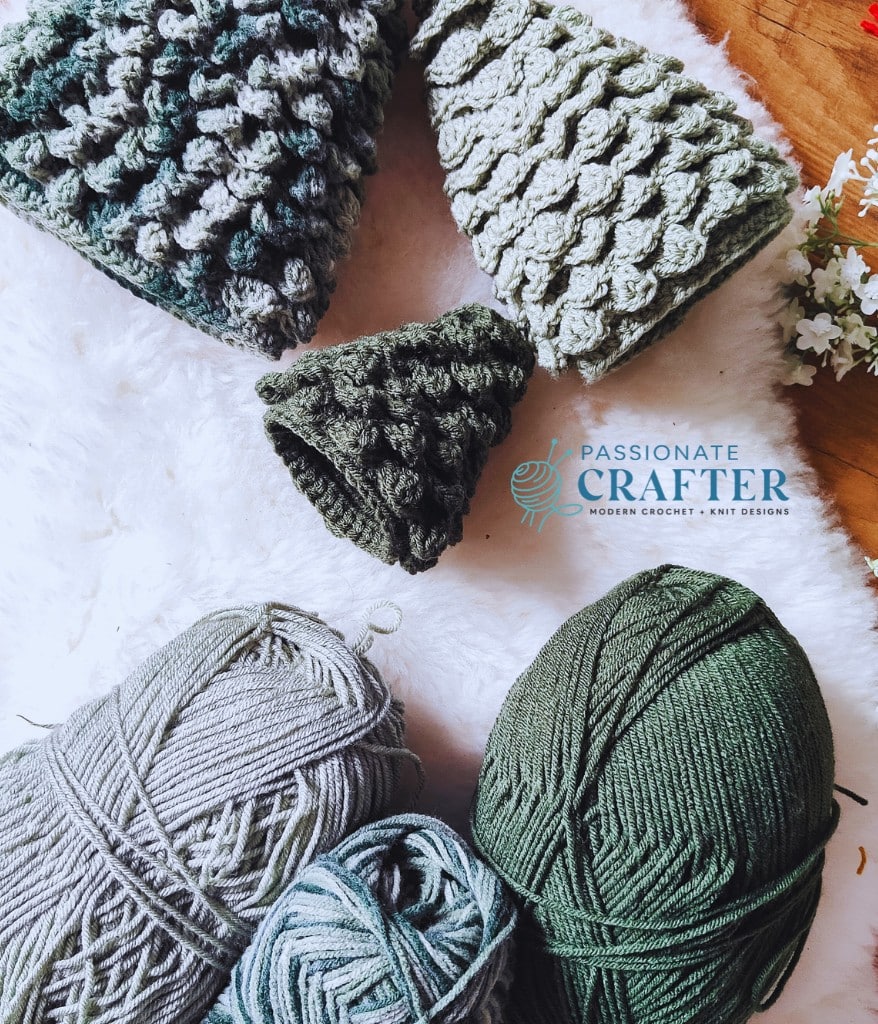
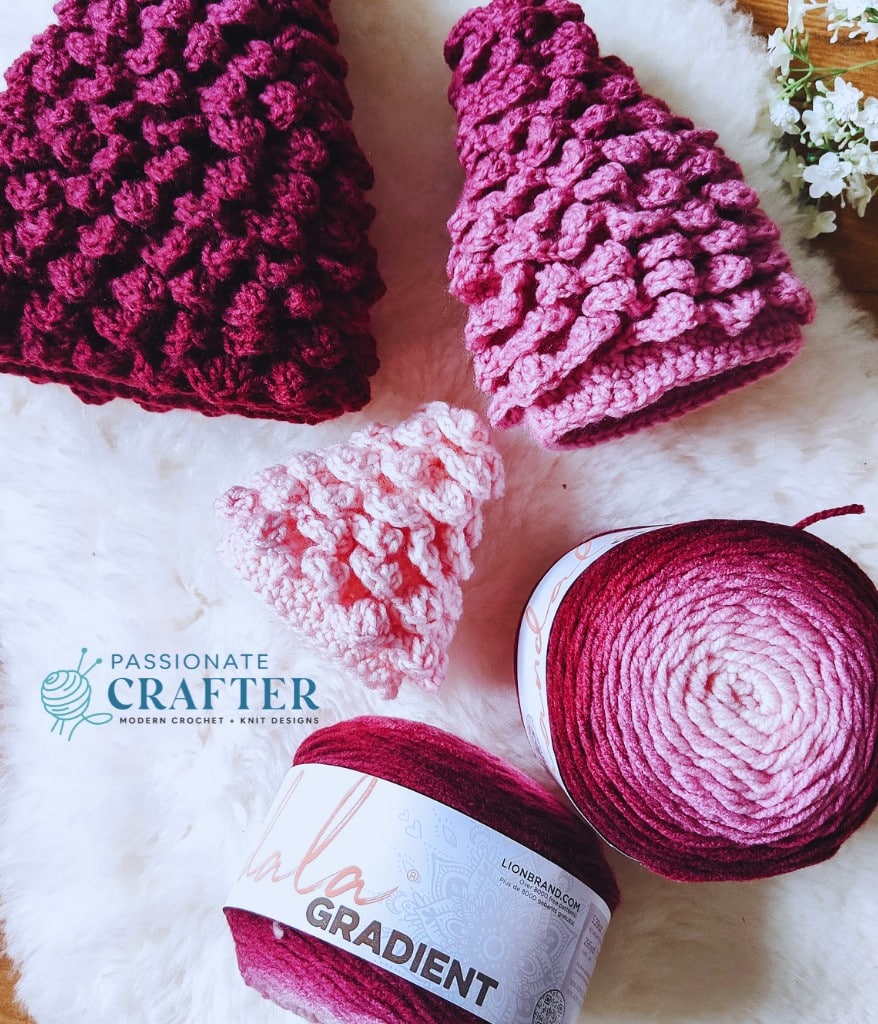
#4 medium worsted / Aran weight yarn
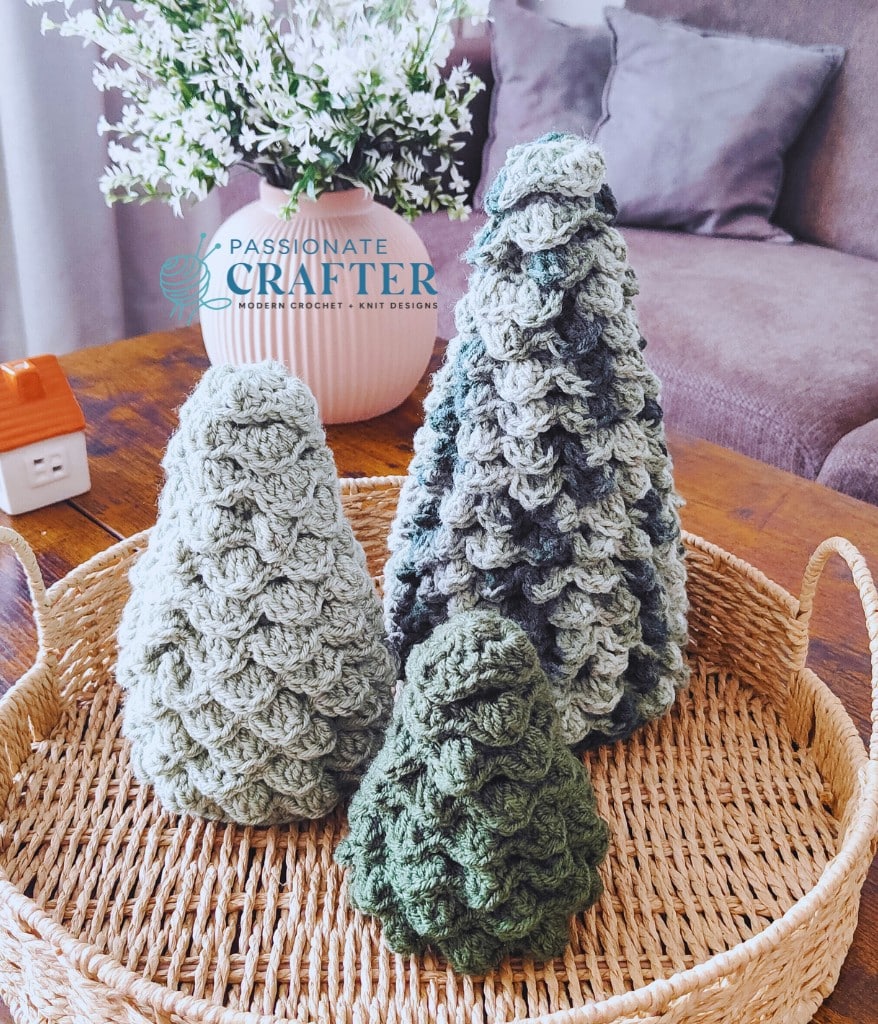
Mary Maxim Maximum Value, 100% Acrylic, 8 oz (227gr), 474 yds (445 m), shown in colors:
Green ombre, light green and medium green or Lion Brand Mandala Gradient, 90% Acrylic, 10% Nylon, 5.29 oz/ 150gr, 295 yds (270 m) yarn shown in color Burgundy.
YARDAGE NEEDED:
Size small- 35gr
Size Medium- 70gr
Size Large- 115gr
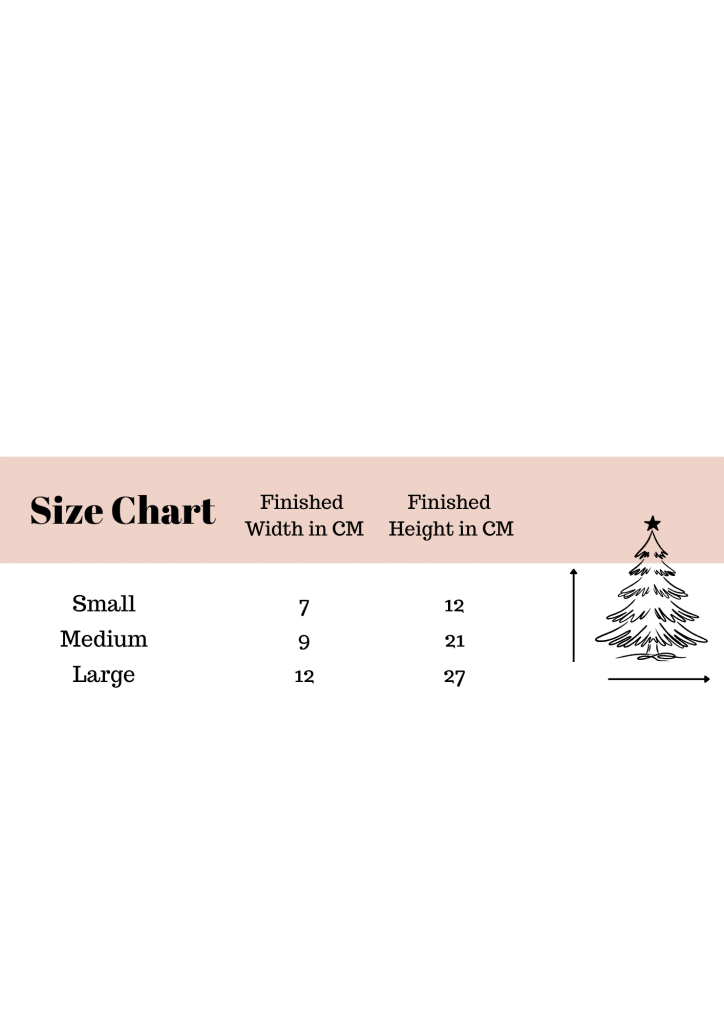
Sizes
Substituting Yarn
If you don’t have the exact yarn I used on hand, don’t worry — this pattern is very flexible. It’s designed for medium worsted weight yarn (category 4), which means you can easily substitute it with other similar yarns and still achieve a beautiful result. Whether you prefer acrylic, cotton, or a soft wool blend, worsted weight yarn will give your tree the right structure and shape while keeping it cozy and festive.

Yarn Substitutes for Mary Maxim Maximum value
- Lion Brand Wool-Ease Worsted – 85 g / 197 yds
- Premier Anti-Pilling Everyday Worsted – 100g / 180 yds
- Premier Basix Worsted –200 g / 359 yds
- Mary Maxim Starlette – 100 g / 180 yds
- WeCrochet Brava Worsted/ Tweed – 100 g / 218 yds
- WeCrochet Wool of the Andes Worsted – 50 g / 110 yds
Skill Level
Intermediate
Gauge
For this project, the gauge is not essential
Crochet Hook Required
4.5 mm crochet hook or any hook to obtain the gauge
Other supplies needed
- Tapestry needle
- a pair of scissors
- Styrofoam Cones in 3 sizes- 7 cm x 12, 9cm x 21 cm and 12 cm x 27 cm
- I bought mine from Amazon. Check the link here.
Abbreviation ( American Crochet Terms )
sc – single crochet
sl st – slip stitch
ch(s) – chain(s)
st(s) – stitch(es)
rep – repeat
** – repeat the sts in the ** indicated times
{}- repeat the sts in the {} indicated times
FO – fasten off
hdc– half double crochet stitch
dc– double crochet
MR– magic ring
exdc– extended double crochet stitch
BLO– back loops only
Yo– yarn over
Special stitches
Extended double crochet stitch-
- Yo (yarn over), insert hook into stitch.
- Yo, pull up a loop — 3 loops on hook.
- Yo, pull through 1 loop only — this makes the little “extension” chain. (Still 3 loops on hook.)
- Yo, pull through 2 loops.
- Yo, pull through last 2 loops.
- You’ve made an extended double crochet (exdc)
Construction
First, we’ll crochet a sturdy base, which gives the tree a stable stand and makes it easy to display as part of your holiday décor. Next, we work the petal layers (branches) directly onto the base. Once all the petals are in place, we gently shape and flare them to create that classic evergreen silhouette. To finish, the foam cone is added inside the base to help the tree stand tall and keep its shape beautifully season after season.
Video Tutorial Evergreen Xmas Tree Pattern
To make this project even easier, I’ve filmed a detailed video tutorial that walks you through every step of the Evergreen Christmas Tree. You’ll see exactly how to build the base, crochet and shape the petal layers, and finish the tree so it stands tall and full. It’s perfect for visual learners or anyone who loves to crochet along in real time. So grab your yarn and hook, get cozy, and let’s make this beautiful tree together!
Watch the tutorial
If you prefer learning by watching, I’ve also created a step-by-step video tutorial to guide you through the entire Evergreen Christmas Tree pattern. In the video, I cover everything — from crocheting the sturdy base to working the petal layers, shaping the branches, and adding the finishing touches.
Purchase the Beautifully Designed AD-FREE PDF Download
Evergreen Christmas tree Pattern
COPYRIGHT
The Alpine Beanie pattern and its contents are the property of Passionatecrafter LTD and are protected by copyright laws. This pattern may not be copied, shared, distributed, or reproduced in any form without prior written permission, except for sharing links on social media. Unauthorized use of this pattern may result in legal action.
This free crochet pattern is provided for personal use and viewing on the blog only. By accessing and using this pattern, you agree to respect and comply with all copyright terms and conditions.
If you have any questions about these terms or how this pattern may be used, please contact Passionatecrafter LTD. in writing for clarification.
Thank you for respecting my work and creativity!
Pattern support
Support for this pattern is available through the blog post and the accompanying YouTube tutorial only. Any modifications included are outlined in the PDF; if you choose to adjust the pattern or substitute a different yarn weight, you’ll need to make those changes independently.
Thank you for your understanding! I hope you enjoy making this project, and I encourage you to connect with and support fellow makers in the community as we crochet and create together.
How to Unlock Exclusive Content on Our Blog
Accessing exclusive content is easy! Simply click the box below, and the Grow.me app will appear, prompting you to enter your email and create a password. Once your account is set up, you can log in anytime to view exclusive content on my blog. Just be sure to switch to the login screen when entering your credentials.
If you ever forget your password, click the “Forgot Password” link and follow the steps to reset it. Please note that I don’t have access to Grow accounts and cannot assist with password recovery, so be sure to store your login details securely.
Thank you for subscribing and being part of my crochet journey! I hope you enjoy the exclusive content and find inspiration for your next beautiful crochet project.
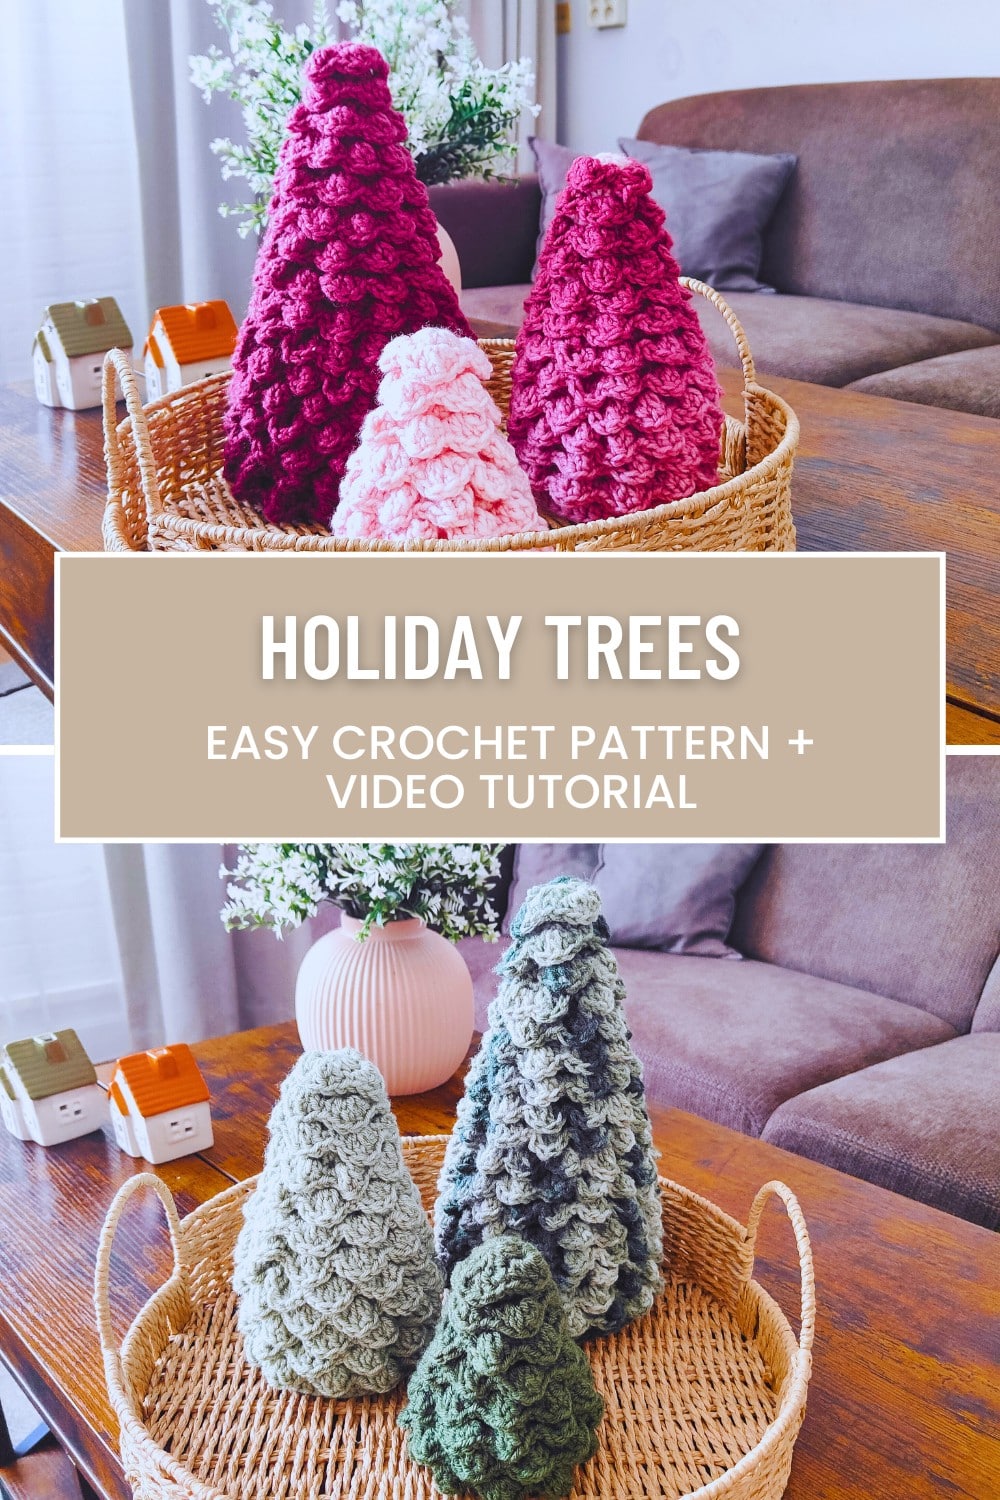
Don’t forget to pin this for later!
Pattern notes
- All sizes follow Rounds 1–14.
- Small (S): stop after Round 14, then jump to “SMALL — Continue”.
- Medium (M): work Rounds 1–16. After Round 16, jump to “MEDIUM — Continue”.
- Large (L): work Rounds 1–33.
- When stitch counts differ, they’re shown as S (M, L).
- ch1 or ch2 at the beginning does NOT count as a stitch
Pattern
(ALL SIZES)
Rnd 1: Start with a MR, secure with a knot, ch 1, and make 9 hdc into the ring, sl.st on top of ch2 to join (9)
The next round is worked in BLO! Only the next rnd!
Rnd 2: ch 1, 1 sc in each st around, sl.st on top of ch1 to join (9)
Rnd 3: ch 2, * 1 hdc in next 2 sts, 2 hdc in next st * rep 3 times, sl.st on top of ch2 to join (12)
The next round is worked in BLO! Only the next rnd!
Rnd 4: ch1, 1 sc in each st around, sl st on top of ch1 to join (12)
Rnd 5: ch2, * 1 hdc in next 2 sts, 2 hdc in next st * rep 4 times, sl.st on top of ch2 to join (16)
The next round is worked in BLO! Only the next rnd!
Rnd 6: ch1, 1 sc in each st around, sl st on top of ch1 to join (16)
Rnd 7: ch2, * 1 hdc in next 3 sts, 2 hdc in next st * rep 4 times, sl.st on top of ch2 to join (20)
The next round is worked in BLO! Only the next rnd!
Rnd 8: ch1, 1 sc in each st around, sl st on top of ch1 to join (20)
Rnd 9: ch2, * 1 hdc in next 4 sts, 2 hdc in next st * rep 4 times, sl.st on top of ch2 to join (24)
The next round is worked in BLO! Only the next rnd!
Rnd 10: ch1, 1 sc in each st around, sl st on top of ch1 to join (24)
Rnd 11: ch2, * 1 hdc in next 5 sts, 2 hdc in next st * rep 4 times, sl.st on top of ch2 to join (28)
The next round is worked in BLO! Only the next rnd!
Rnd 12: ch1, 1 sc in each st around, sl st on top of ch1 to join (28)
Rnd 13: ch2, * 1 hdc in next 6 sts, 2 hdc in next st * rep 4 times, sl.st on top of ch2 to join (32)
The next round is worked in BLO! Only the next rnd!
Rnd 14: ch1, 1 sc in each st around, sl st on top of ch1 to join (32)
Size small stops here jump to “SMALL — Continue” section.
Rnd 15: ch2, * 1 hdc in next 7 sts, 2 hdc in next st * rep 4 times, sl.st on top of ch2 to join (36)
The next round is worked in BLO! Only the next rnd!
Rnd 16: ch1, 1 sc in each st around, sl st on top of ch1 to join (36)
Size medium stops here jump to “MEDIUM — Continue” section.
Rnd 17: ch2, * 1 hdc in next 8 sts, 2 hdc in next st * rep 4 times, sl.st on top of ch2 to join (40)
The next round is worked in BLO! Only the next rnd!
Rnd 18: ch1, 1 sc in each st around, sl st on top of ch1 to join (40)
Rnd 19: ch2, * 1 hdc in next 9 sts, 2 hdc in next st * rep 4 times, sl.st on top of ch2 to join (44)
The next round is worked in BLO! Only the next rnd!
Rnd 20: ch1, 1 sc in each st around, sl st on top of ch1 to join (44)
Rnd 21: ch2, * 1 hdc in next 10 sts, 2 hdc in next st * rep 4 times, sl.st on top of ch2 to join (48)
The next round is worked in BLO! Only the next rnd!
Rnd 22: ch1, 1 sc in each st around, sl st on top of ch1 to join (48)
Rnd 23: ch2, 1 hdc in each st around, sl st on top of ch2 to join (48)
The next round is worked in BLO! Only the next rnd!
Rnd 24: ch1, 1 sc in each st around, sl st on top of ch1 to join (48)
Rnd 25: ch2, 1 hdc in each st around, sl st on top of ch2 to join (48)
The next round is worked in BLO! Only the next rnd!
Rnd 26: ch1, 1 sc in each st around, sl st on top of ch1 to join (48)
Rnd 27: ch2, 1 hdc in each st around, sl st on top of ch2 to join (48)
The next round is worked in BLO! Only the next rnd!
Rnd 28: ch1, 1 sc in each st around, sl st on top of ch1 to join (48)
Rnd 29: ch2, 1 hdc in each st around, sl st on top of ch2 to join (48)
The next round is worked in BLO! Only the next rnd!
Rnd 30: ch1, 1 sc in each st around, sl st on top of ch1 to join (48)
Rnd 31: ch2, 1 hdc in each st around, sl st on top of ch2 to join (48)
The next round is worked in BLO! Only the next rnd!
Rnd 32: ch1, 1 sc in each st around, sl st on top of ch1 to join (48)
Rnd 33: ch2, 1 hdc in each st around, sl st on top of ch2 to join (48)
Fasten off and weave in the ends.
“SMALL — Continue”
Rnd 15-16: ch2, 1 hdc in each st around, sl st on top of ch2 to join (32)
Fasten off.
“MEDIUM — Continue”
Rnd 17: ch2, 1 hdc in each st around, sl st on top of ch2 to join (36)
The next rnd is worked in BLO! Only the next rnd!
Rnd 18: ch1, 1 sc in each st around, sl st on top of ch1 to join (36)
Rnd 19: ch2, 1 hdc in each st around, sl st on top of ch2 to join (36)
The next rnd is worked in BLO! Only the next rnd!
Rnd 20: ch1, 1 sc in each st around, sl st on top of ch1 to join (36)
Rnd 21: ch2, 1 hdc in each st around, sl st on top of ch2 to join (36)
The next rnd is worked in BLO! Only the next rnd!
Rnd 22: ch1, 1 sc in each st around, sl st on top of ch1 to join (36)
Rnd 23: ch2, 1 hdc in each st around, sl st on top of ch2 to join (36)
The next rnd is worked in BLO! Only the next rnd!
Rnd 24: ch1, 1 sc in each st around, sl st on top of ch1 to join (36)
Rnd 25: ch2, 1 hdc in each st around, sl st on top of ch2 to join (36)
Rnd 26-27: ch1, 1 sc in each st around, sl st on top of ch1 to join (36)
Fasten off
Petal Section — works the same for all sizes
- Stitch repeat (1 petal): work (1 dc, 2 exdc, 1 dc) in the same st, then sc in next 2 sts.
- Where to start: Begin at the lowest BLO round of the tree body. Insert your hook in any stitch of that BLO round.
- How to work a round of petals:
- * (1 dc, 2 exdc, 1 dc) in same st; sc in next 2 sts; repeat from * around the BLO round.
Continue round by round until you finish the top BLO round.
Spacing tweak for nicer drape: To keep petals from stacking directly on top of each other, occasionally replace “sc in next 2 sts” with “sc in next 1 st.”
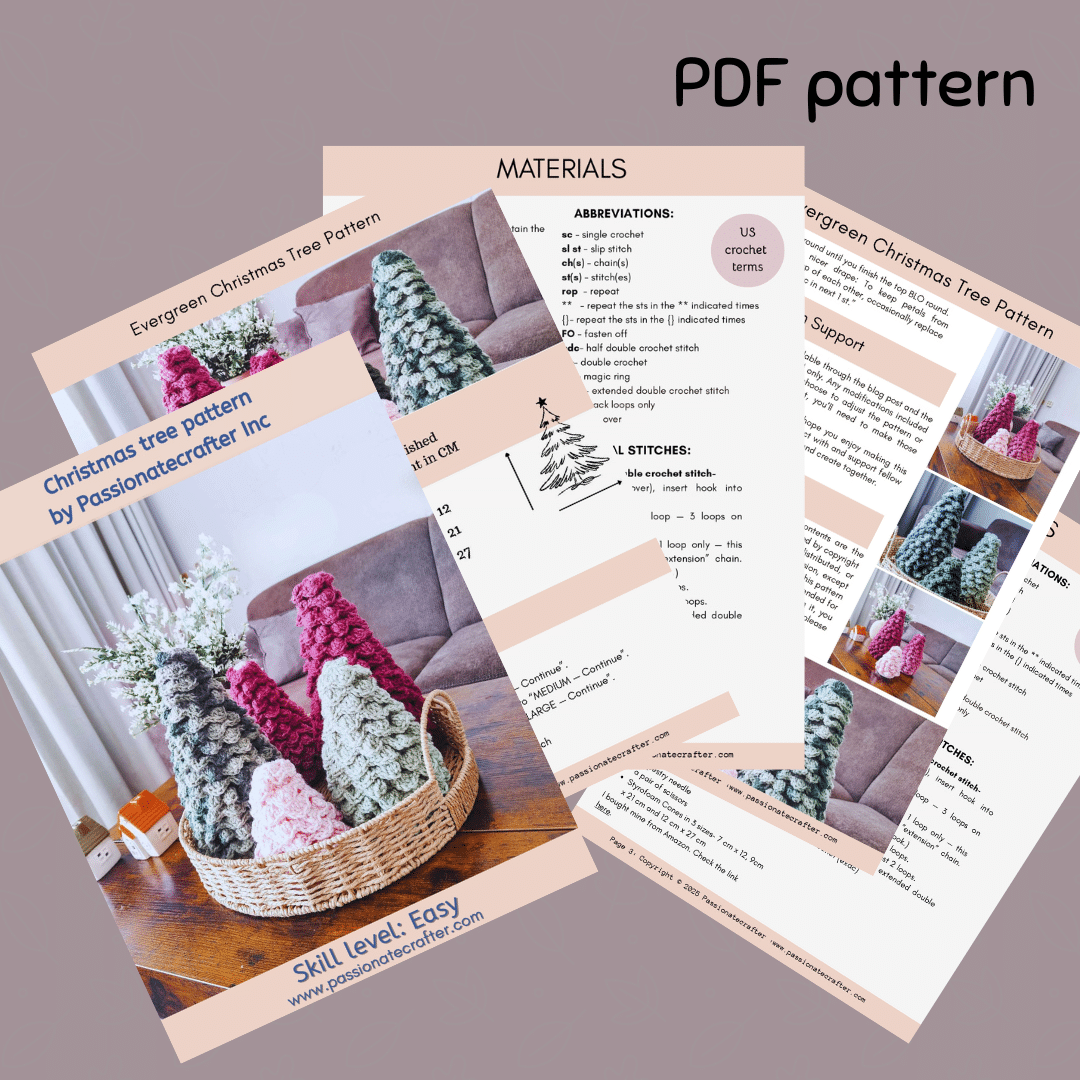
Purchase the Beautifully Designed AD-FREE PDF Download
More You”ll love

Easy Christmas Ornaments

Crochet Christmas Stocking

Festive Christmas Blanket
Save this tutorial to your Pinterest boards so that you can come back to it later.
We’d love to hear your feedback. Drop a comment below and tell us your thoughts! And don’t forget to follow us on your favorite social platform!
Invitation to our Facebook group
You are welcome to share your projects made by our patterns with the community and us. Moreover, we are thrilled to see your creations, and you are very welcome to share them on our FACEBOOK PAGE HERE or our FACEBOOK GROUP or on INSTAGRAM by using the hashtag #passionatecrafterr.