

Say hello to the cutest plush pig — and the best part? NO SEWING REQUIRED! 🙌
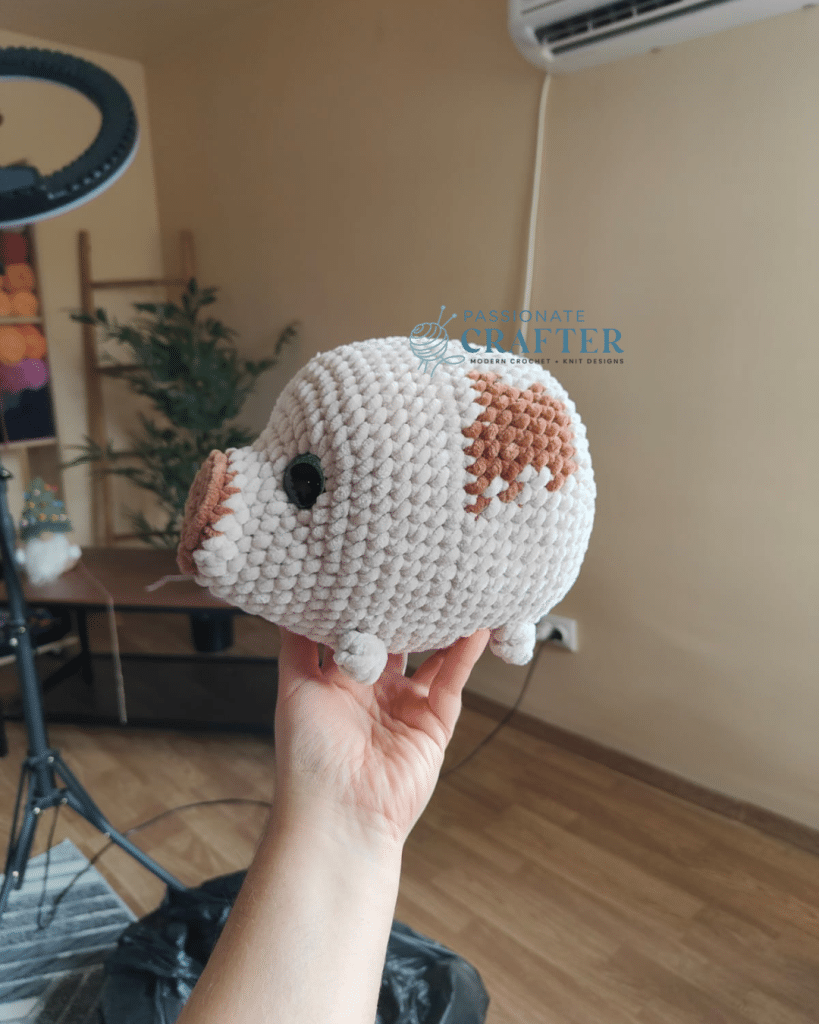
If you love quick, seamless projects, this one’s for you. My new No-Sew Plush Pig Crochet Pattern is designed so that every part — from the snout to the ears to the legs — is crocheted directly onto the body. No need to stitch pieces together afterward!
Continue reading for the free pattern or buy the ad-free, printable PDF pattern here!

Meet the No Sew Plush Pig
If you loved my Mini Chubby Pig, you’re going to fall head-over-heels for its big sibling — the No Sew Plush Pig!
This pattern keeps everything you adored about the mini version (no sewing, simple stitches, squishy cuteness) but turns it into a larger, huggable plushie that’s perfect for snuggling or gifting.
Made with Premier Parfait Chunky yarn, this pig is soft, fluffy, and oh-so-easy to love. Whether you make a classic pink pig or a playful muddy one, the results are always irresistibly cute.
More No Sew Patterns You’ll Love
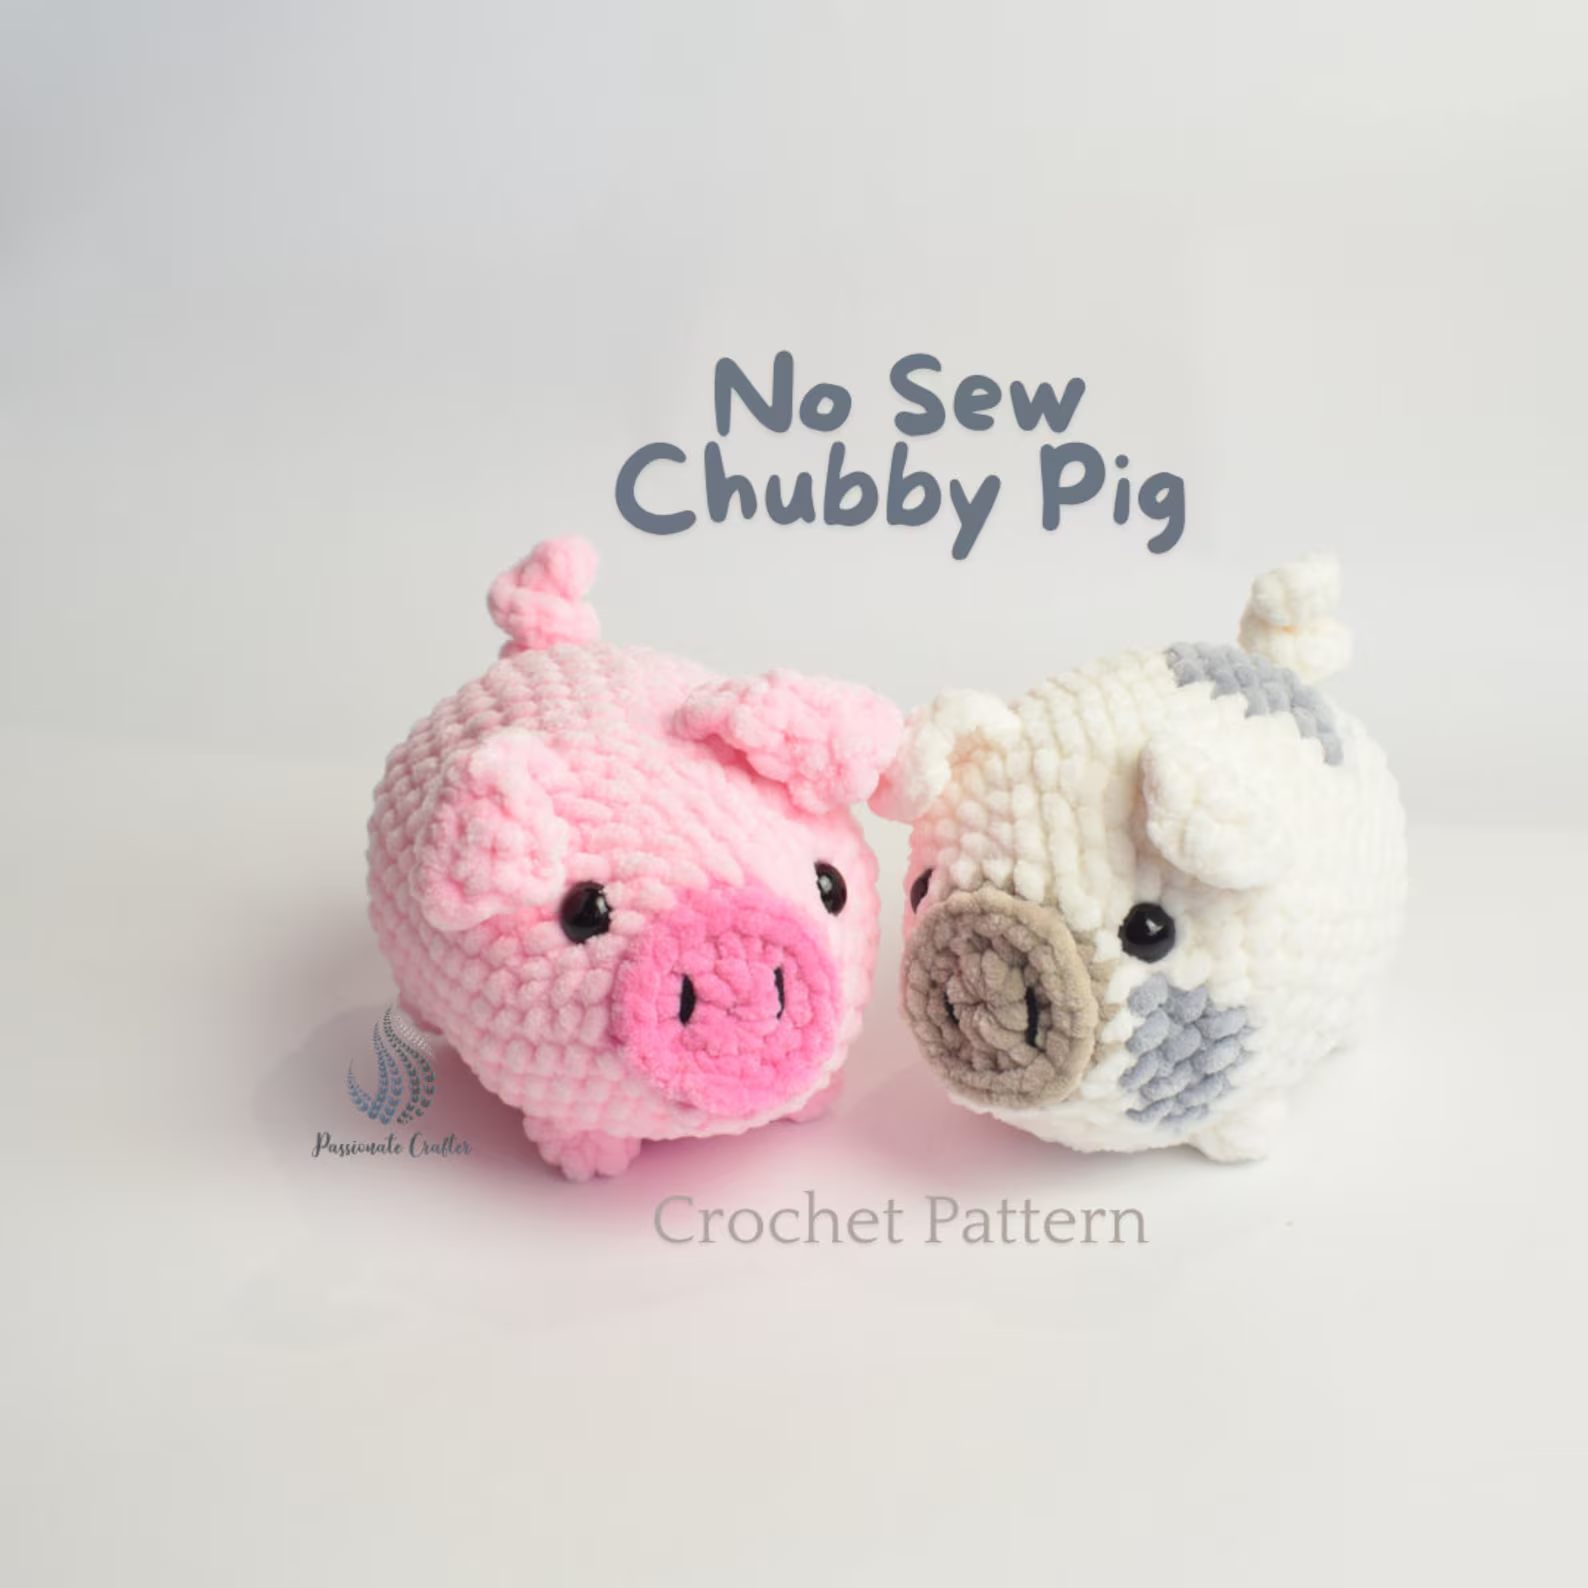
No Sew Chubby Pig
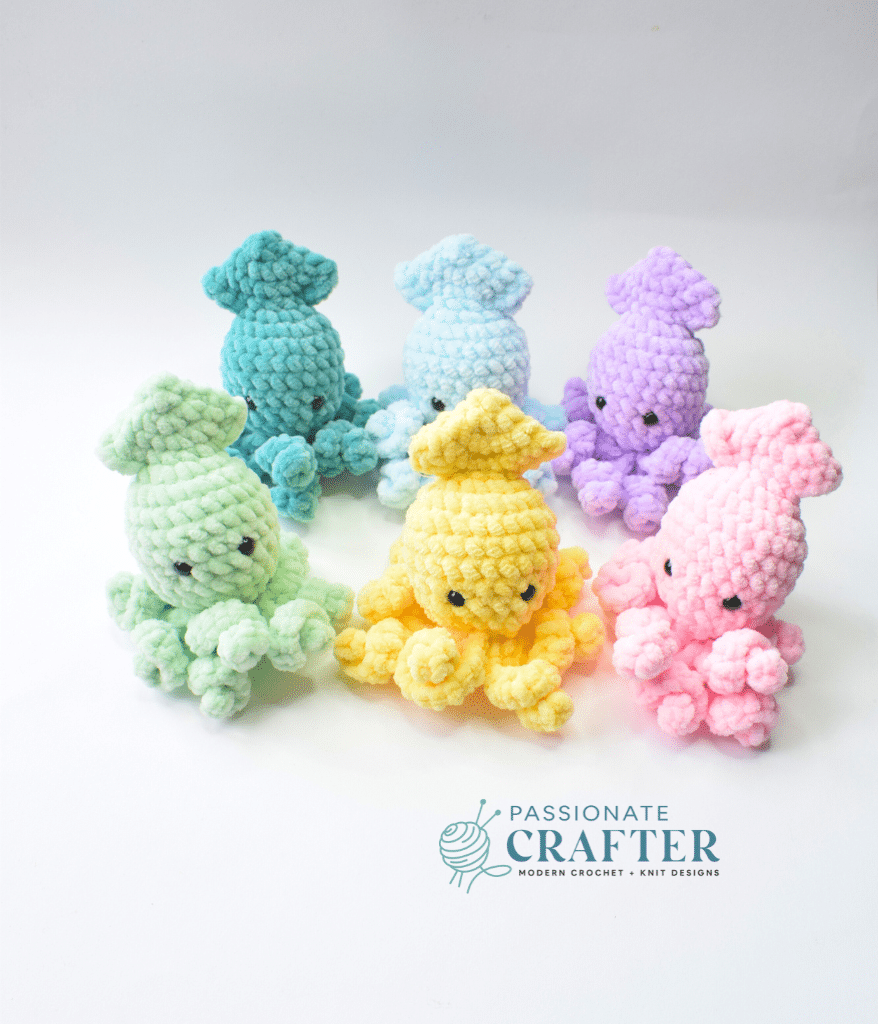
No Sew Mini Squid

No Sew Mini Octopus
What Makes It Special
This pattern is designed with simplicity and speed in mind:
- No sewing required – all parts are joined as you crochet.
- Quick to make – you can finish one in an evening!
- Beginner-friendly – uses only basic stitches: single crochet, increases, decreases, and a fun special stitch.
- Unique tr-bobble legs – a playful triple bobble stitch gives the pig its chubby little feet!
If you’ve ever wanted to make a plush toy without the headache of sewing parts together, this pattern is for you.
Disclaimer
This post may contain affiliate links. This means after purchasing through the links for no additional cost to you, we may earn a small commission.
The best yarn to crochet the plush pig amigurumi.
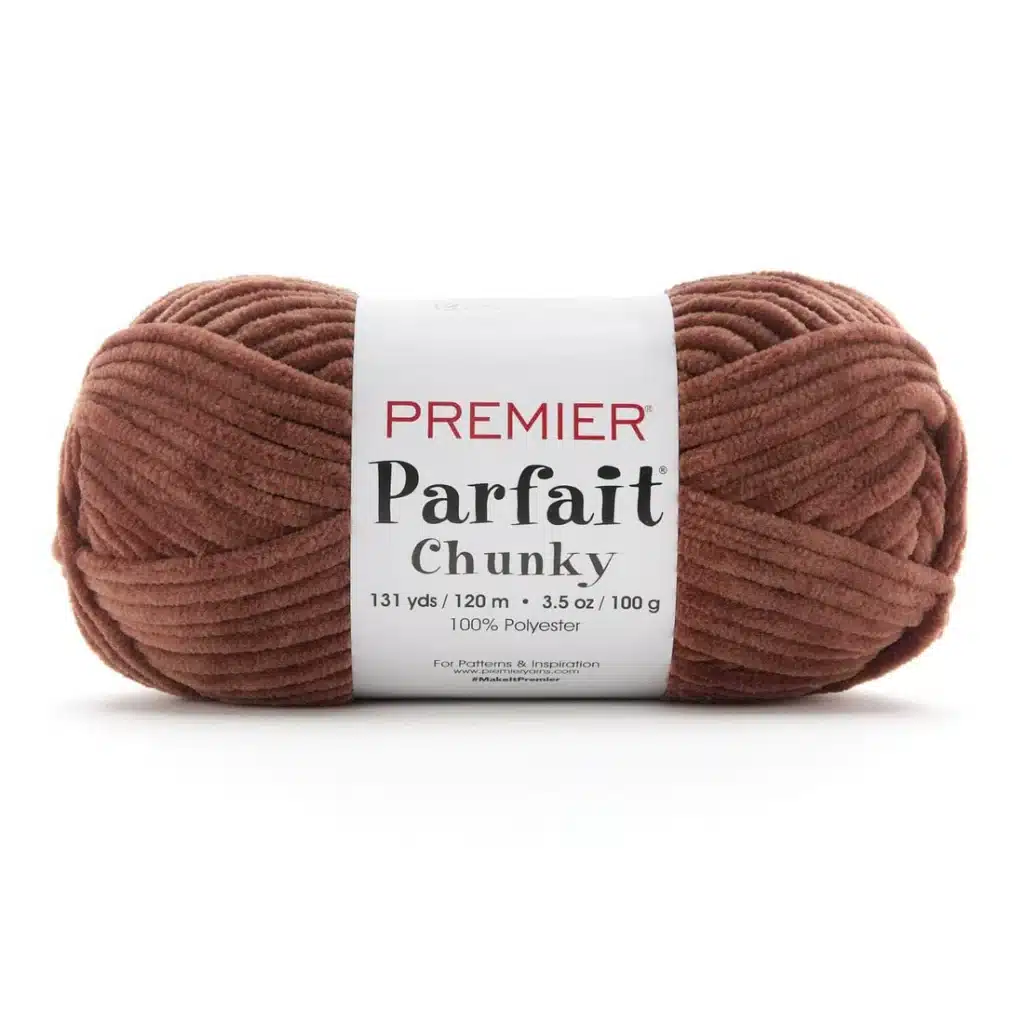
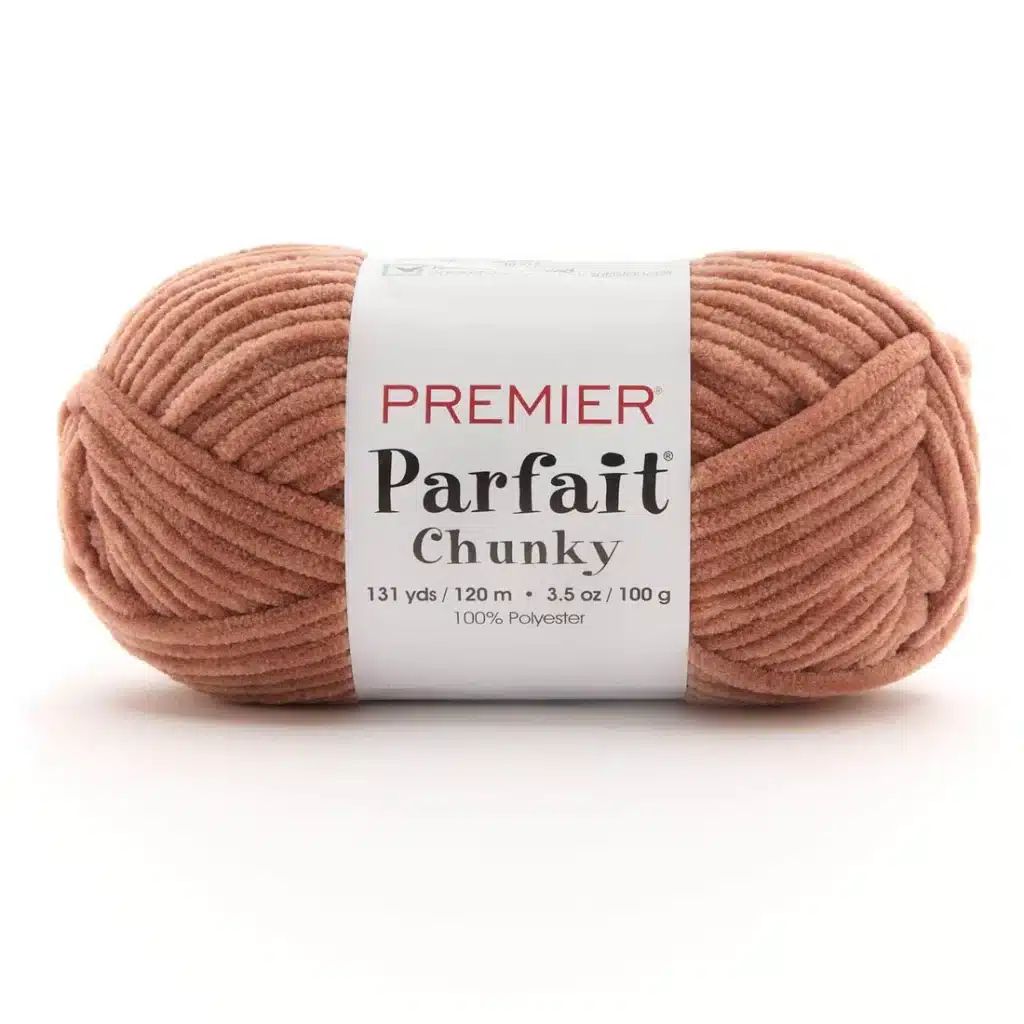
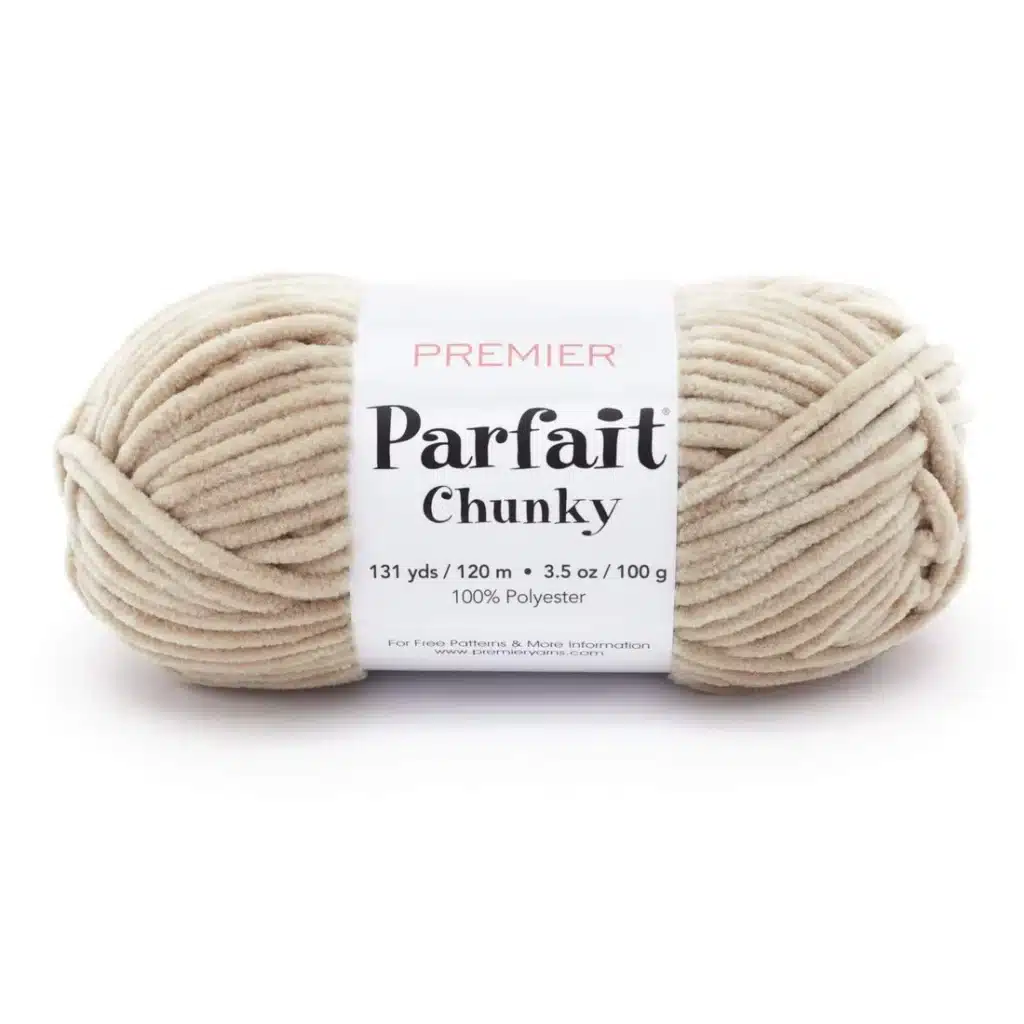
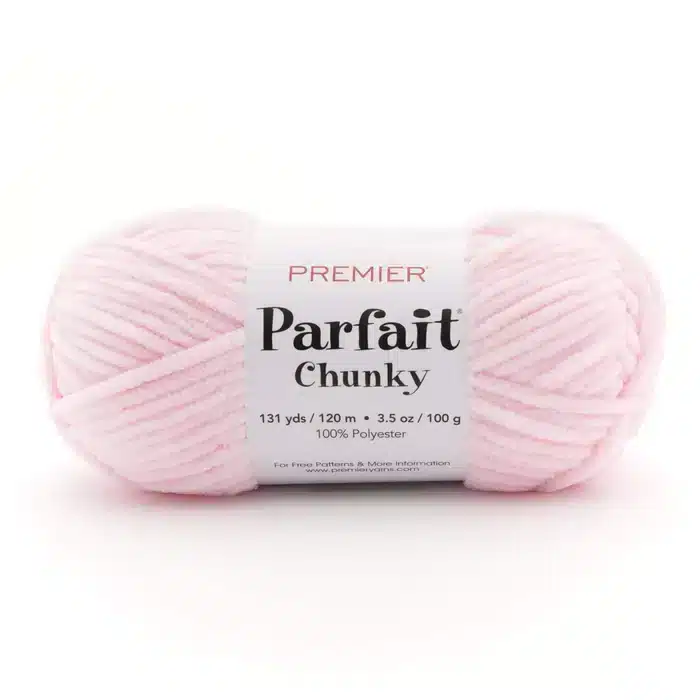
The pattern is designed using plush yarn, specifically the Parfait Chunky yarn. However, if you are uncomfortable working with it, switch to another bulky-weight yarn. I used one colour in two contrasting shades for one pig, and for the second one, I used three different colours. See them down below.
The colors used for both piglet amigurumi animals
Tester Appreciation
A big thank-you to my wonderful testers who brought this piggy to life in their own styles!
They tried different yarns, colors, and eye styles — from embroidered eyes to classic safety eyes — and every single one turned out adorable.
You can find their work and more inspiration here:
@adrianashandmade | @bcreativeby_b | @punchy_fox | @kingscrochetart | @lookwhaticancrochet | @anie.s_small_crochet_shop | @milu_yarncreations | @blondieplayinghookie | @craftsbyruthy
Each version is unique — from soft pink farm pigs to muddy little explorers!

📌 Save It for Later!
Love this pattern? Don’t forget to save it on Pinterest so you can come back anytime!
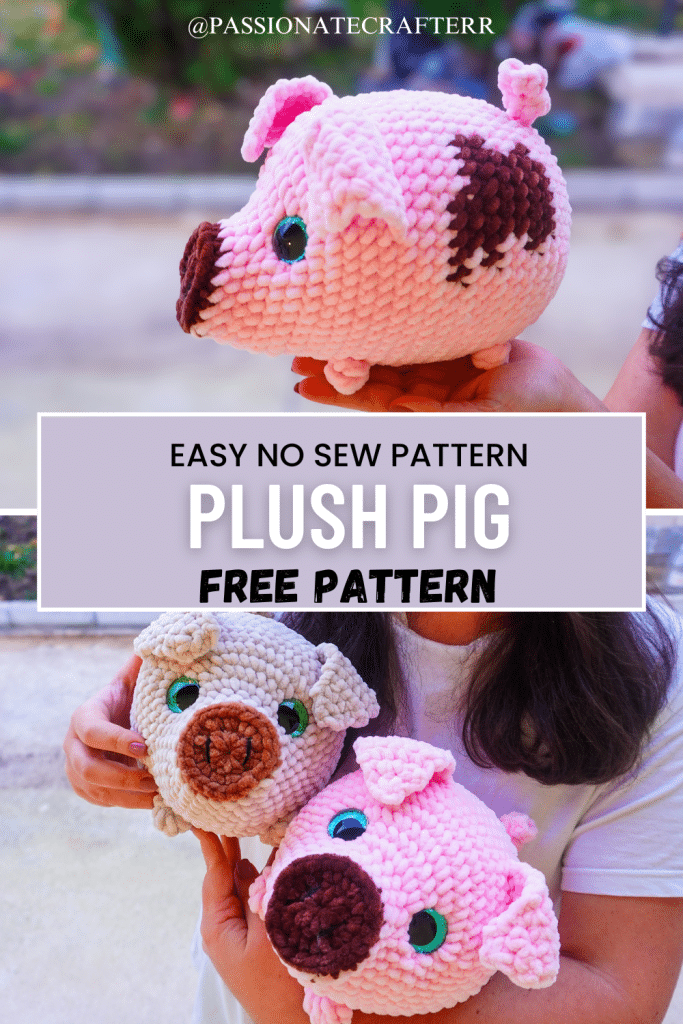
No Sew Plush Pig- Free Pattern
Upgrade to printable PDF pattern

Love this pattern and want an ad-free version to keep forever? You can upgrade to the printable PDF, which includes the full written instructions + a step-by-step photo tutorial. Purchasing the PDF is a great way to support our small business while enjoying a convenient, easy-to-follow format for your crochet projects.
Materials you’ll need
- Super bulky weight yarn– Chenille/velvet yarn- Parfait Chunky 100% polyester, 100 g, 120 m in colours:
- Solid Piggy: 90 gr pink, 10 gr dark pink
- Muddy pig: 80 gr pink, 20 gr brown
Other supplies needed
- Crochet hook size 5mm or any suitable hook size
- Poly fiberfill for stuffing
- Tapestry needle
- Stitch marker
- Safety eyes- 20,25 or 30mm (a pair)
- A pair of scissors
Abbreviation
sc single crochet
sl st slip stitch
ch chain
hdc half double
tr triple crochet
st(s) stitch(es)
inc increase ( 2 sc in the same st )
HDCinc make 2 hdc in the next stitch
dec decrease ( work 2 sc st together)
MR magic ring
() repeat the sts in the () indicated times
FO fasten off
tr-bobble bobble stitch- 5 triple stitches together
sc3tog work 3 sc stitches together = decrease over the next 3 stitches
MC main color
rnd(s) round(s)
Pattern notes
- The pattern is worked in continuous/ spiral rounds. Do not join your rounds with a sl st unless stated otherwise.
- Use a stitch marker or a piece of yarn to mark the first stitch of each round. Move the marker after completing the round.
- For my amigurumi, I use the ‘’Yarn Under/Yarn Over’’ method.
- The pattern is completely no sew. We will make the body and then add the ears and tail.
- The printable PDF includes 2 additional graphs for muddy spots. Buy the PDF here!
Special Stitches:
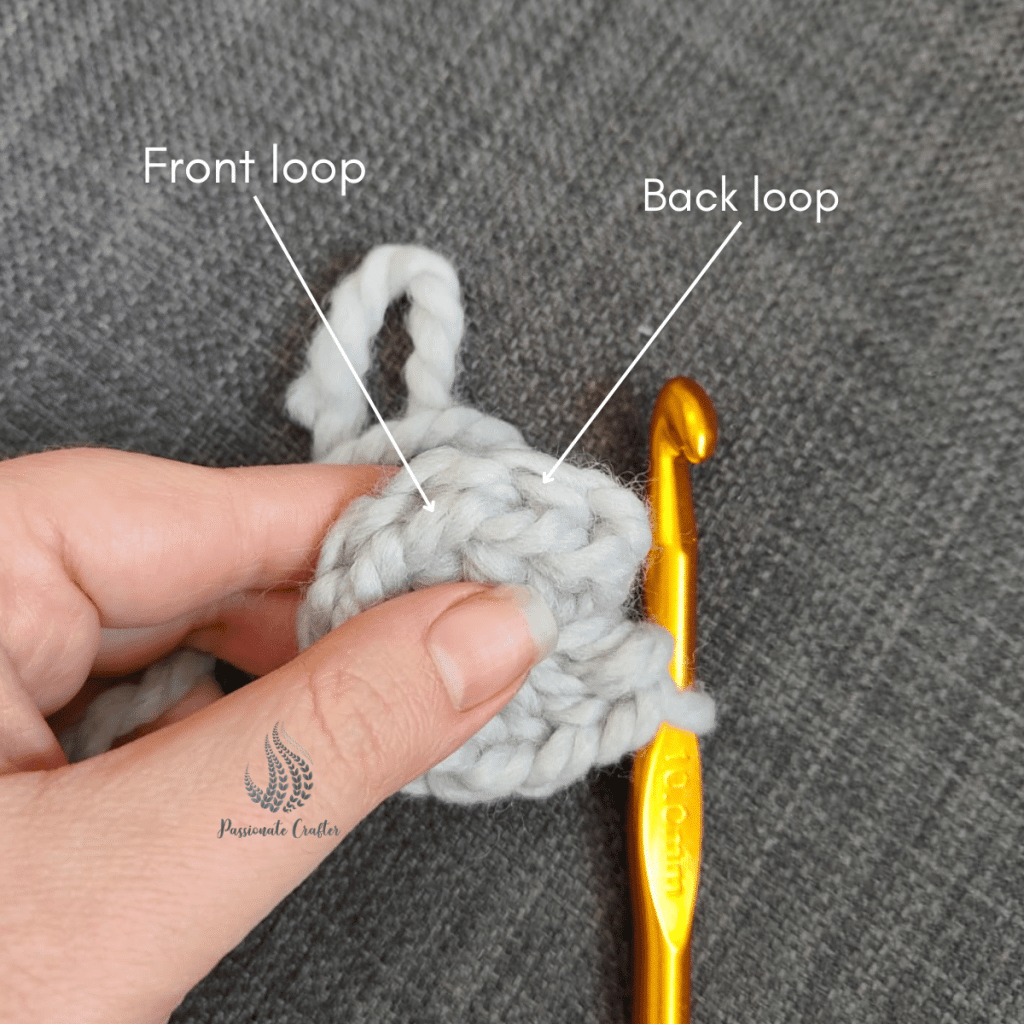
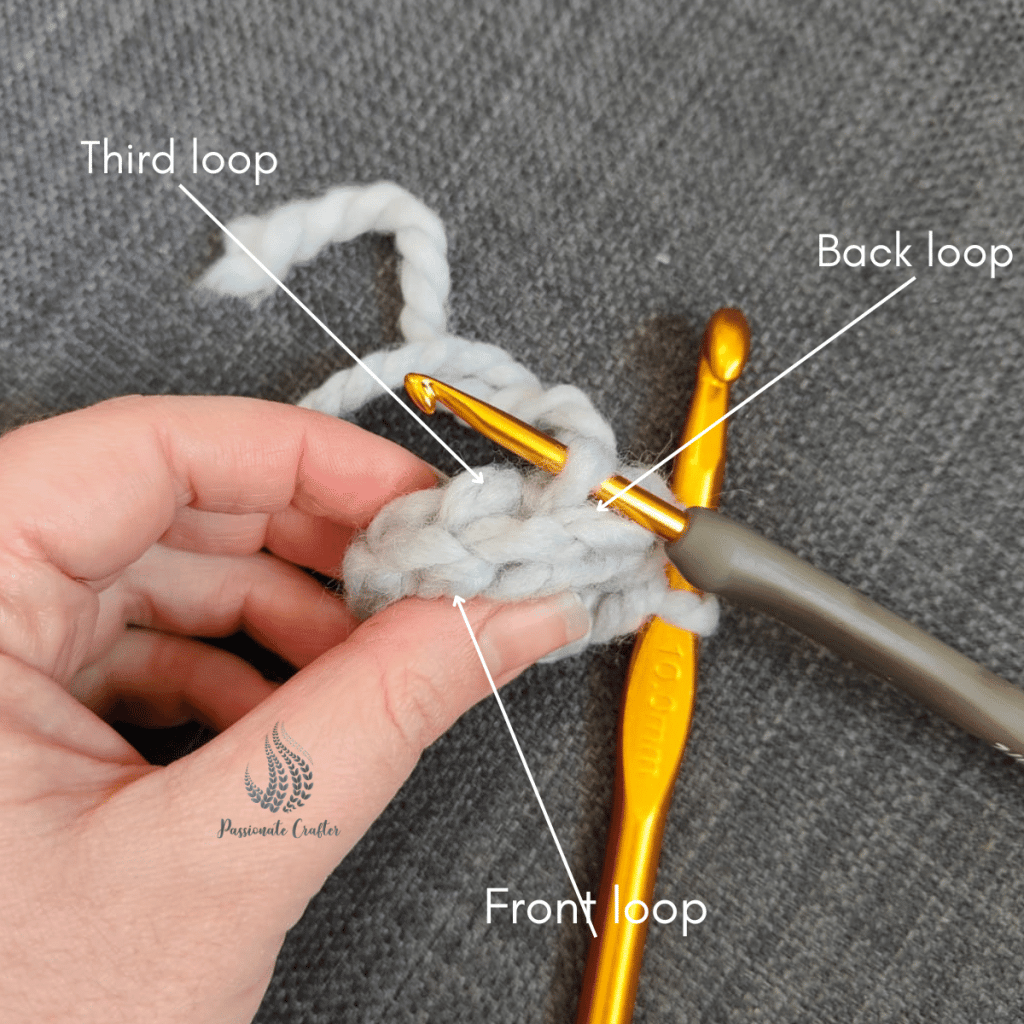
Working in the third loop of the HDC stitch, this loop is located just behind and nearly parallel to the normal loops that typically work.
Tr- Bobble: Triple bobble stitch- instead of making the bobble with 5 dc stitches together, we will make it with triple. This will result in a bigger bobble, which will be the leg of the piggy.
The Plush Pig Pattern
Starting from the snout with brown or dark pink
Rounds 1 and 2 are worked in joined rounds. All of the remaining rounds are worked in continuous rounds.
Rnd 1: MR of 10 hdc, sl st to join (10)
Rnd 2: ch 2, 10 HDCinc, sl st to join (20)
FO.
The next round is worked in the 3rd loop of hdc st we made in previous round.
Rnd 3: Take MC yarn and insert your hook in any 3rd loop of hdc, pull a loop, ch 1, sc in same st, sc in each st around (20)
Rnd 4: (4 sc, 1 inc) x4 (24)
Rnd 5: (5 sc, 1 inc) x4 (28)
Rnd 6: 6 sc, 8 inc, 14 sc (36)
Rnd 7: 36 sc (36)
Take 2 stitch markers and mark the 8th st of rnd 7, then skip next 12 sts and mark the next. These sts will indicate the eyes placement.
Rnd 8: 6 sc, (1 sc, 1 inc) x8, 14 sc (44)
Rnd 9: (10 sc, 1 inc) x4 (48)
Rnd 10: (5 sc, 1 inc) x8 (56)
Rnd 11-12: 56 sc (56) [2 rounds]
Rnd 13: 1 tr-bobble, 46 sc, 1 tr-bobble, 8 sc (56)
Rnd 14-16: 56 sc (56) [3 rounds]
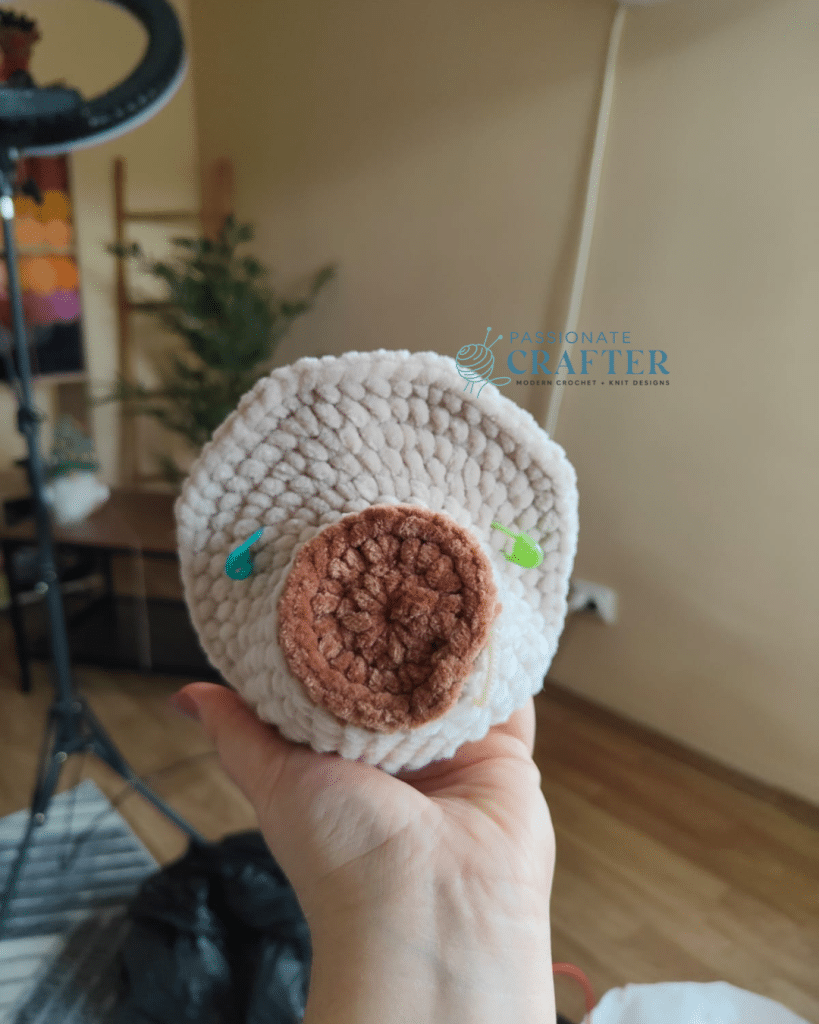
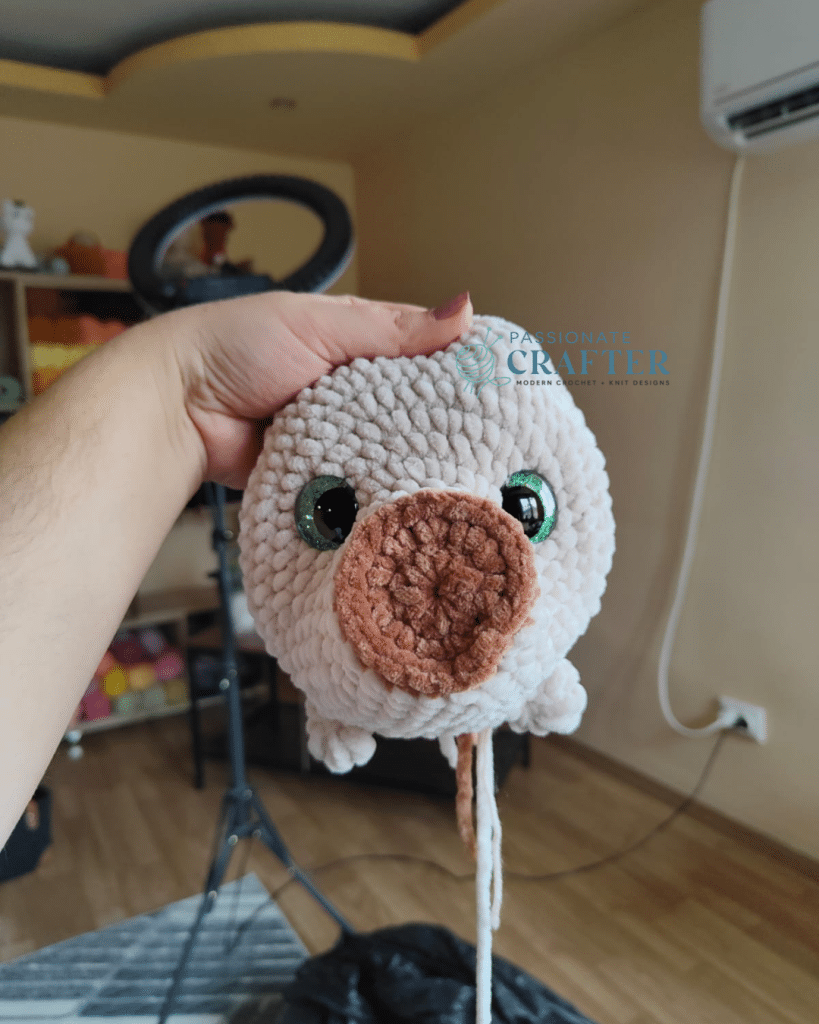
Before we continue take your safety eyes and place them in the sts we marked of rnd 7. Make sure that they are aligned with the bobbles (legs of your piggy)
Move them one stitch left or right if needed.
Prefer the PDF version?
Grab the ad-free, printable PDF pattern.
Download and print at home. View on your mobile device, tablet, or computer.
In the next round, we will attach brown to start making the muddy spot. The bold stitches are worked in brown.
If you will make it in one colour without the spot, work the bold stitches with your MC.
Rnd 17: 11 sc, 5 sc, 40 sc (56)
Rnd 18: 13 sc, 7 sc, 36 sc (56)
Rnd 19: 12 sc, 8 sc, 36 sc (56)
Rnd 20-21: 14 sc, 5 sc, 37 sc (56) [2 rounds]
Rnd 22: 13 sc, 7 sc, 29 sc, 1 tr-bobble, 6 sc (56)
Rnd 23: 2 sc, 1 tr-bobble, 11 sc, 5 sc, 37 sc (56)
FO brown continue with MC only.
Rnd 24: 56 sc (56)
Rnd 25: (5 sc, 1 dec) x8 (48)
Start filling your piggy and continue as you crochet along
Rnd 26: 48 sc (48)
Rnd 27: (4 sc, 1 dec) x8 (40)
Mark the 27th st with st marker for the tail later.
Rnd 28: (3 sc, 1 dec) x8 (32)
Rnd 29: (2 sc, 1 dec ) x8 (24)
Rnd 30: (1 sc, 1 dec) x8 (16)
Rnd 31: 8 dec (8)
Close the gap with a tapestry needle. (see TIPS)
Plush Pig’s tail
*with your MC
Go to the st we marked on rnd 27 (check if you need to move a st or two to right or left to center it), insert your hook around that st and pull a loop, ch 14, 2 sc in 2nd from your hook, 2 sc in each ch across, sl.st in next st of pig’s body to join.
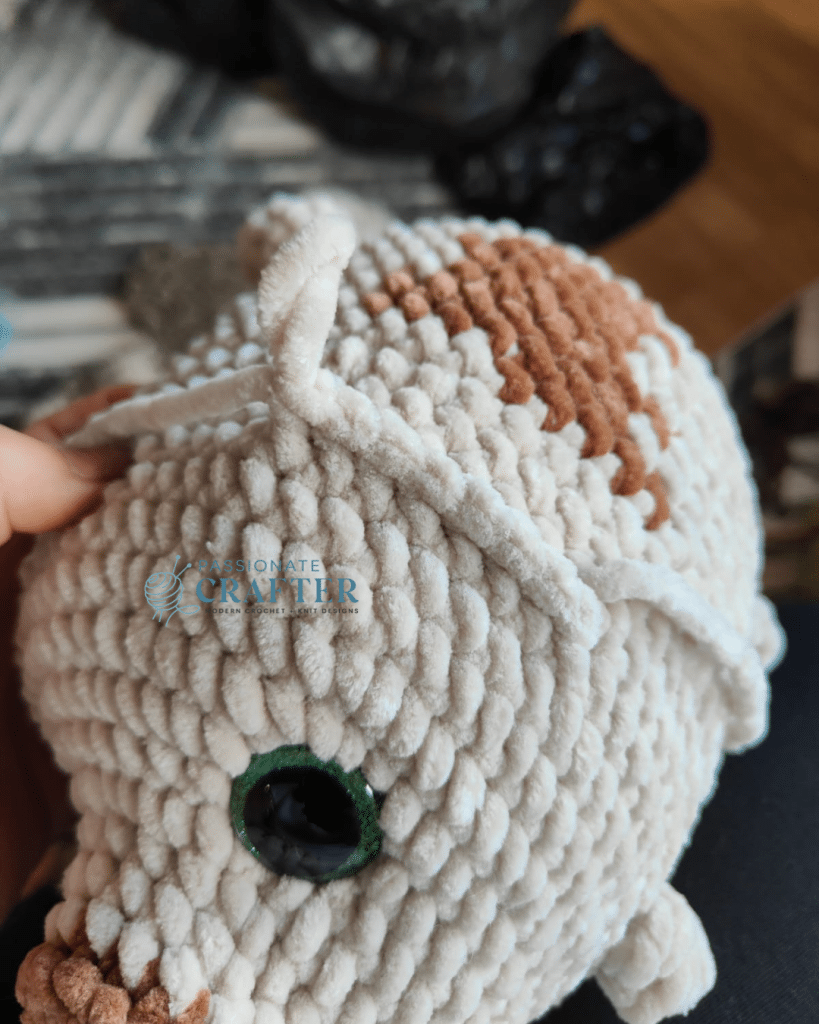
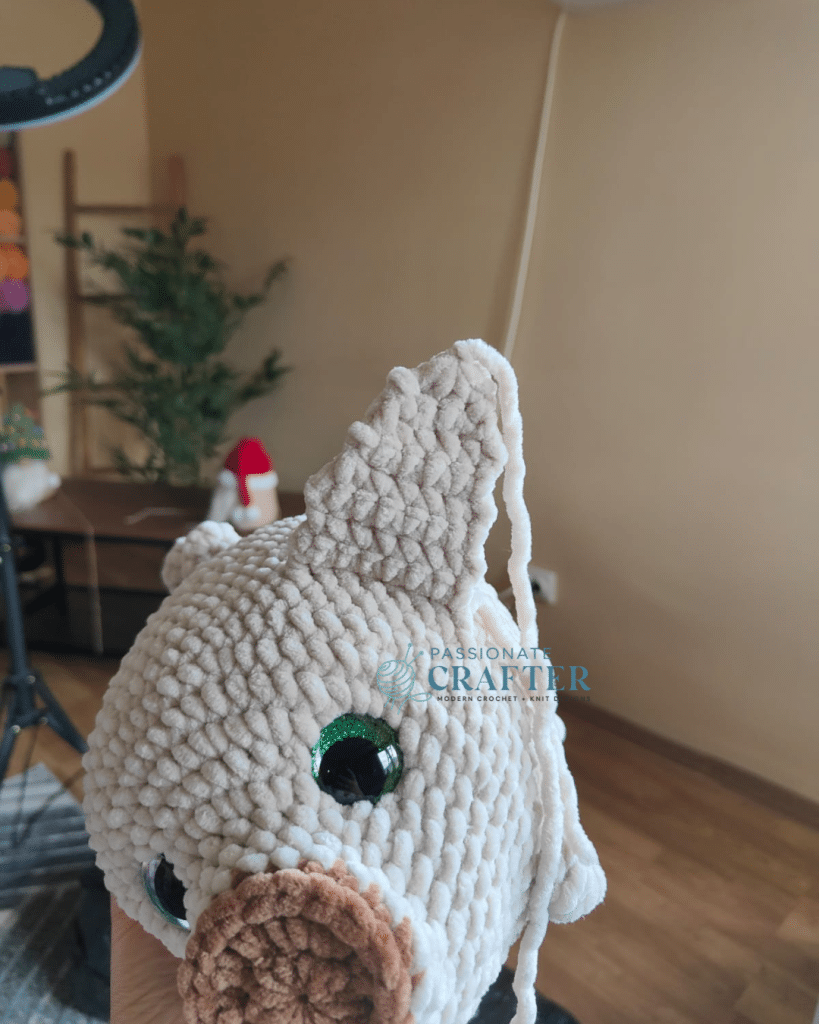
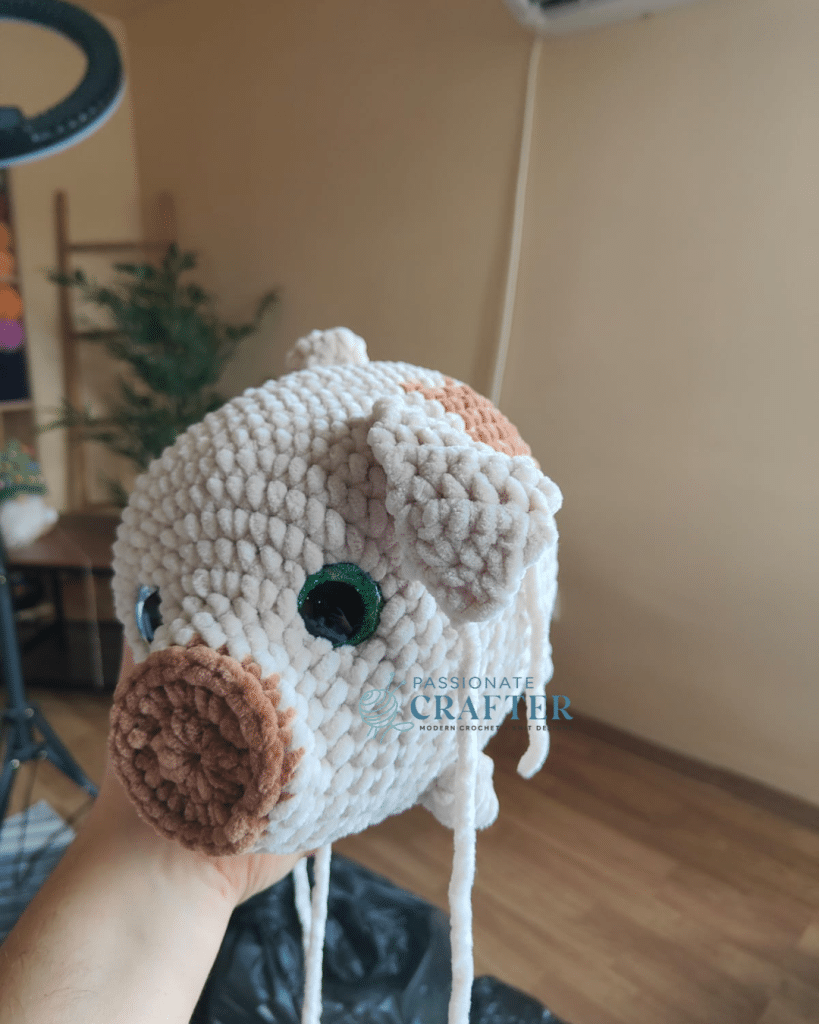
Plush Pig’s Ears
with MC
Row 1: Count 12 sts above the front right leg, insert your hook around the next st, ch 1, 7 sc, ch 1, turn (7)
Row 2-4: 7 sc, ch 1, turn (7) [3 rows]
Row 5: 1 dec, 3 sc, 1 dec, ch 1, turn (5)
Row 6-7: 5 sc, ch 1, turn (5) [2 rows]
Row 8: 1 dec, 1 sc, 1 dec, ch 1, turn (3)
Row 9: sc3tog, ch 1, FO.
Skip 6 stitches of the same round we made the first ear and insert your hook in next, pull a loop and repeat the instructions of the first ear.
Due to tension you may need to skip more or less than 6 sts.
More Free Low sew and No Sew Amigurumi Patterns:
Enjoy the freedom of having fewer amigurumi parts to sew on.


Prefer the PDF version?
Grab the ad-free, printable PDF pattern.
Download and print at home. View on your mobile device, tablet, or computer.
Save this tutorial to your Pinterest boards so that you can come back to it later.
We’d love to hear your feedback. Drop a comment below and tell us your thoughts! And don’t forget to follow us on your favorite social platform!
Invitation to our Facebook group
You are welcome to share your projects made by our patterns with the community and us. Moreover, we are thrilled to see your creations, and you are very welcome to share them on our FACEBOOK PAGE HERE or our FACEBOOK GROUP or on INSTAGRAM by using the hashtag #passionatecrafterr.




The hook size is not listed. What size hook should be used for this pattern?
I used 5mm but you can use any suitable hook size you are comfortable with.
NJ.
Has anyone made this with regular worsted 4-ply yarn and if so, how big is it? What size hook was used?
He’s really cute!