

The world has officially gone Labubu crazy—and honestly, who can blame us? With their quirky expressions, wild hair, and mischievous grins, these little monsters have taken social media, fashion, and collector shelves by storm. Buy the pattern here or scroll down for the free version.
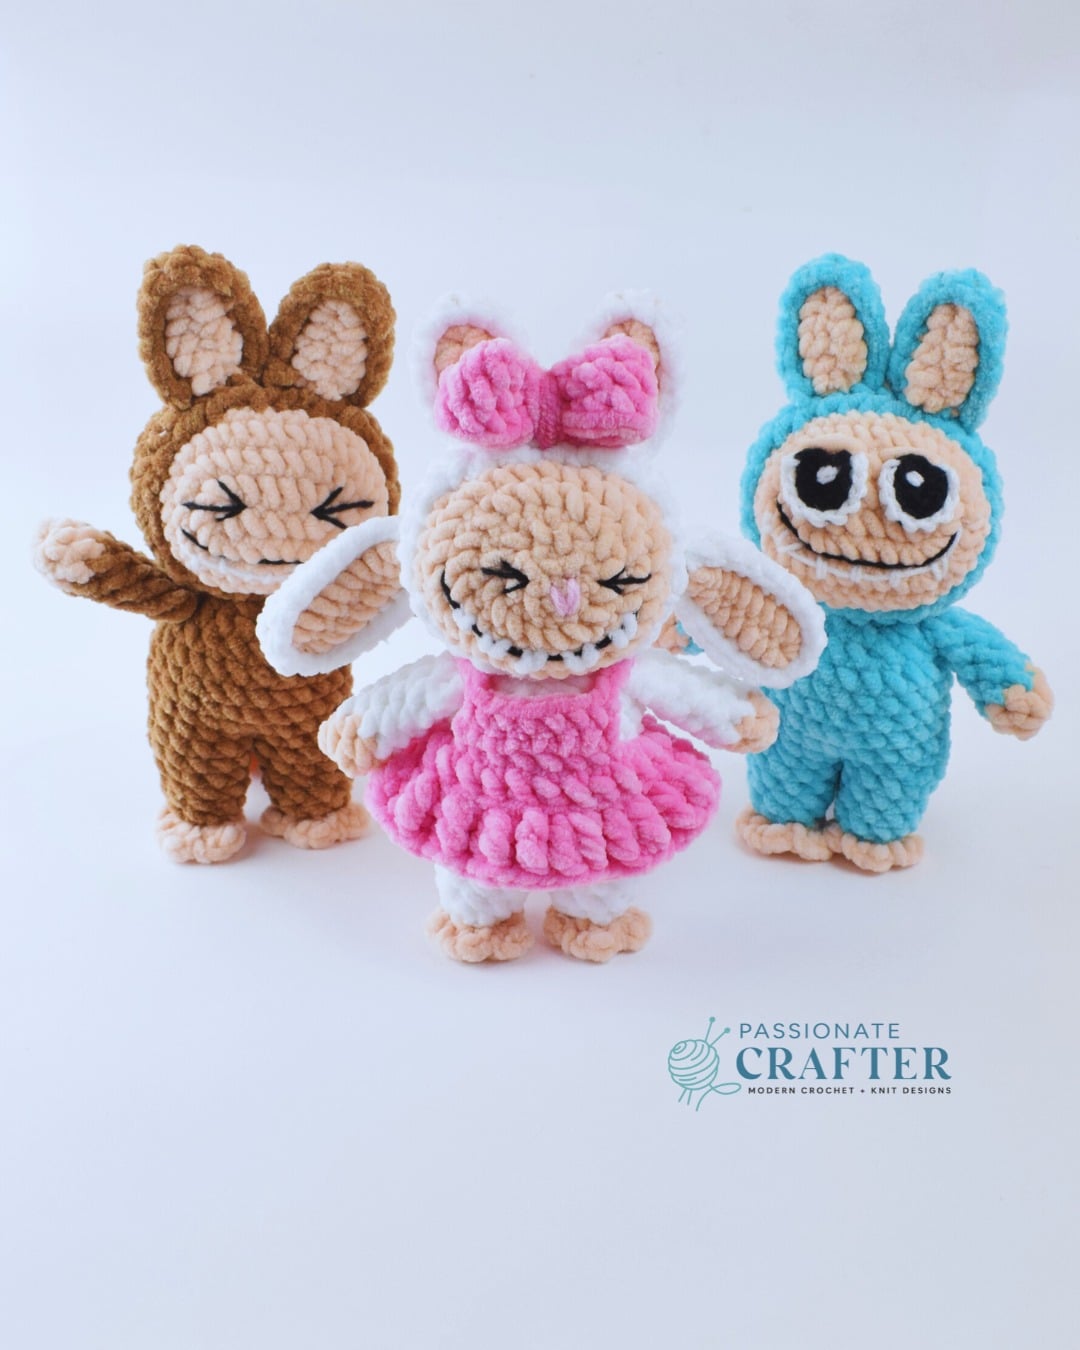
As a crocheter and pop culture enthusiast, I couldn’t resist joining the craze. So, I decided to bring my own handmade version to life—with yarn, a hook, and a touch of creativity. That’s how this Labubu-Inspired Smiling Bunny Monster pattern was born: a playful mash-up of bunny sweetness and monster charm, ready to be stitched by fans and makers alike.
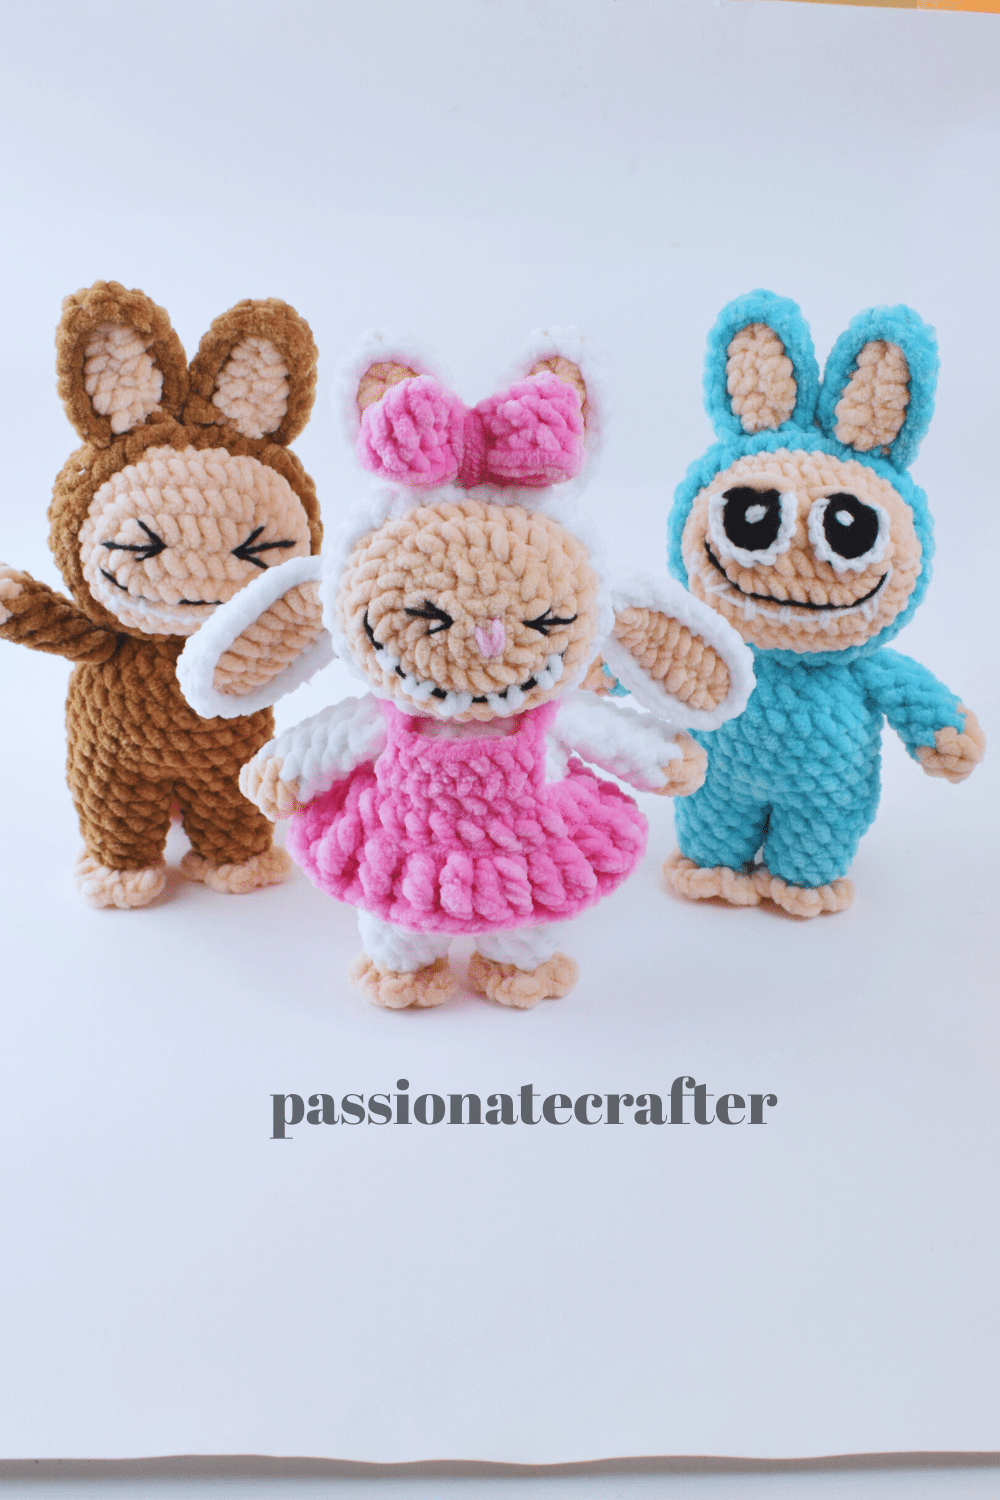
This free pattern is perfect for those who love quirky projects, character dolls, or just want to hop onto the Labubu trend in a fun and budget-friendly way. It’s beginner-friendly, full of personality, and totally customizable—whether you want to keep it classic or add your own colorful spin.

So grab your yarn and get ready to crochet your own cuddly chaos! Whether you’re gifting it, collecting it, or simply crocheting for joy, this bunny monster will add a dash of whimsy to your world.
Ready to meet your mischievous new friend? Let’s jump into the pattern!
Crochet Hook
Crochet hook size 4mm or any size suitable for your yarn and tension. Plus 2.5mm hook for eyes.
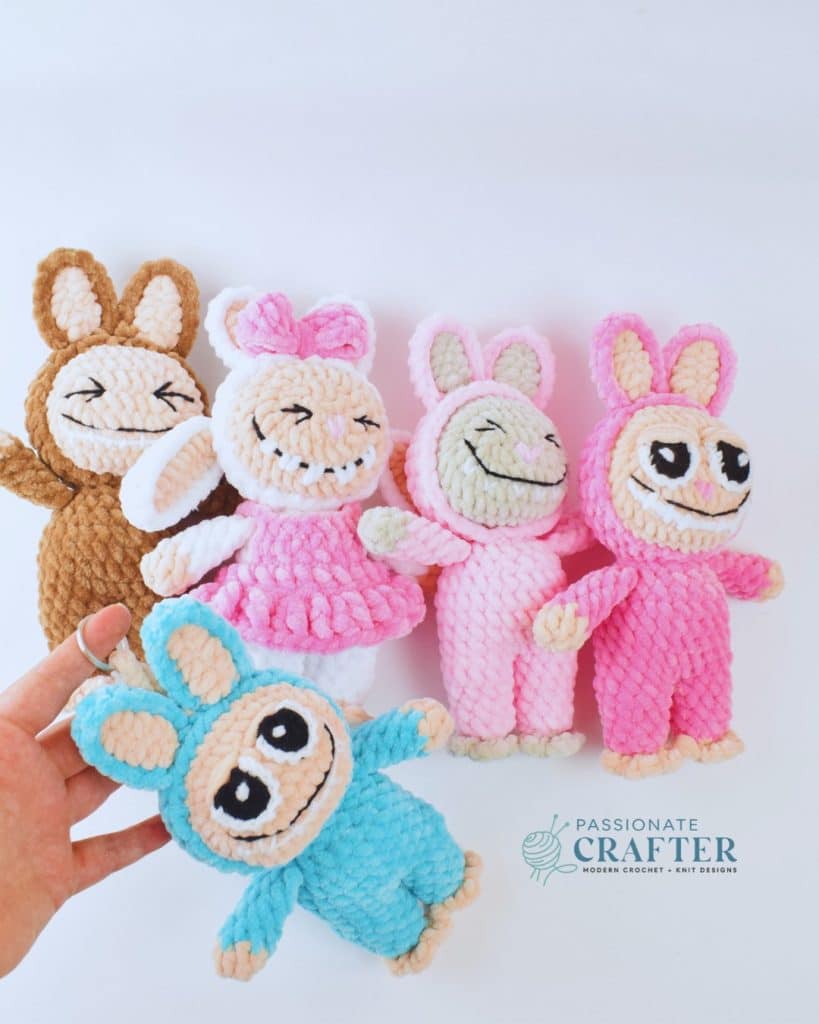
Yarn weight and colors:
- Super bulky weight yarn– Chenille/velvet yarn- Parfait Chunky 100% polyester, 100 g, 120 m in colours:
- Monster: 30 gr main color, 20 gr beige
- Thinner, white and black for eyes
Other supplies
- Poly fiberfill for stuffing
- Tapestry needle
- stitch marker
- a pair of scissors
Difficulty level
Advanced Beginner
Finished size
The monster’s finished size is 20cm/ 8 inches when using similar yarn and a hook.
Abbreviation
sc – single crochet
sl st – slip stitch
ch – chain
hdc – half double crochet
tr – triple crochet
st(s) – stitch(es)
inc – increase ( 2 SC in the same st )
3scinc – make 3sc in next stitch
dec – decrease ( work 2 SC st together)
MR – magic ring
() – repeat the sts in the () indicated times
FO – fasten off
WS – wrong side
MC – main color
CC – color change
Get The PDF Version
Grab the ad-free, printable PDF pattern.
Download and print at home. View on your mobile device, tablet, or computer.
Pattern Notes
- The pattern is worked in continuous/ spiral rounds. Do not join your rounds with a sl st.
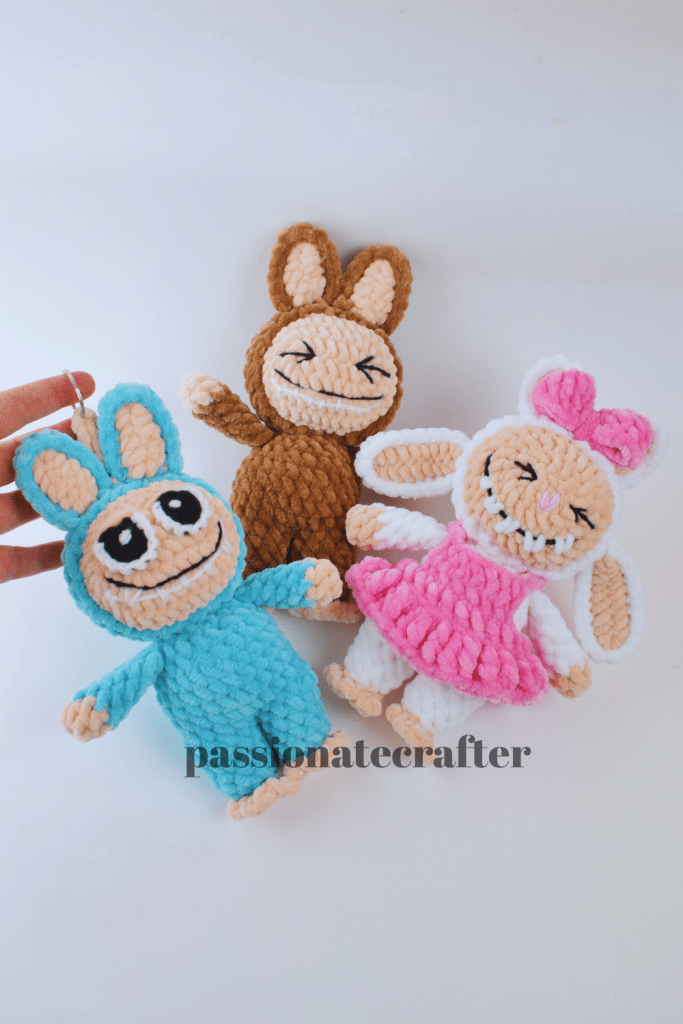
- The pattern is the same for all monsters. Only the bunny girl has some additions which are listed on the page.
- Use a stitch marker or a piece of yarn to mark the first stitch. Move the marker after completing the round.
- For my amigurumi, I use the ‘’Yarn Under’’ method.
Monster’s head
with beige color
Rnd 1: Ch 6, 1 inc in 2nd from your hook, 3 sc, 5 sc in last, continue on opposite side, 3 sc, 3scinc in last (16)
Rnd 2: 2 inc, 3 sc, 5 inc, 3 sc, 3 inc (26)
Rnd 3: (sc, inc) x2, 3 sc, (sc, inc) x5, 3 sc, (sc, inc) x3 (36)
Rnd 4-5: 36 sc (36) [2 rounds]
Rnd 6: (4 sc, 1 dec) x6 (30)
Rnd 7: (3 sc, 1 dec) x6 (24)
Start stuffing and continue as you crochet along.
Rnd 8: (2 sc, 1 dec) x6 (18)
Rnd 9: 9 dec (9)
FO. Don’t leave a long yarn tail.
Head’s cover:
*with your MC
Rnd 1: MR 6 sc (6)
Rnd 2: 6 inc (12)
Rnd 3: (sc, inc) x6 (18)
Rnd 4: (2 sc, 1 inc) x6 (24)
Rnd 5: (3 sc, 1inc) x6 (30)
Rnd 6-9: 30 sc (30) [4 rounds]
FO. Leave a longer tail for sewing.
Monster’s hands x2
*with beige
Rnd 1: MR of 7 sc (7)
Rnd 2: 7 sc (7)
CC to MC
Rnd 3-7: 7 sc (7)
Pinch your hand and sc both sides together to close.
Monster’s leg x2
with the MC
Rnd 1: MR of 6 sc (6)
Rnd 2: BLO (1 inc, 1 sc) x3 (9)
Rnd 3-4: 9sc (9) [2 rounds]
Rnd 5: (2 sc, 1 inc) x3 (12)
Rnd 6: 12 sc (12)
FO. Don’t cut your yarn when you are making the second leg. We will continue from the second leg to the body.
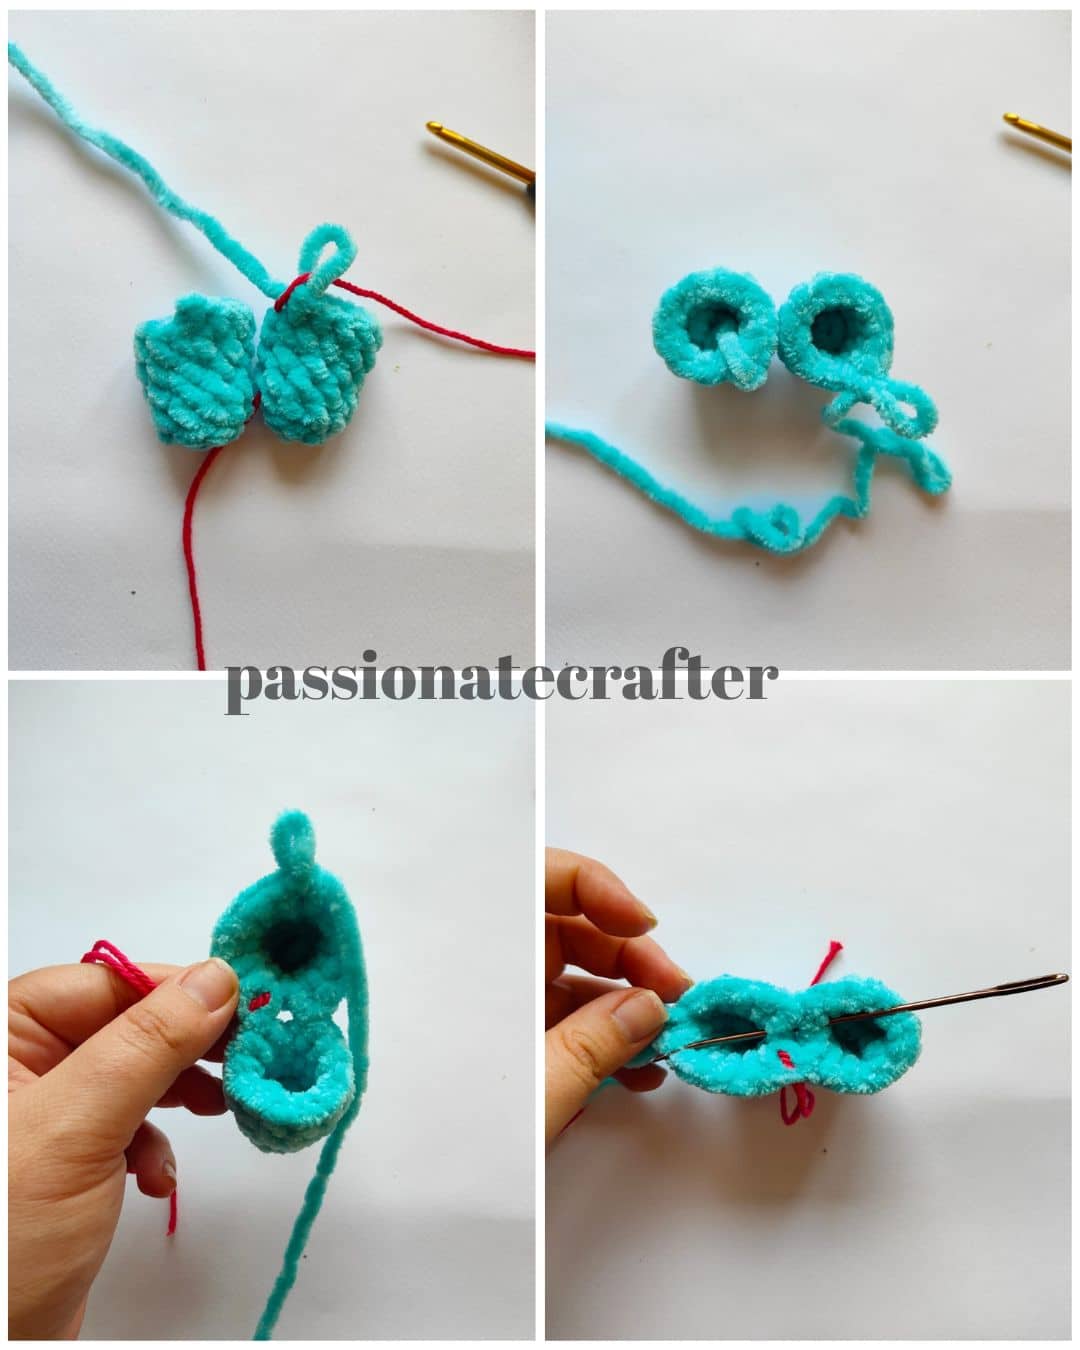
Continue on the body
*In the next round, we will join both legs and continue with the body.
Rnd 7: Work 12 sc around the second leg, attach the first leg with sc in any st, 11 sc around the first leg (24). Video tutorial HERE.
Rnd 8: 24 sc (24)
Once you finish this round, you will have a hole between both legs. Take a tapestry needle and a piece of yarn, and close it. (pic 10.)
Rnd 9-12: 24 sc (24) [4 rounds]
Rnd 13: (2 sc, 1 dec) x6 (18)
In the next round, we will join the hands as we crochet along. Align the hands with your body and work through both (hands and body sts together). The underlined sts indicate when to crochet through the hands and body.
Rnd 14: 4 sc, 3 sc, 6 sc, 3 sc, 2sc (18)
Rnd 15: (1 sc, 1 dec) x6 (12)
Rnd 16: 6 dec (6)
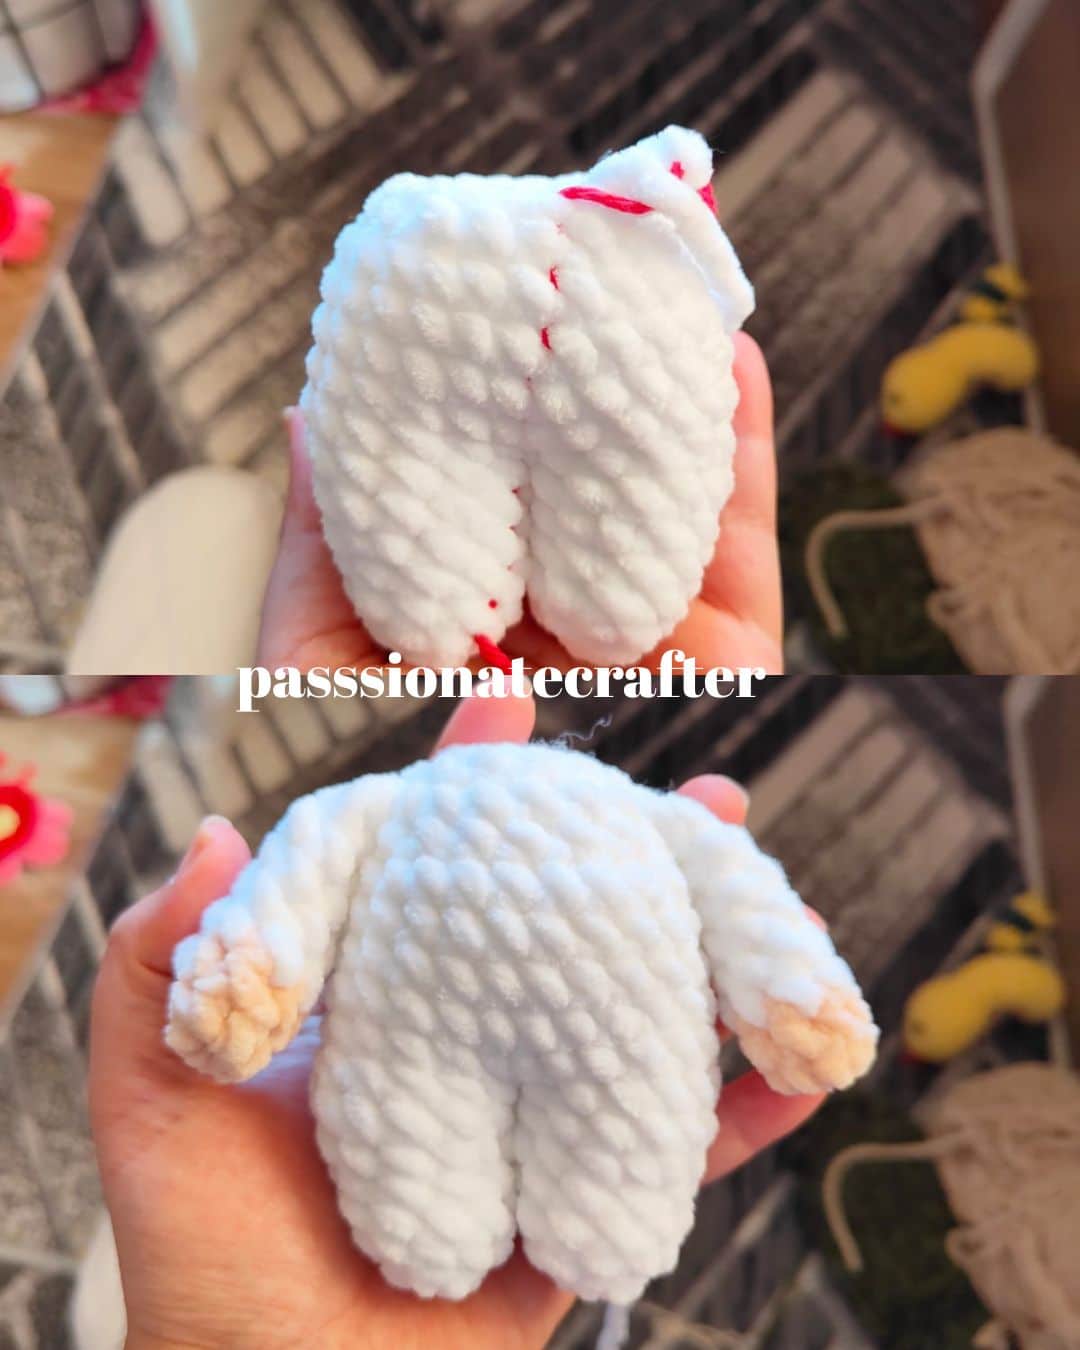
Monster’s feet x2
*with beige color
Rnd 1: MR of 6 sc, sl.st to join (6)
Rnd 2: ( ch 1, 1 hdc, ch 1, sl.st all in next) x3 FO.
Get The PDF Version
Grab the ad-free, printable PDF pattern.
Download and print at home. View on your mobile device, tablet, or computer.
Monster’s eyes x2
*with thinner black color yarn (DK, sport or fingering weight) and 2.5mm hook
Rnd 1: Ch 5, hdc in 3rd from hook, 1 hdc, 5 hdc in last, continue on opposite side, 2 hdc (9) FO.
with white color
Rnd 2: BLO 9 sc (9) FO. Leave a longer tail for sewing and making the white spot.
To make the white spot, use a tapestry needle and make two small lines.
Monster’s ears x2
Each ear is made of 2 pieces—one in beige and one in MC. Make the beige first and the other next. When making the one in MC, do not FO. We will continue joining both pieces with the MC to finish the ear.
Rnd 1: Ch 6, hdc in 2nd from your hook, 2 hdc, 1 sc, 5 sc in last, continue on opposite side, 1 sc, 3 hdc. FO.
After you finish the second piece (in MC) take the one in beige and place them with the wrong sides facing each other. Ch 1, and join both pieces with sc.
How to make the face
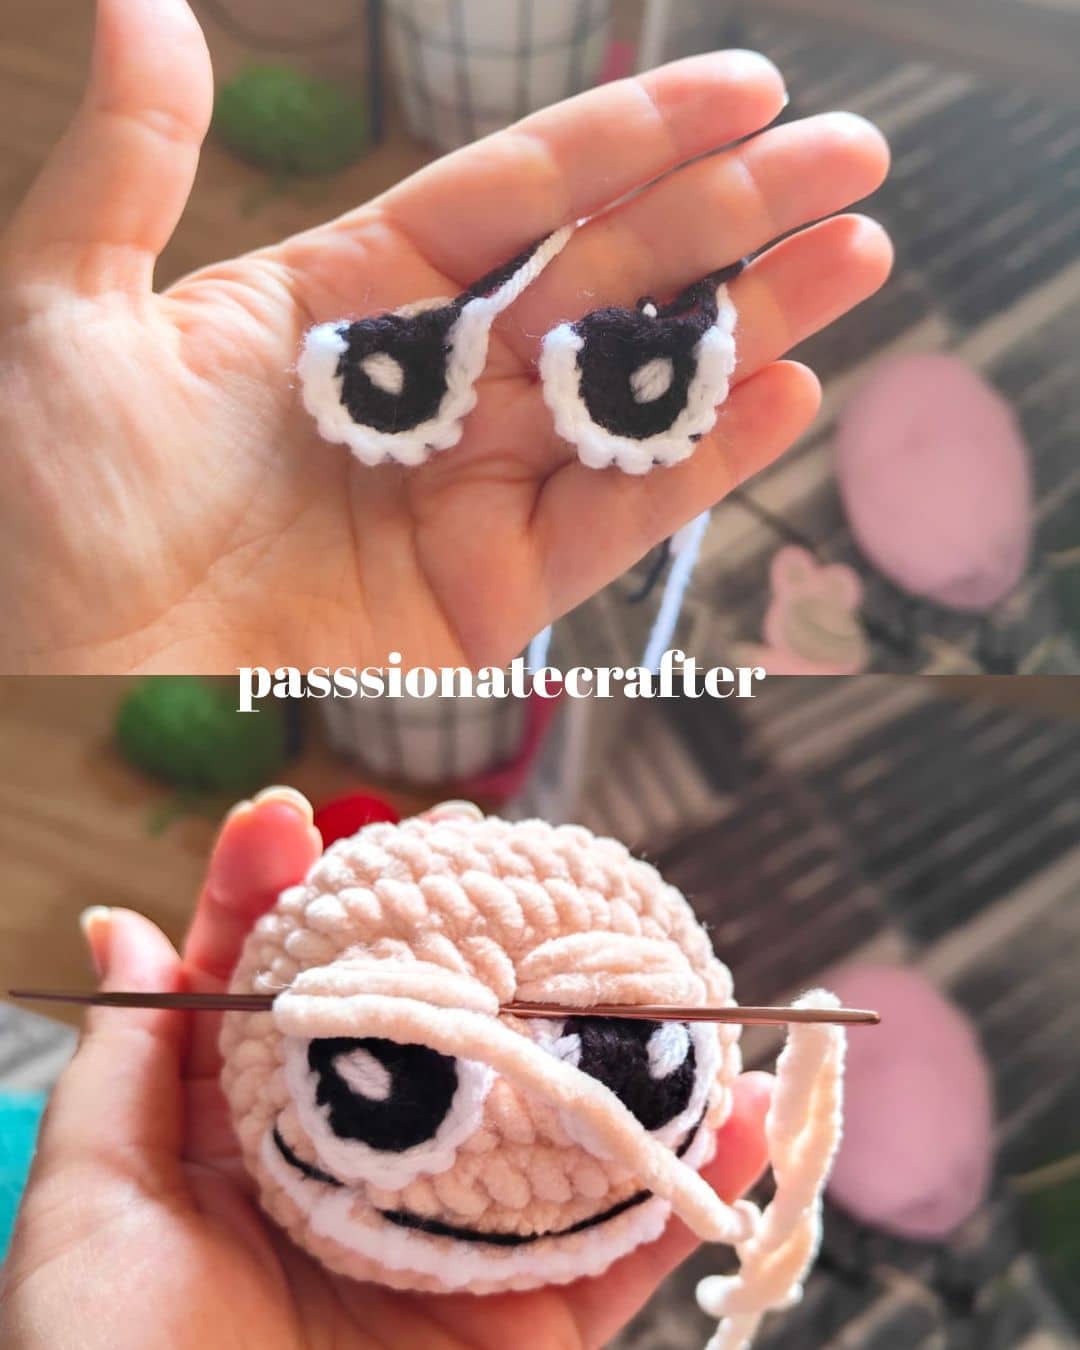
To make the face, we will use thinner black and white yarn and a tapestry needle. You can make 2 different faces- with closed eyes and with crochet eyes. Also, you can make the teeth in two different ways. Check the Video tutorial here.
How To make the eyebrows
Take a tapestry needle and a piece of beige yarn. Insert your needle through one corner of the eye and pull through the opposite. Repeat a few times to make 3-4 lines over the eyes.
Once done with eye one repeat the same for the other eye.
How to assembly
- First, take the head and insert it into the head cover. Sew the head cover onto the head.
- Take the feet and sew them on the bottom of the legs.
- Take the head and sew it to your body.
- Finally, take the ears and sew them on top of the head. Use safety pins to secure them. Once you like the placement, sew them on.
Save this tutorial to your Pinterest boards so that you can come back to it later.
We’d love to hear your feedback. Drop a comment below and tell us your thoughts! And don’t forget to follow us on your favorite social platform!
Invitation to our Facebook group
You are welcome to share your projects made by our patterns with the community and us. Moreover, we are thrilled to see your creations, and you are very welcome to share them on our FACEBOOK PAGE HERE or our FACEBOOK GROUP or on INSTAGRAM by using the hashtag #passionatecrafterr.


Love this! But please tell me, what tapestry needles do you use? I haven’t seen any as long as your pictures that have an eye large enough to handle Chenille yarn. Maybe you can post links to the tools and materials you use.
Hello, I bought mine from hobbii. Here is the link – https://hobbii.com/products/hp-1005752-darning-needles-wool-needles-ekstra-long?_pos=1&_psq=amigurumi+needle&_ss=e&_v=1.0