

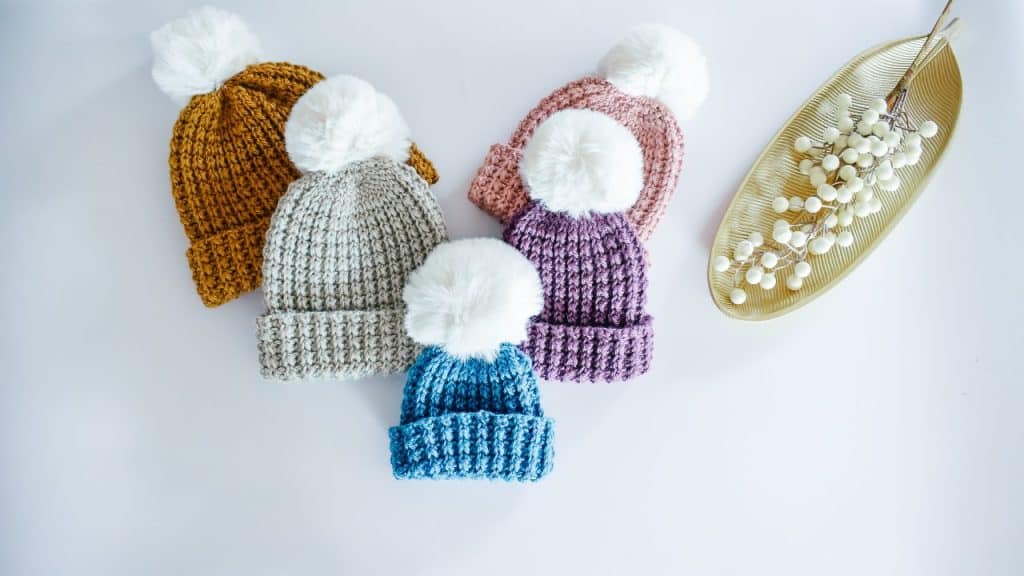
The Pixel Beanie is a cozy, side-to-side crochet hat that’s as simple as it is satisfying to make. Worked in an easy 2-stitch repeat, this pattern is perfect for beginners and seasoned crocheters alike who love a rhythmic, relaxing project.
Designed with a perfect crown for a flawless fit every time, the Pixel Beanie combines effortless construction with modern texture. Whether you’re making one for yourself or whipping up a few as gifts, this beanie is sure to become a favorite go-to pattern in your collection.
Continue reading for the free pattern or buy the ad-free, printable PDF pattern here!

Why You’ll Love the Pixel Beanie
This pattern was made with makers of all levels in mind. Here’s what makes it special:
- No complicated shaping or tricky increases/decreases — just a clear repeat and then a seamless finish.
- Worked side-to-side (flat rectangle that becomes a hat) which means it’s totally beginner-friendly (and forgiving with gauge!).
- A 2-stitch repeat so you’ll get comfortable with the rhythm and enjoy a relaxing flow.
- A crown that’s been designed for a flawless fit every time — no guesswork, no frustration.
- Versatile styling: make it chunky or lightweight, choose one color or switch it up, add a pom or keep it clean — it’s all you.
- Six sizes included (from baby to adult), plus instructions to adjust for any yarn weight or hook size
- Video tutorial available for extra support.
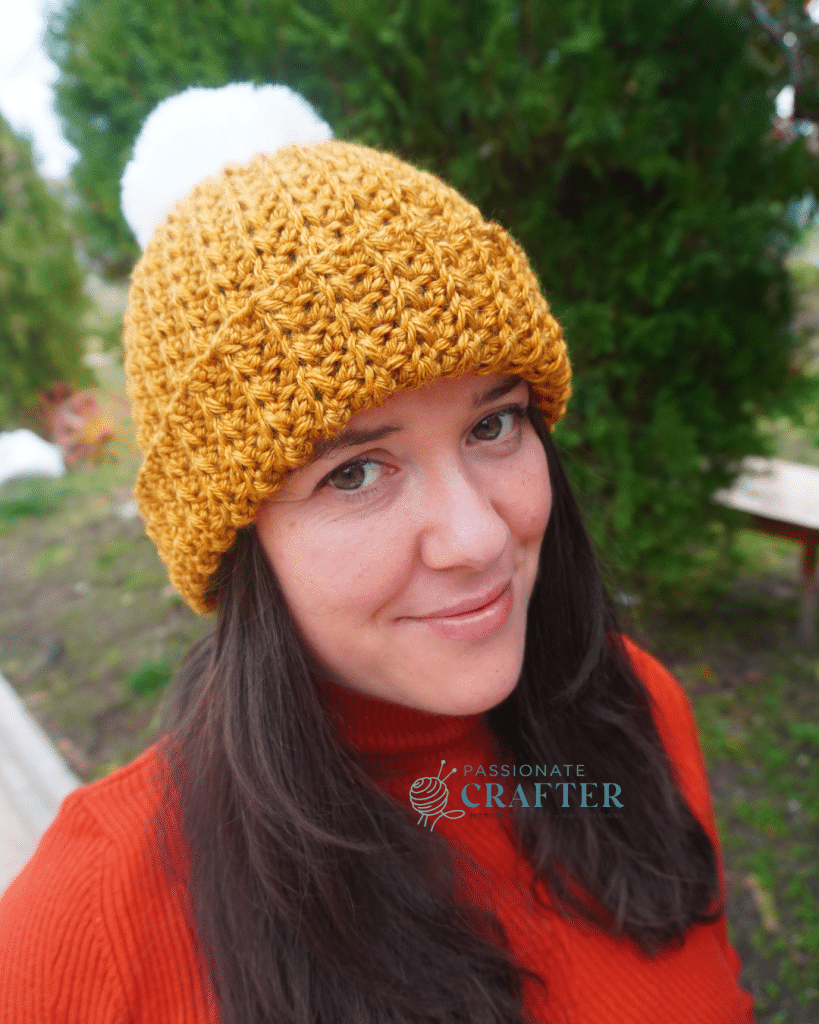

The Inspiration Behind the Design
The Pixel Beanie was inspired by the beloved Pixel Pumpkin pattern we shared with you in September. After seeing how much you enjoyed that project, I knew the unique stitch deserved another moment to shine. Using the same satisfying texture, I set out to create a fresh, cozy design that you can wear, gift, and treasure for years to come.
The result is a beanie that’s modern, cozy, and perfect for chilly days — whether you’re making one for yourself, a gift, or a donation project.
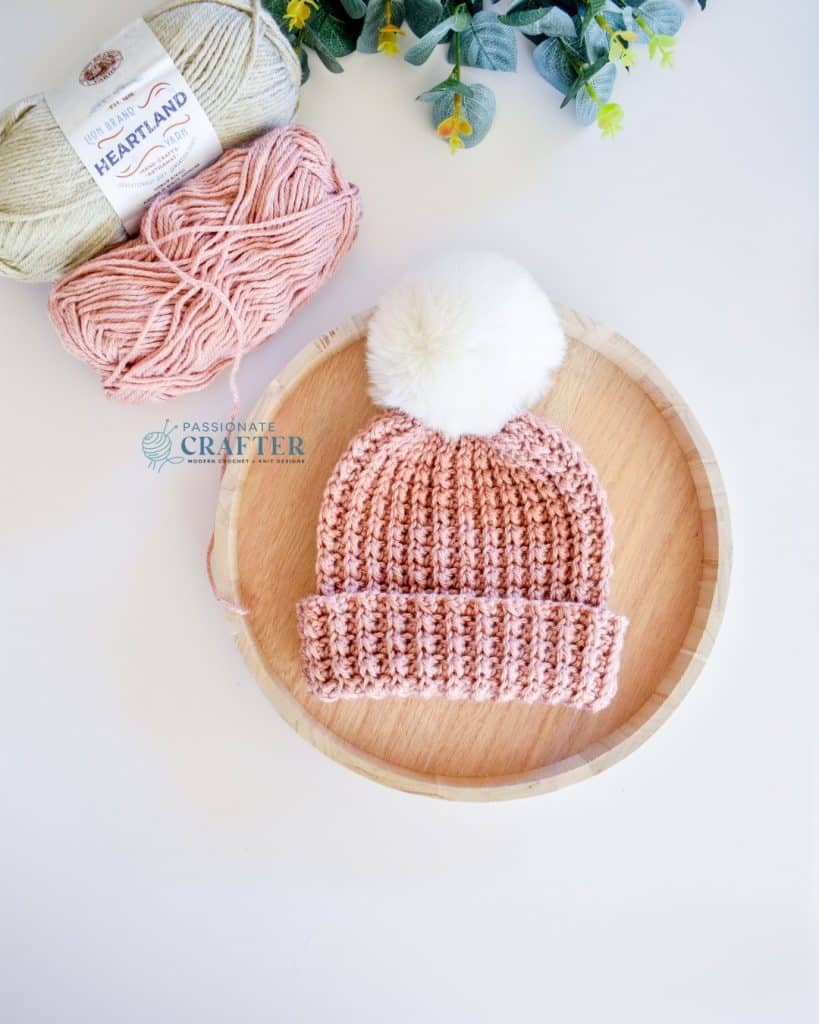

Lionbrand Heartland yarn
Inspired by the beauty of America’s national parks, Heartland® is a soft, medium-weight acrylic yarn with subtle heathered tones. Its smooth texture and rich color variations make it ideal for knit and crocheted garments, scarves, blankets, and accessories.
Heartland yarn by Lionbrand
#4 Worsted Weight Yarn/ 100% Acrylic/ (251yds/230g)
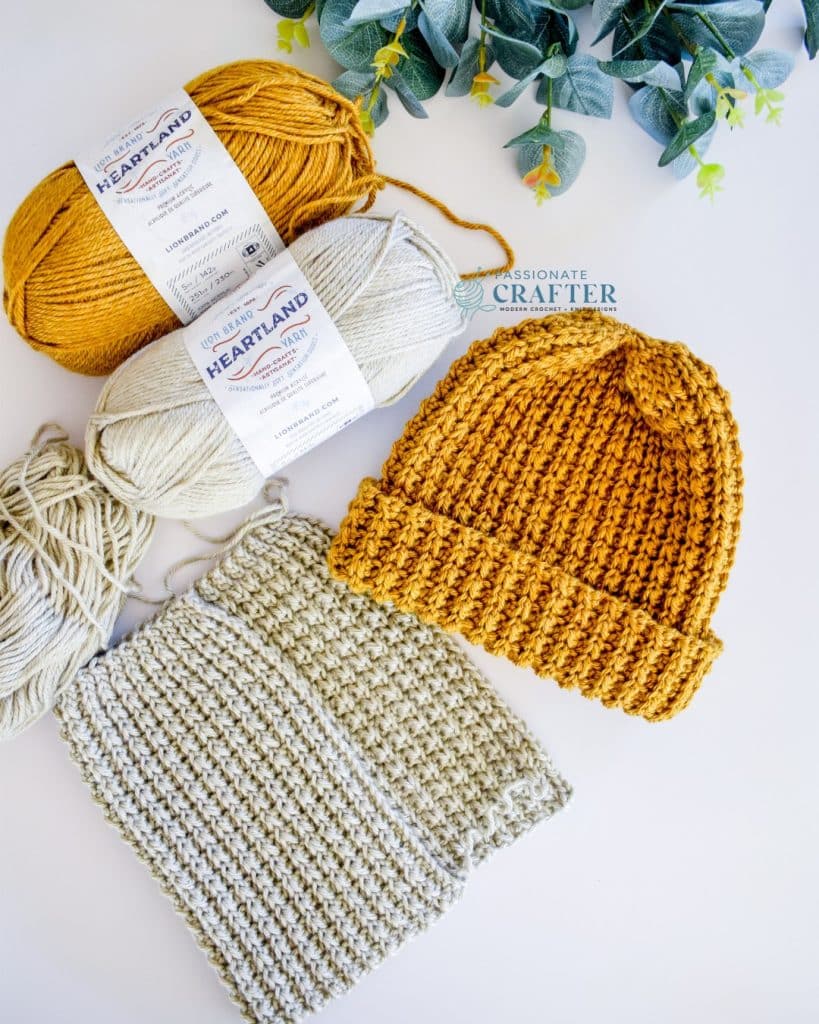
Yarn Substitutes
Puzzle Shimmer by Premiere Yarns

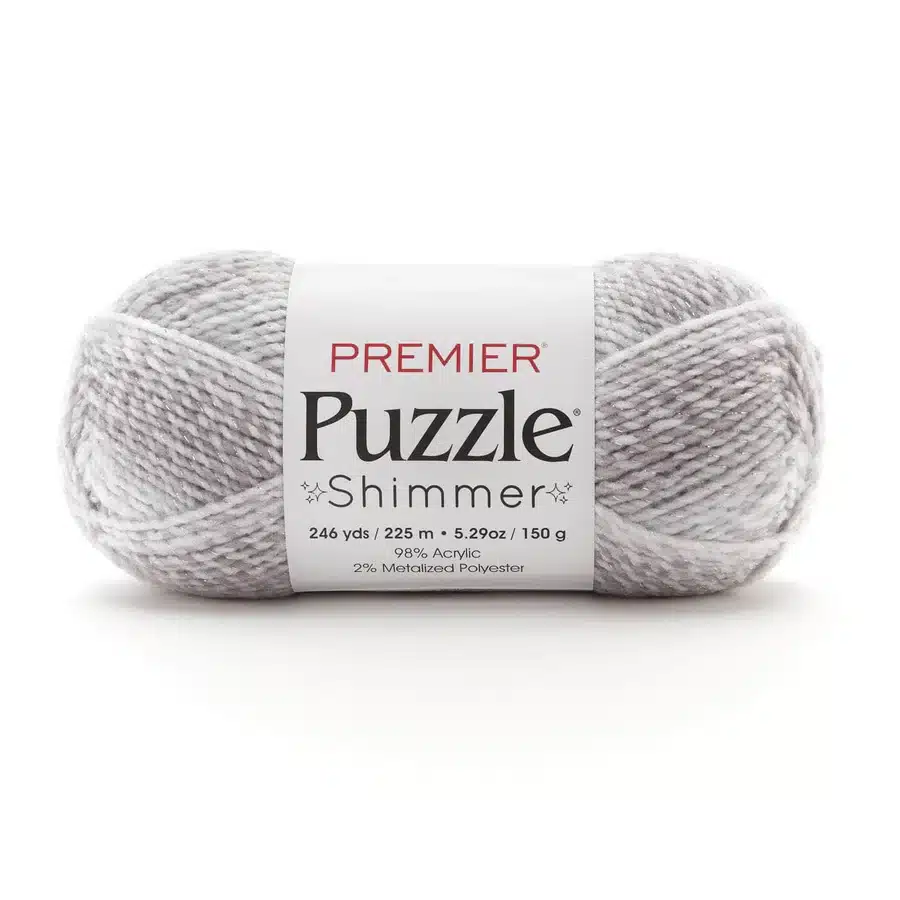
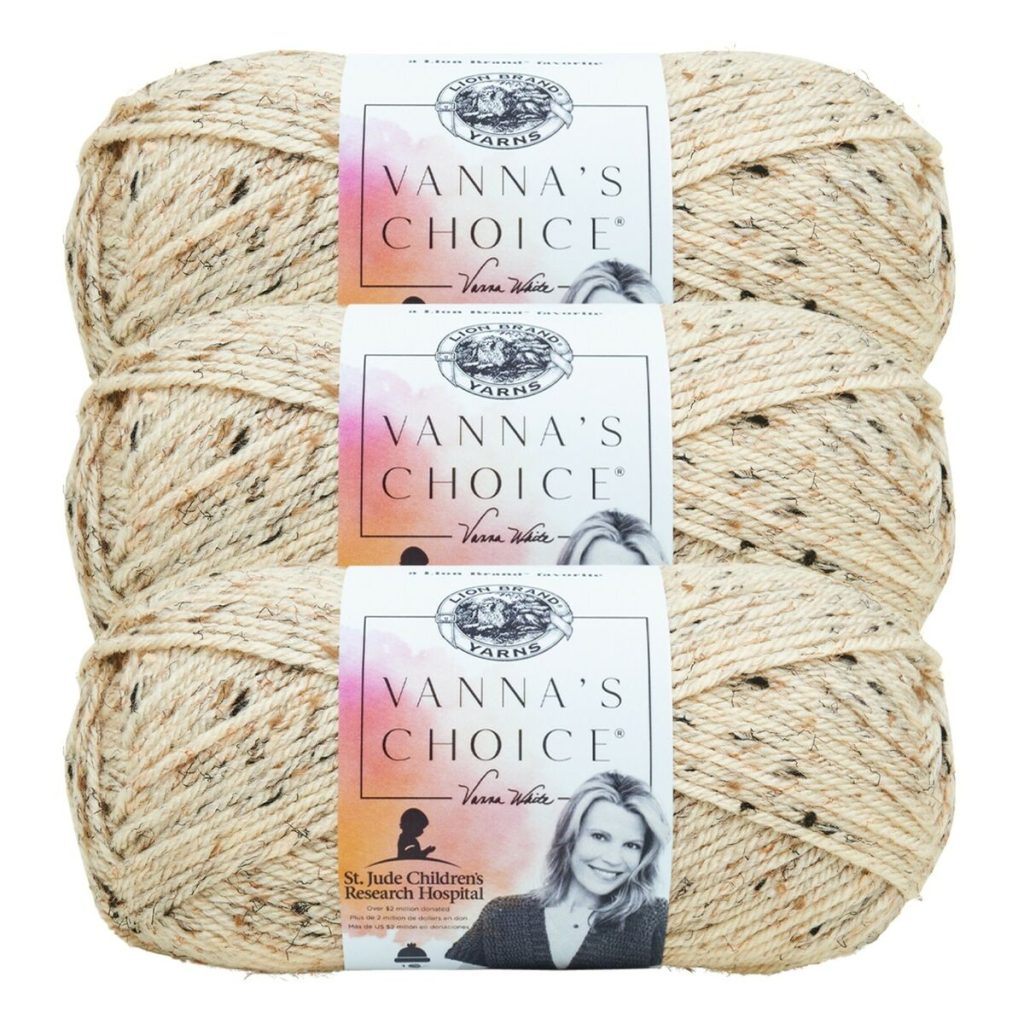
If you’d like to give your Pixel Beanie a fresh twist, consider experimenting with self-striping yarns. Because the beanie is worked side-to-side, long-repeat self-striping yarns create clean vertical color changes, while shorter repeats give a more variegated, pixel-like effect that really complements the textured 2-stitch repeat.
Worsted weight yarns with smooth plies will show off the stitch definition best, but lightly heathered or roving-style yarns can add a soft, cozy look. Whether you choose bold rainbow stripes, subtle tonal shifts, or earthy gradient blends, each skein will bring out a different personality in the pattern. Pick a worsted weight self-striping yarn (or follow the sizing notes to adjust weight), and every beanie you make will feel beautifully unique.
Skill Level
This pattern is truly accessible to everyone. If you’re comfortable working slip stitches and half double crochets, you already have all the skills you need to make the Pixel Beanie.
The simple 2-stitch repeat creates a soothing rhythm, making it a great project for confident beginners and a relaxing, no-fuss make for more experienced crocheters. Whether you’re learning new techniques or just looking for a satisfying, meditative stitch pattern, this beanie is the perfect fit.
Supplies needed to crochet the Pixel beanie
- Crochet hook size 6mm or any suitable hook for your yarn
- measuring tape
- tapestry needle
- stitch marker
- scissors
- faux fur poms (optional)
Gauge
Not important. This pattern can be adjusted to any yarn and hook size.
Step-by-step Video tutorial
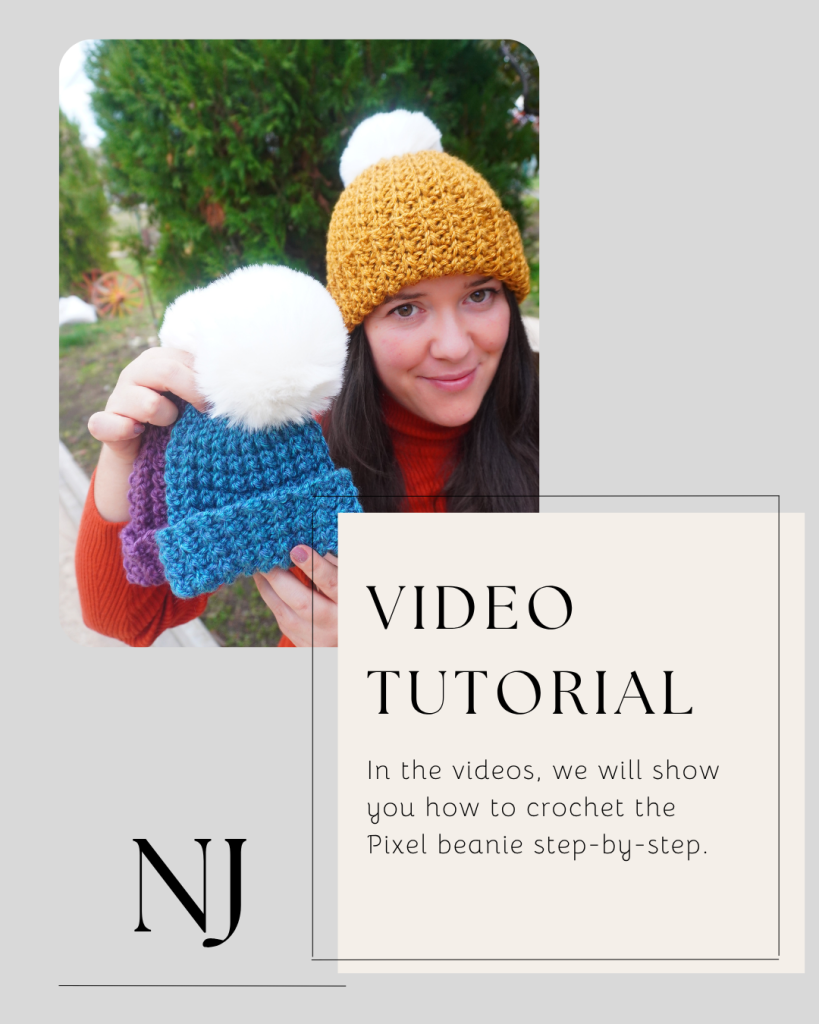
In the step-by-step video tutorial I will walk you through the entire process — from starting the first row to seaming the rectangle into a beanie and finishing it off with a pom pom.
Whether you’re a visual learner or just want extra guidance, the video will help you follow along with confidence.
Sizes & Customization
The Pixel Beanie pattern includes six sizes (3-6m/6-12m/toddler/child/teen-adult small/adult large-men) so you can make one for everyone in the family. And because of the side-to-side construction, it’s easy to adjust for any yarn weight or hook size.
SIZE CHART included when you purchase the ad-free PDF
+ detailed instructions on how to adjust for any weight yarn and hook size!
Get the printable, ad-free PDF pattern here!
Construction
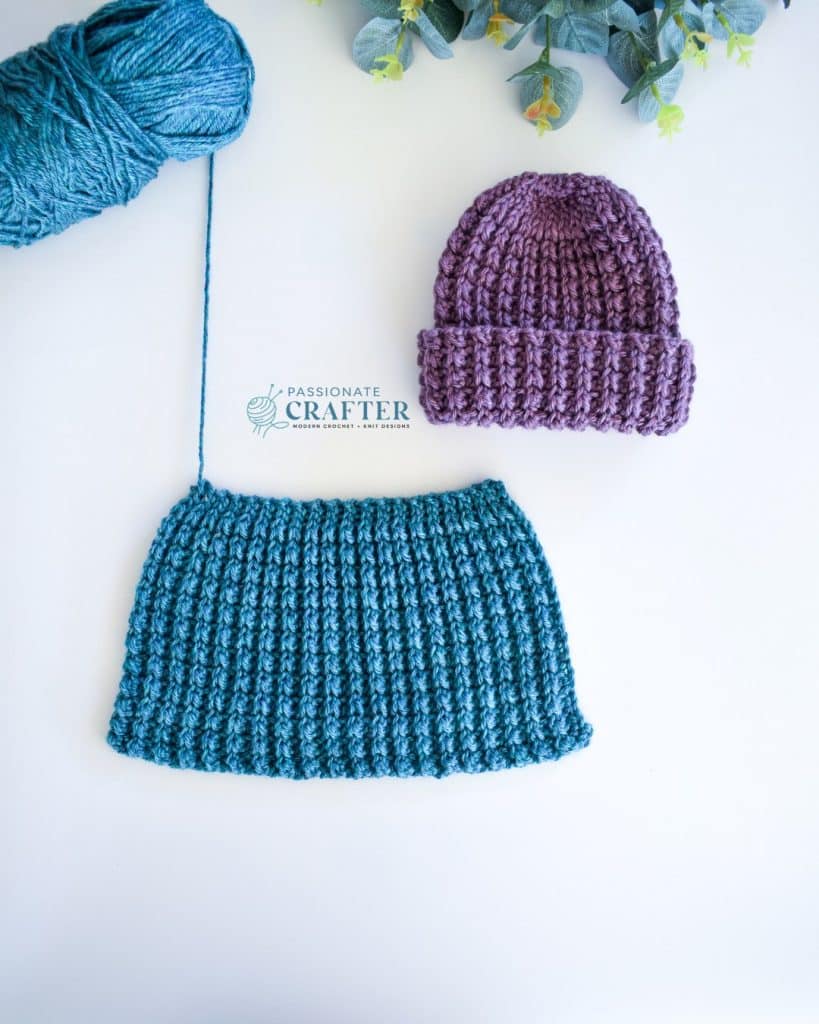
This beanie is made using side-to-side construction, which means you’ll crochet a simple rectangle and then seam it into a hat. No increasing, no decreasing — just easy rows that make the project beginner-friendly and forgiving on gauge.
The folded brim is built right into the pattern, so you’ll work it as part of the hat itself. Once the rectangle is seamed and the brim folded, you’ll have a cozy, one-piece beanie with a polished finish.
Special stitches
Invisible decrease– Insert your hook in the front loop of each of next 2 sts, yarn over, pull through the 2 loops on your hook, yarn over, pull through the remaining 2 loops on your hook.
Abbreviation
sl st – slip stitch
ch(s) – chain(s)
st(s) – stitch(es)
rep – repeat
** – repeat the sts in the ** indicated times
FO – fasten off
hdc- half double crochet stitch
BLO- back loop only
inv dec- invisible decrease- make 2 sc sts together.
FINISHED SIZE:
6 SIZES: 3-6m/6-12m/toddler/child/teen-adult small/men-adult large
Pixel Beanie Pattern

How to Unlock Exclusive Content on Our Blog
Accessing exclusive content is easy! Simply click the box below, and the Grow.me app will appear, prompting you to enter your email and create a password. Once your account is set up, you can log in anytime to view exclusive content on my blog. Just be sure to switch to the login screen when entering your credentials.
If you ever forget your password, click the “Forgot Password” link and follow the steps to reset it. Please note that I don’t have access to Grow accounts and cannot assist with password recovery, so be sure to store your login details securely.
Thank you for subscribing and being part of my crochet journey! I hope you enjoy the exclusive content and find inspiration for your next beautiful crochet project.
COPYWRITE
The Pixel Beanie pattern and its contents are the property of Passionatecrafter LTD and are protected by copyright laws. This pattern may not be copied, shared, distributed, or reproduced in any form without prior written permission, except for sharing links on social media. Unauthorized use of this pattern may result in legal action. This free crochet pattern is intended for personal use and viewing on the blog only. By accessing it, you agree to these terms. For any questions regarding use, please contact Passionatecrafter LTD.
Thank you for respecting my work and creativity!
Pattern
IMPORTANT- Sizing
The pattern is designed with 3 inches negative ease due to the stretchiness of the stitch.
The most important part is your foundation chain. It should measure as follow:
3-6 month: 8 inches / 6-12 months: 9 inches / toddler: 9.5 inches
child: 10 inches / teen-adult small: 10.5 inches / men-adult large: 11 inches
The width of your hat must measures as follows:
3-6 month: 12 inches / 6-12 months: 14 inches / toddler: 16 inches
child: 18 inches / teen-small adult: 19 inches / men-large adult: 21 inches


Hat Body 3-6month (6-12m, toddler, child)
Row 1: Ch 27 (33,37,39), sl.st in 2nd from your hook, sl.st in next 2, * hdc in next , sl st in next* rep across until 1 st left, hdc in last st, ch 1, turn. | 26 (32,36, 38)
After this row, each row is worked in BLO.
Row 2: hdc in first, *sl st in next, hdc in next* rep across until last 3 sts, sl.st in next 3, ch 1, turn. | 26 (32,36, 38) sts
Row 3: sl.st in next 3, *hdc in next, sl st in next* rep across until 1 st left, hdc in last st, ch 1, turn.| 26 (32,36, 38) sts
Repeat rows 2-3 until you reach the desired width for your size.
Estimated rows I did for each size are as follows: 40 rows/46 rows/52 rows/58 rows
Hat Body teen/adult small (adult large)
Row 1: Ch 41 (43), sl.st in 2nd from your hook, sl.st in next 4, * hdc in next , sl st in next* rep across until 1 st left, hdc in last st, ch 1, turn. | 40 (42)
After this row, each row is worked in BLO.
Row 2: hdc in first, *sl st in next, hdc in next* rep across until last 5 sts, sl.st in next 5, ch 1, turn. | 40 (42) sts
Row 3: sl.st in next 5, *hdc in next, sl st in next* rep across until 1 st left, hdc in last st, ch 1, turn.| 40 (42) sts
Repeat rows 2-3 until you reach the desired width for your size.
Estimated rows I did for each size are as follows: 64 rows/68 rows
How to turn your rectangle into a tube (same for all sizes)
When you finish your rectangle, don’t fasten off — we’ll use that working yarn to seam the hat. Bring the two short sides of your rectangle together, making sure the right side is facing you.
Insert your hook into the front loop of the first stitch on the side closest to you, then into the corresponding stitch on the opposite side. Yarn over, pull through both loops, and make a slip stitch. Continue slip stitching across, always working through the front loop of the near side and the full stitch of the far side, until the seam is closed and you’ve formed a tube. FO if you finish the joining on the bottom side and don’t FO if you have finished the joining on the top.
Continue on hat decrease.
Size 3-6months hat decreasing
Continue with the yarn that we used to close the side working around the top of the hat or attach the yarn with sl.st in any st.
Rnd 1: ch 1, * 1 sc in first, skip 1 st* rep around, sl st to join (20)
Rnd 2: ch 1, *sc2tog over the next 2 sts* rep around, sl st to join (10)
FO and leave a long tail for closing the gap.
Continue on
Closing the top of the beanie section
Size 6-12 months hat decreasing
Continue with the yarn that we used to close the side working around the top of the hat or attach the yarn with sl.st in any st.
Rnd 1: ch 1, * 1 sc in first, skip 1 st* rep around, sl st to join (23)
Rnd 2: ch 1, *sc2tog over the next 2 sts* rep around until 1 st left, sc in last st, sl st to join (12)
FO and leave a long tail for closing the gap.
Continue on
Closing the top of the beanie section.
Size toddler hat decreasing
Continue with the yarn that we used to close the side working around the top of the hat or attach the yarn with sl.st in any st.
Rnd 1: ch 1, * 1 sc in first, skip 1 st* rep around, sl st to join (26)
Rnd 2: ch 1, *sc2tog over the next 2 sts* rep around, sc in last st, sl st to join (13)
FO and leave a long tail for closing the gap.
Continue on
Closing the top of the beanie section.
Size child hat decreasing
Continue with the yarn that we used to close the side working around the top of the hat or attach the yarn with sl.st in any st.
Rnd 1: ch 1, * 1 sc in first, skip 1 st* rep around, sl st to join (27)
Rnd 2: ch 1, *sc2tog over the next 2 sts* rep around until 1 st left, sc in last st, sl st to join (14)
FO and leave a long tail for closing the gap.
Continue on
Closing the top of the beanie section.
Size teen/small adult hat decreasing
Continue with the yarn that we used to close the side working around the top of the hat or attach the yarn with sl.st in any st.
Rnd 1: ch 1, * 1 sc in first, skip 1 st* rep around, sl st to join (32)
Rnd 2: ch 1, *sc2tog over the next 2 sts* rep around, sl st to join (16)
FO and leave a long tail for closing the gap.
Continue on Closing the top of the beanie section.
Size men/large adult hat decreasing
Continue with the yarn that we used to close the side working around the top of the hat or attach the yarn with sl.st in any st.
Rnd 1: ch 1, * 1 sc in first, skip 1 st* rep around, sl st to join (34)
Rnd 2: ch 1, *sc2tog over the next 2 sts* rep around, sl st to join (18)
FO and leave a long tail for closing the gap.
Continue on Closing the top of the beanie section.
Closing the Top of the Beanie (same for all sizes)
FO leaving a long tail around 10-12 inches. Take a darning needle and thread your yarn. Insert your needle through the front loop of each st around. Pull tight to close.
Secure with a knot and hide yarn tails.
Place a pom pom on top of the hat. (optional)
Get the printable, ad-free PDF pattern here!
How to adjust the size for different weights and hook sizes
One of the best things about working this hat side to side is the flexibility — you can easily adjust it for any yarn weight or hook size. The most important part is your starting chain.
Before you begin, think of the hat as being divided into two sections:
- Crown – worked in slip stitches
- Hat’s body section – the main textured pattern + the brim
Here’s how to adjust:
- The crown + hat body section together will determine the height of your hat. To find your size, measure from the base of your neck to the top of your head — that’s the total height you’ll need. Then, add extra chains for the brim. The more chains you add here, the wider (and longer when folded) your brim will be.
- Keep in mind that the brim is folded up, so those stitches will eventually add to the height of your hat as well.
- For the middle section, you must have an odd number of stitches so the pattern repeats evenly.
👉 Example: Chain 30 + 1 for the crown and middle section. Use 3 or 5 chains for the crown (slip stitches) and 25 chains for the middle (pattern section). After that, add as many chains as you’d like for the brim width. The brim in this pattern is worked in the pattern stitch.
Yarn & Hook Adjustments
Keep in mind that your yarn and hook size will affect the number of chains you need in your foundation chain. Using a thinner yarn with a smaller hook will require more chains, while a thicker yarn with a larger hook will require fewer chains.
For example:
- Thicker yarn + larger hook= less chains
- Thinner yarn + smaller hook= more chains.
This flexibility makes it easy to customize the beanie no matter what yarn you have on hand!

Pattern Support
Support for this pattern is available through the blog post and the accompanying YouTube tutorial only. Any modifications included are outlined in the PDF; if you choose to adjust the pattern or substitute a different yarn weight, you’ll need to make those changes independently.
Thank you for your understanding! I hope you enjoy making this project, and I encourage you to connect with and support fellow makers in the community as we crochet and create together.
Pin this pattern to your Pinterest board and save it for later!
Don’t forget to pin this for later!
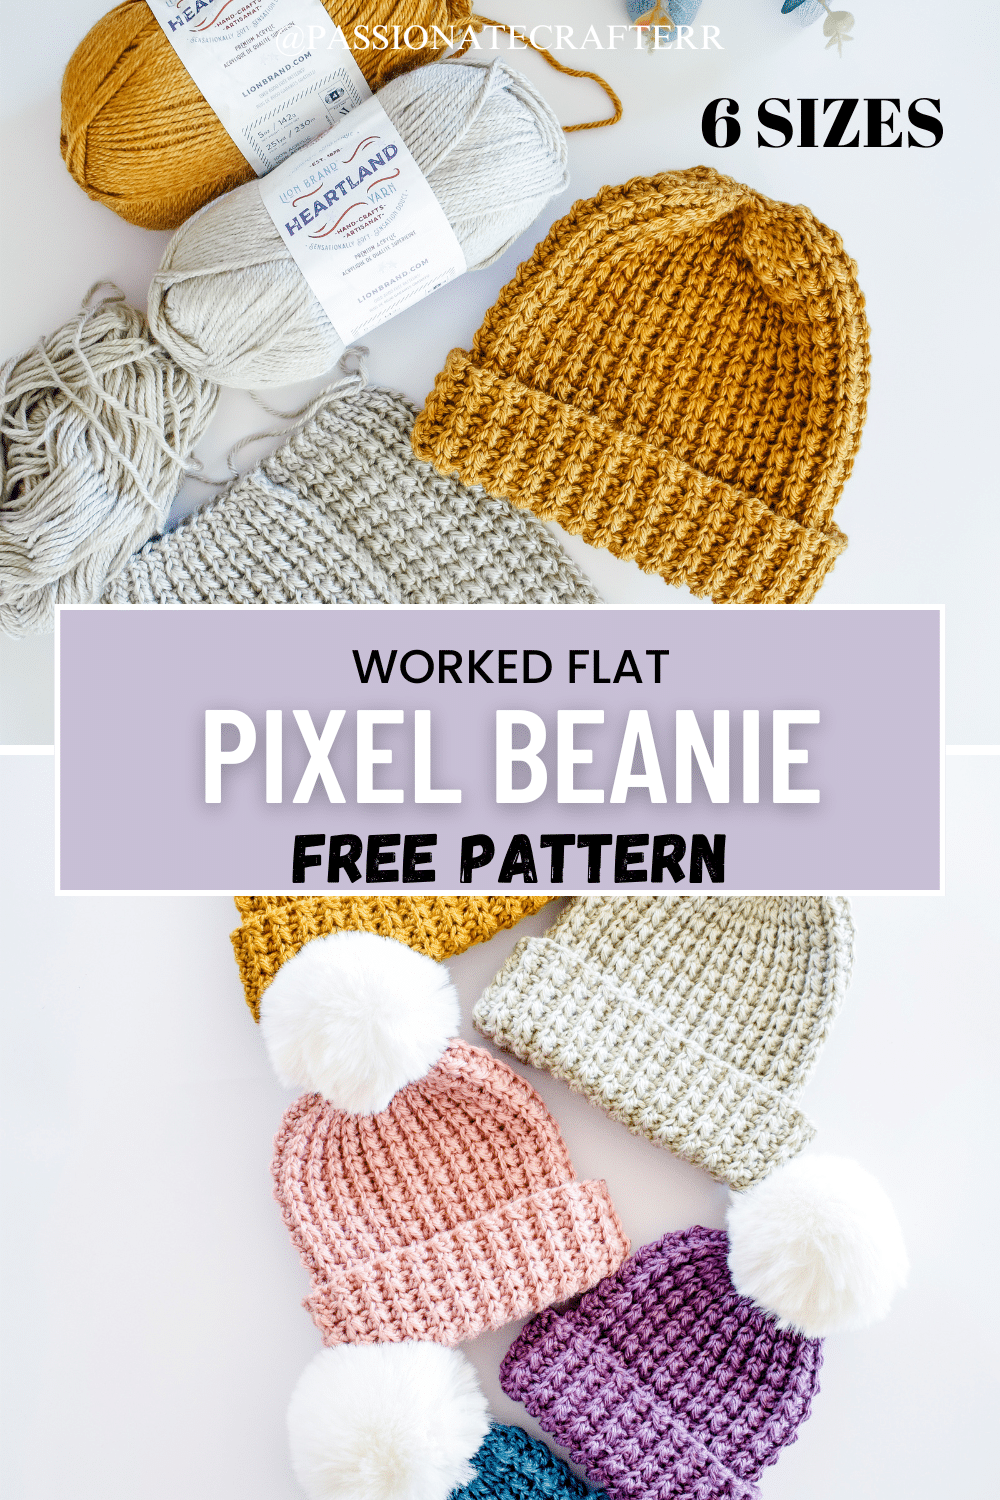
Save this tutorial to your Pinterest boards so that you can come back to it later.
We’d love to hear your feedback. Drop a comment below and tell us your thoughts! And don’t forget to follow us on your favorite social platform!
Invitation to our Facebook group
You are welcome to share your projects made by our patterns with the community and us. Moreover, we are thrilled to see your creations, and you are very welcome to share them on our FACEBOOK PAGE HERE or our FACEBOOK GROUP or on INSTAGRAM by using the hashtag #passionatecrafterr.
More Easy Hat Patterns You’ll love

The Pixel Beanie
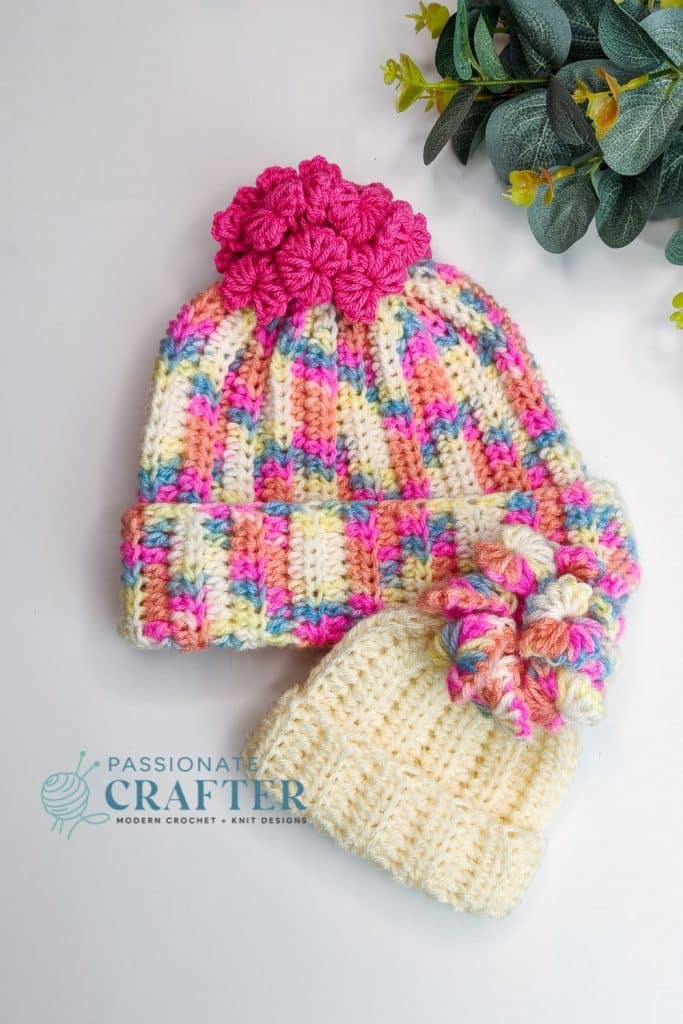
The Valentina Beanie





This pattern is wonderful. I just love how you made the top of the beanie fit better on the head. LOVE IT!!!