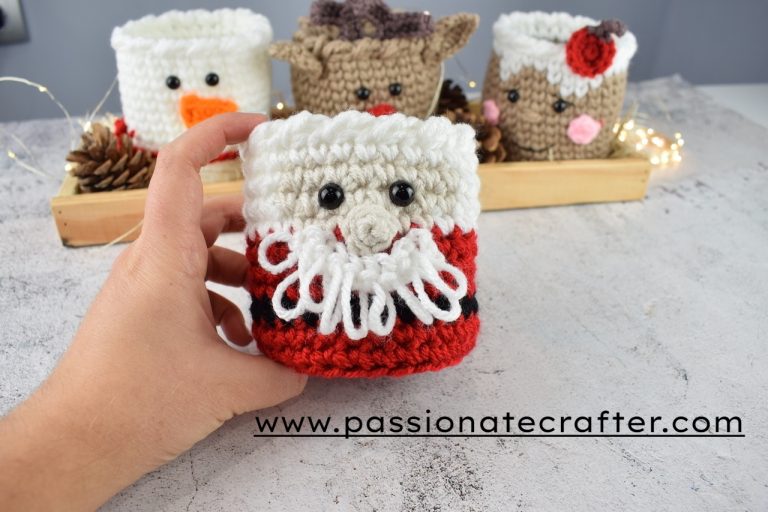
If you’re looking for a festive, quick, and beautifully textured holiday project, then this Textured Christmas Stocking Crochet Pattern is exactly what you need.
Created as part of the Mini Christmas Collection, this stocking combines simple stitches with rich texture to give you a thick, cozy, ribbed finish that feels both modern and timeless. As you work through the rounds, the pattern comes together quickly, making it a wonderful choice for holiday gift-making, mantle decorating, and last-minute festive crafting.
Buy the ad-free, beautifully designed PDF or scroll down for the free pattern.

Moreover, this stocking is designed to be both beginner-friendly and highly satisfying to crochet. Even if you’ve never made a stocking before, you’ll find the shaping intuitive and the texture relaxing to work up. Whether you plan to hang it on your mantel, fill it with treats, or include it as part of your holiday décor, this stocking will become a yearly favorite in your handmade Christmas collection.
About The Christmas Stocking Pattern
Just like the other patterns in the Mini Christmas Collection, this design features the signature stitch repeat:
one round of half double crochet in the 3rd loop + one round of back-loop slip stitch.
As a result, you get a beautiful ribbed texture that adds structure and visual interest. Because the fabric is naturally thick and sturdy, the stocking holds its shape without stretching, slouching, or distorting. Additionally, the smooth heel and toe shaping give the stocking a polished finish, while the simple hanging loop ensures it displays perfectly on mantels, shelves, hooks, or garlands.
Furthermore, the pattern is very easy to customize—whether you want a classic red-and-white palette, soft neutral tones, or a bold colorful style. Add stripes, faux fur trim, appliqués, or embellishments to make each stocking truly unique.
Join the Mini Christmas CAL!
The Sparkle Ornament is part of the Mini Christmas Crochet Along, running from November 21–29.
Every pattern in the CAL is available free on the blog, with matching video tutorials.
👉 Sign up here to get the supply list, reminders, links, and festive updates delivered straight to your inbox.


Purchase the Beautifully Designed AD-FREE PDF Download
Related posts:
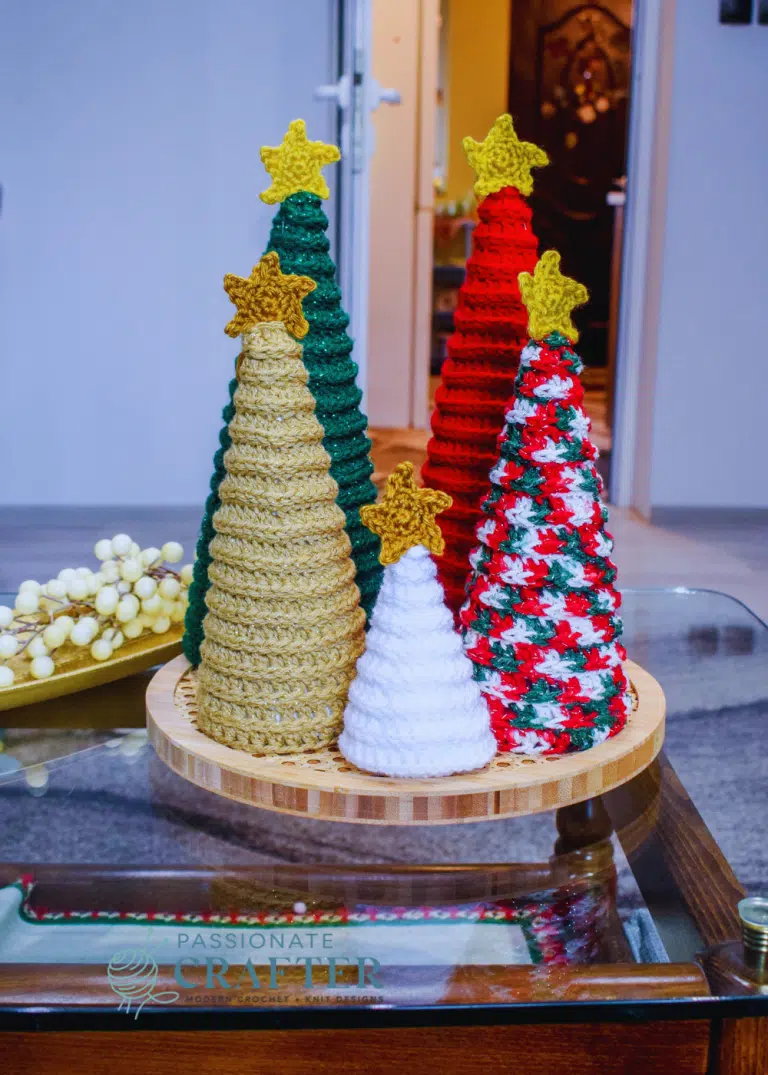
And if you’re in full Holiday and Christmas decoration mode, you’ll love making the Sparkle Pinecone Ornaments, the Sparkle Christmas Tree, the Sparkle Ornaments or the Sparkle Snowmen patterns as well.
Yarn Requirments

#4 medium worsted
Mary Maxim Starlette Worsted 100% Acrylic, 100g/3.5oz, 165m/180yds.
90gr main color and 30 gr second color.
shown in colors:
cardinal, cottonwood and mid green
Sizes
length: 13.5 inches/ 34 cm
width: 5 inches/13cm
Substituting Yarn
If you don’t have the exact yarn I used, no stress — this pattern is wonderfully versatile. It’s designed for medium worsted weight (category 4) yarn, so you can substitute it with almost any similar yarn and still get great results. Whether you choose acrylic, cotton, or a soft wool blend, any worsted weight option will give your project the perfect structure, shape, and cozy festive feel.
Yarn Substitutes for Mary Maxim Starlette Sparkle
- Lion Brand Wool-Ease Worsted – 85 g / 197 yds
- Premier Anti-Pilling Everyday Worsted – 100g / 180 yds
- Premier Basix Worsted –200 g / 359 yds
- Mary Maxim Starlette – 100 g / 180 yds
- WeCrochet Brava Worsted/ Tweed – 100 g / 218 yds
- WeCrochet Wool of the Andes Worsted – 50 g / 110 yds
Skill Level
Confident Beginner
Gauge
For this project, the gauge is not essential

Crochet Hook Required
5.5 mm crochet hook or any hook to obtain the gauge
Other supplies needed
- Tapestry needle
- a pair of scissors
- stitch marker
- twine (optional)
- wooden beads (optional)
Abbreviation ( American Crochet Terms )
sl st – slip stitch
ch(s) – chain(s)
st(s) – stitch(es)
rep – repeat
** – repeat the sts in the ** indicated times
FO – fasten off
hdc- half double crochet stitch
BLO- back loop only
rem- remaining
Special stitches
Working in 3rd loop of hdc -When we make regular hdc stitch, we have the usual front loop and back loop of the stitch, but we also have one more additional loop behind our regulars, 3rd loop in which we will be working.
Video Christmas Stocking Pattern
To make the process even easier, I’ve included a full step-by-step video tutorial. In the video, you’ll see exactly how to create the textured rounds, shape the heel and toe, and assemble the final details. Additionally, you can pause, rewind, or rewatch any sections you need—perfect for visual learners.
Watch the tutorial
For those who enjoy crocheting along visually, you’ll love the full video tutorial included with this pattern. Not only does it demonstrate each stitch and shaping step up close, but it also offers helpful tips along the way to ensure your stocking turns out beautifully. Simply press play and crochet your stocking at your own pace!
Purchase the Beautifully Designed AD-FREE PDF Download
Christmas Stocking Crochet Pattern
COPYRIGHT
The Christmas Stocking Crochet Pattern and its contents are the property of Passionatecrafter LTD and are protected by copyright laws. This pattern may not be copied, shared, distributed, or reproduced in any form without prior written permission, except for sharing links on social media. Unauthorized use of this pattern may result in legal action.
This free crochet pattern is provided for personal use and viewing on the blog only. By accessing and using this pattern, you agree to respect and comply with all copyright terms and conditions.
If you have any questions about these terms or how this pattern may be used, please contact Passionatecrafter LTD. in writing for clarification.
Thank you for respecting my work and creativity!
Pattern support
Support for this pattern is available through the blog post and the accompanying YouTube tutorial only. Any modifications included are outlined in the PDF; if you choose to adjust the pattern or substitute a different yarn weight, you’ll need to make those changes independently.
Thank you for your understanding! I hope you enjoy making this project, and I encourage you to connect with and support fellow makers in the community as we crochet and create together.
Don’t forget to pin this for later!

Pattern notes
- The Sparkle Stocking is worked in continuous rounds.
- You can use whatever worsted weight yarn you have in your stash for this pattern with appropriate hook.
- Use stitch markers to mark your first stitch when starting a new round.
- You can add twine or some wooden beads to make it even more unique and personalized.
Stocking Crochet Pattern
*with main color
Rnd 1: Start with a MR of 10 hdc (10)
Rnd 2: Working in 3rd loop, sl st in each st around (10)
Rnd 3: Working in BLO, 2 hdc in each st around (20)
Rnd 4: Working in 3rd loop of hdc, sl st in each st around (20)
Rnd 5: Working in BLO, *hdc in first, 2 hdc in next* rep 10 times (30)
Rnd 6: Working in 3rd loop of hdc, sl st in each st around (30)
Rnd 7: Working in BLO, *hdc in next 2, 2 hdc in next* rep 10 times (40)
Rnd 8: Working in 3rd loop of hdc, sl st in each st around (40)
Rnd 9: Working in BLO, hdc in each st around (40)
Rnd 10: Working in 3rd loop of hdc, sl st in each st around (40)
Repeat rnds 9-10 six more times. Switch to colour B. Continue on heel
Heel:
*with second colour (I used beige)
Row 1: sc in next 17, ch 1, turn (17)
Row 2: sc2tog, sc across till 2 stitches remain, sc2tog in last 2 stitches, ch 1, turn (15)
Row 3-8: Repeat row 2 till 3 sts remain
Row 9: 2 sc in first, sc across until 1 stitch remains, 2 sc in last, ch 1, turn (5)
Row 10-15: Repeat row 9 until 17 sts across.
FO leaving a long tail.
Rnd 23: Working in BLO, Take your main colour and attach it with a standing hdc to the 5th stitch of the last row of the heel, hdc in next 12 sts across the heel, hdc in next 23 sts till the heel, hdc in next 4 sts of the heel (40)
Rnd 24: Working in 3rd loop of hdc, sl st in each st around (40)
Leave the yarn and continue on closing the heel.
Fold the heel in half so that it is inside out. Sew up the side using
a darning needle and the tail. Repeat the same for the other side. Make sure that you have closed the mini gap between the heel and the stocking body as well. Flip the heel right way out.
Rnd 25: Working in BLO, hdc in each st around (40)
Rnd 26: Working in 3rd loop of hdc, sl st in each st around (40)
Repeat rnds 25-26 nine more times. FO main color, switch to colour B and continue on the cuff.
Cuff/Brim:
*Each row of the cuff/brim is worked in back loops only (BLO)
Row 1: Ch 16, sc in 2nd ch from your hook, sc in each rem ch across, sl st in next 2 sts of last rnd of the stocking to join, turn (15)
Row 2: sc in each across, ch 1, turn (15)
Row 3: sc in each across, sl st in next 2 sts of last rnd of the stocking to join, turn (15)
Repeat alternating row 2-3 till you reach the end.
When you reach the end fold the brim and join both sides with sl st. FO.
Hanger:
Ch 16, sc in 2nd from your hook, sc in each ch across. FO leave a longer tail for sewing.
Sew the hanger on the last round of the stocking or in the middle of the cuff from the inner side.
Purchase the Beautifully Designed AD-FREE PDF Download

More You”ll love

Easy Christmas Ornaments

Crochet Christmas Stocking

Evergreen Christmas Tree
Save this tutorial to your Pinterest boards so that you can come back to it later.
We’d love to hear your feedback. Drop a comment below and tell us your thoughts! And don’t forget to follow us on your favorite social platform!
Invitation to our Facebook group
You are welcome to share your projects made by our patterns with the community and us. Moreover, we are thrilled to see your creations, and you are very welcome to share them on our FACEBOOK PAGE HERE or our FACEBOOK GROUP or on INSTAGRAM by using the hashtag #passionatecrafterr.