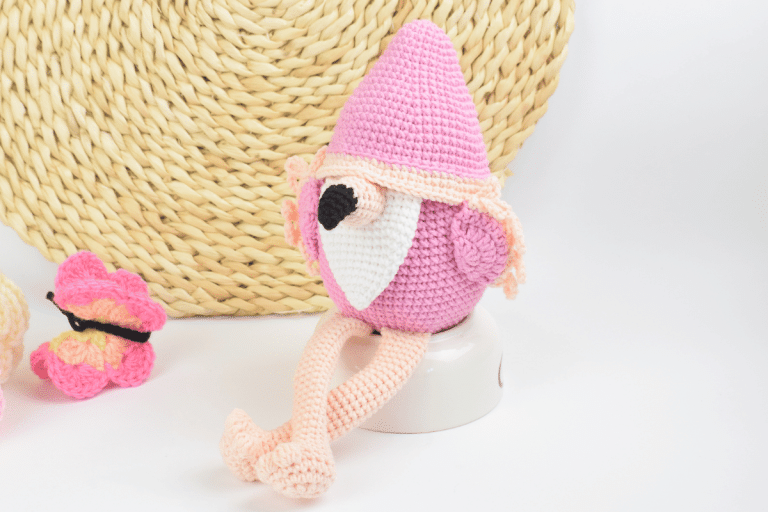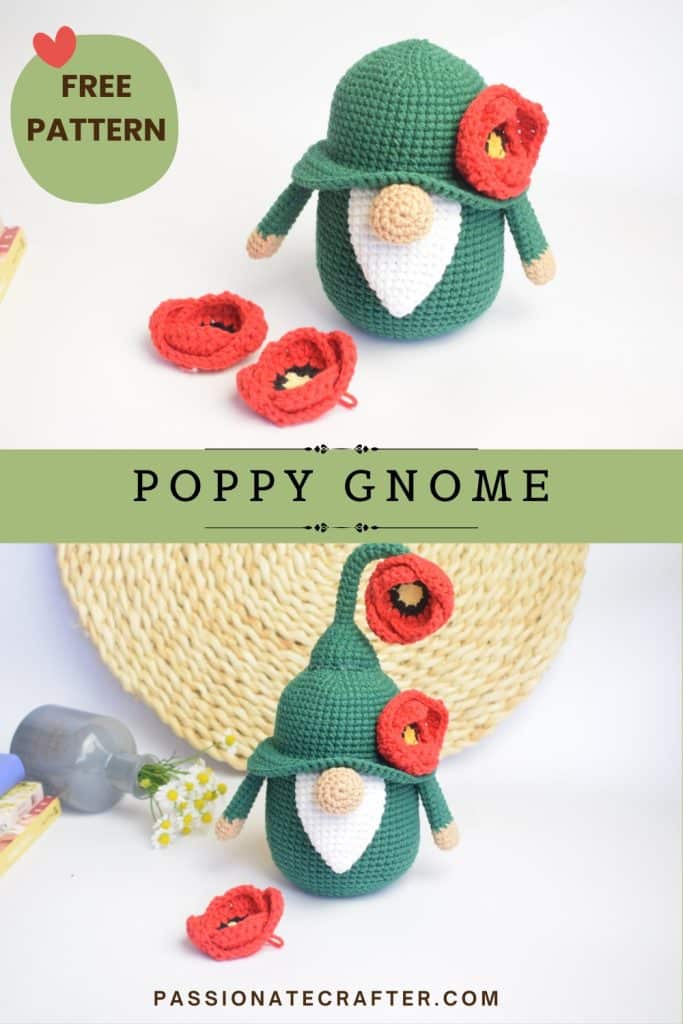
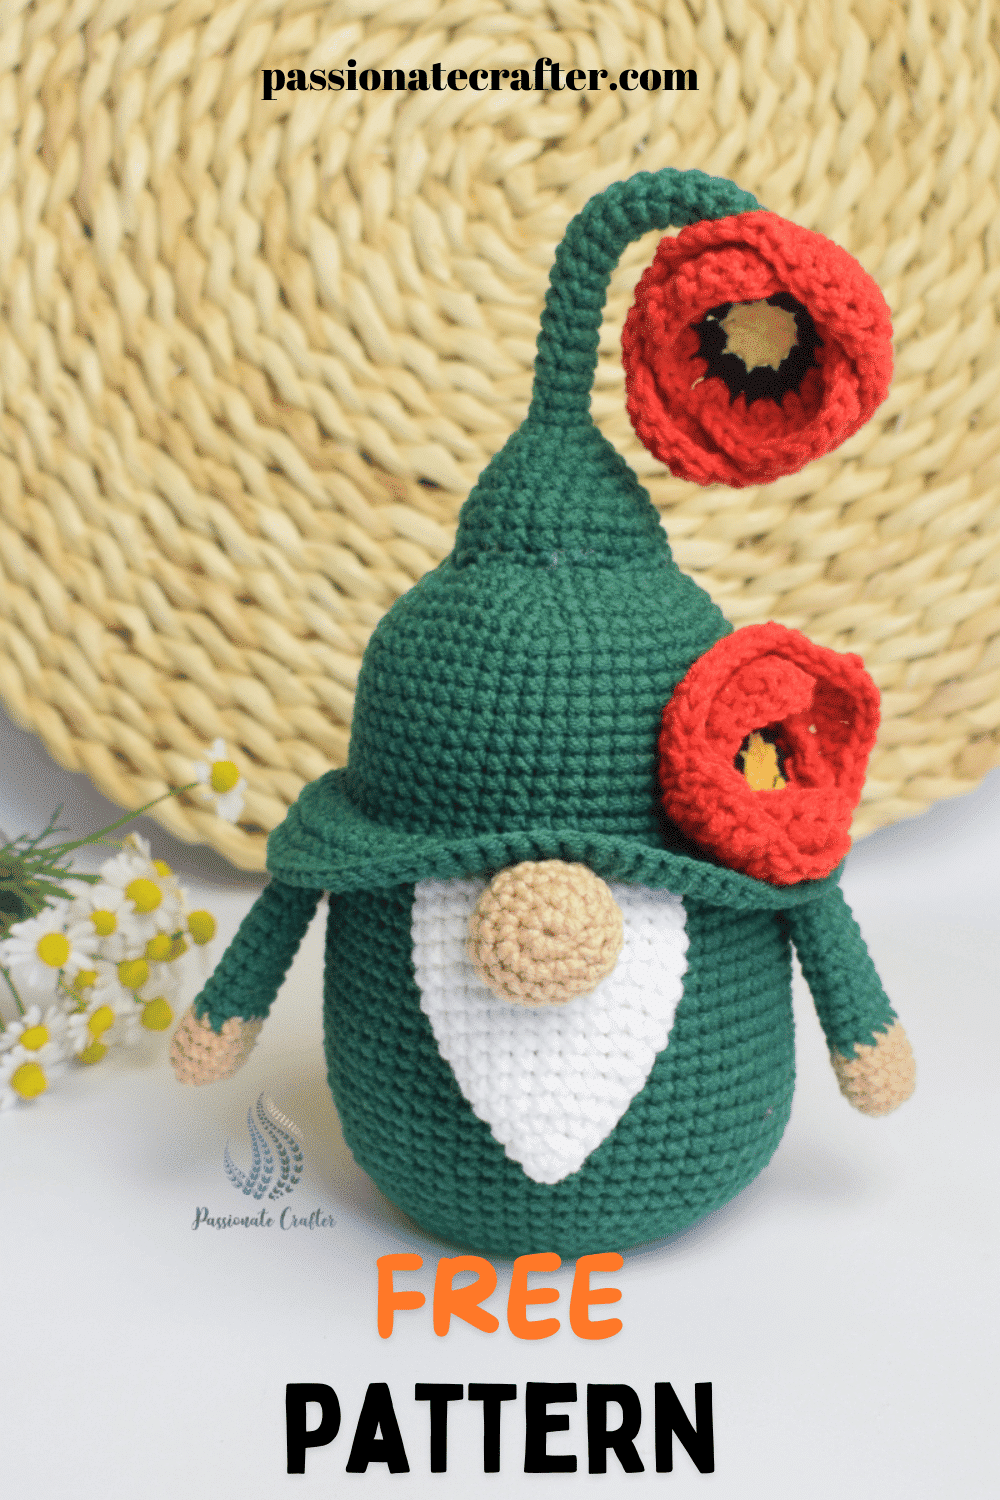
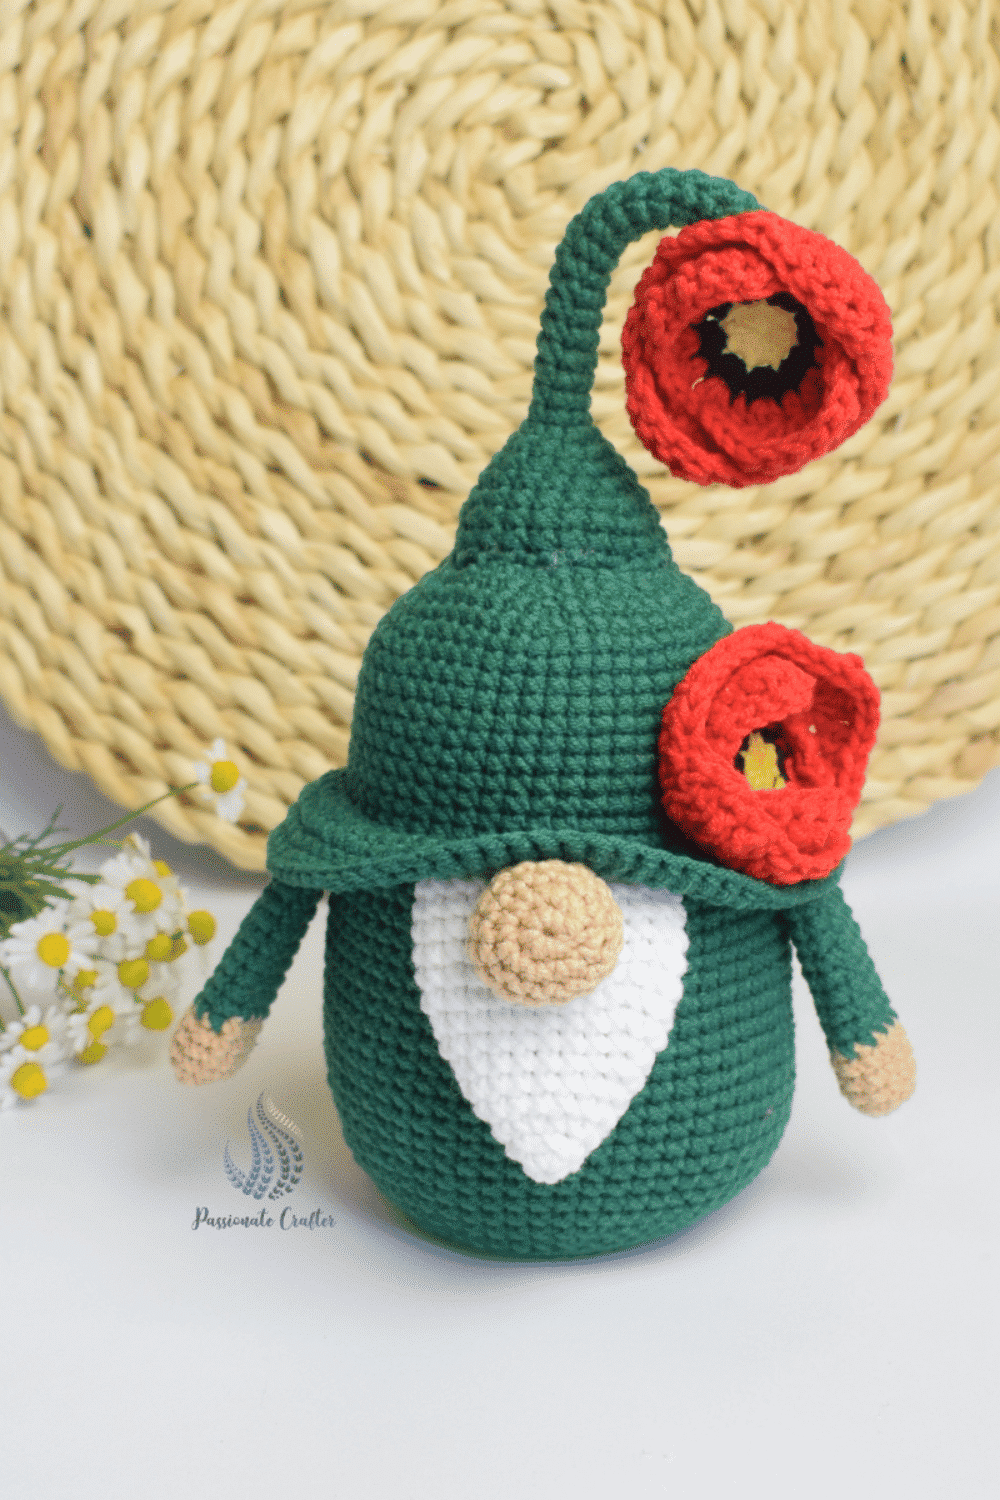
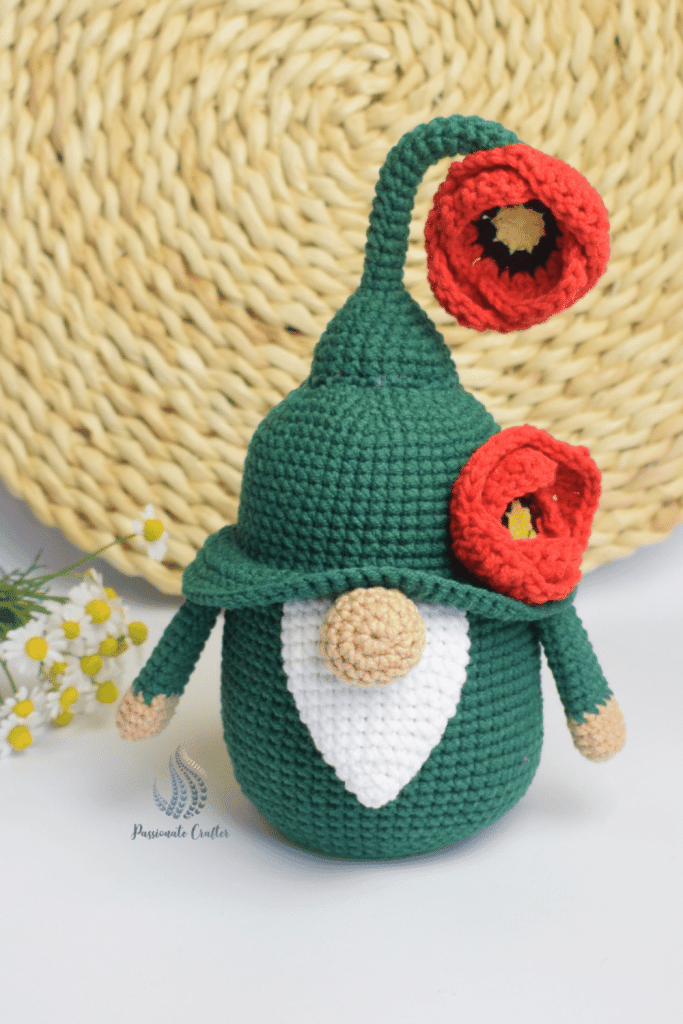
If you love floral crochet and charming handmade décor, you’re going to adore this Poppy Gnome pattern! Whether you’re celebrating spring blooms or honoring Remembrance Day or Veterans Day, this gnome adds a heartfelt and colorful touch to your crochet collection. And best of all—it’s a free pattern right here on the blog!
Inspired by the iconic red poppy flower, this gnome is a thoughtful and meaningful make. Use it as a seasonal display piece, a gift for a loved one, or a small token of gratitude for someone special.
Scroll down for the free pattern, or buy the ad-free, printable PDF HERE.
More free crochet flower gnome patterns you will love.
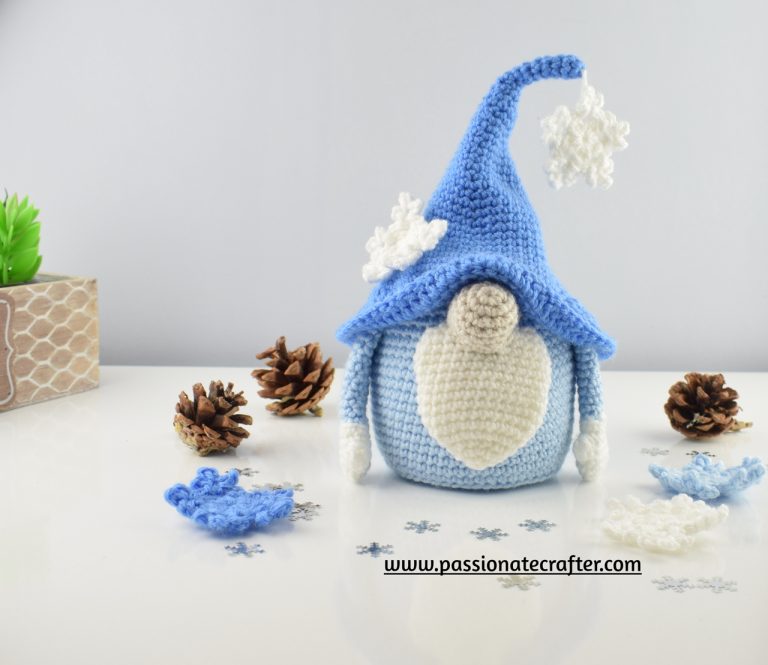
Last year’s Gnome Crochet Along (CAL) was a mind-blowing experience for us. And if you like the Poppy gnome, the sunflower, daisy, rose, and snowdrop gnomes are the perfect addition to your flower gnome collection.


Construction of the Poppy gnome
The Poppy gnome is worked from the top down. First, we will start with the hat and then continue with the gnome’s body. At the end, we will crochet the stem of the poppy flower and sew it on top of the hat.
The beard, nose, and hands are worked separately and sewn together.
The pattern is worked in continuous/spiral rounds. Place a stitch marker to indicate your first stitch, or use a scrap yarn tail.
When stuffing the gnome, be careful not to overstuff it.
Some of the pictures are from previous gnome patterns. Don’t get confused about the colors used in the step-by-step pictures. Follow the written color instructions for each part of the gnome.
Quick, helpful links
If you are new to amigurumi, check these helpful links for some techniques we will use to crochet the poppy gnome.
- 5 tips that you must know for amigurumi
- How to crochet a magic ring a.k.a magic circle.
- Video tutorial for magic ring.
- How to increase and decrease for a single crochet stitch.
For those new to amigurumi, here are some easy crochet amigurumi projects that do not require any sewing skills.


What is the best yarn for crochet gnomes?
After crocheting more than 40+ free gnome patterns, I can say that any yarn will work. Due to the yarn, you will use, the difference will be in the final size of the poppy gnome.
Of course, some of the yarns are a bit more shiny, like the mercerized cotton or the anti-pilling acrylic yarn. But in the end, your gnome will turn out gorgeous with almost any yarn.
So, don’t hesitate to use yarn leftovers from your stash. Pair them with an appropriate crochet hook size, and you’ll always create stunning gnomes.
(This post may contain affiliate links. This means after purchasing through the links for no additional cost to you, we may earn a small commission)
Yarn substitution and some suggestions
Here are some suggestions similar to the yarn I used for my Poppy gnome pattern.
- Schachenmayer Catania 100% cotton, 50 g, 125 m, Sport/ fine weight yarn.
- Premier Yarns Cotton Fair, 3.5 oz/100 g, 317 yds/290m, 52% Cotton, 48% Acrylic.
- Hobbii Twister Solid, 100g/400m, 55% Cotton, 45% Acrylic.
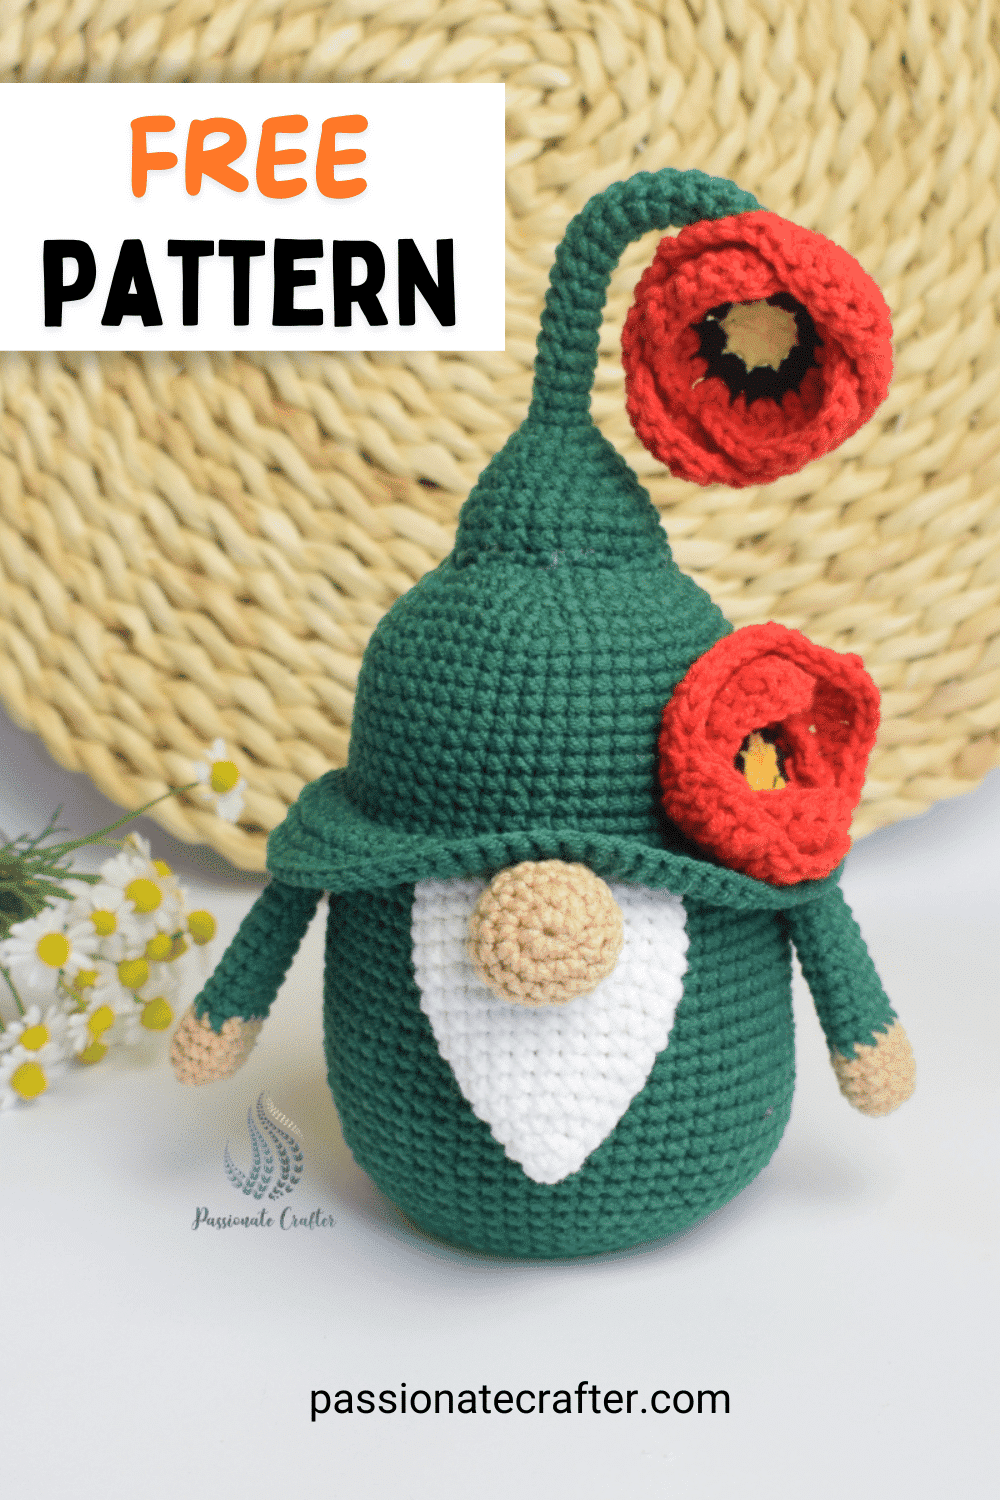
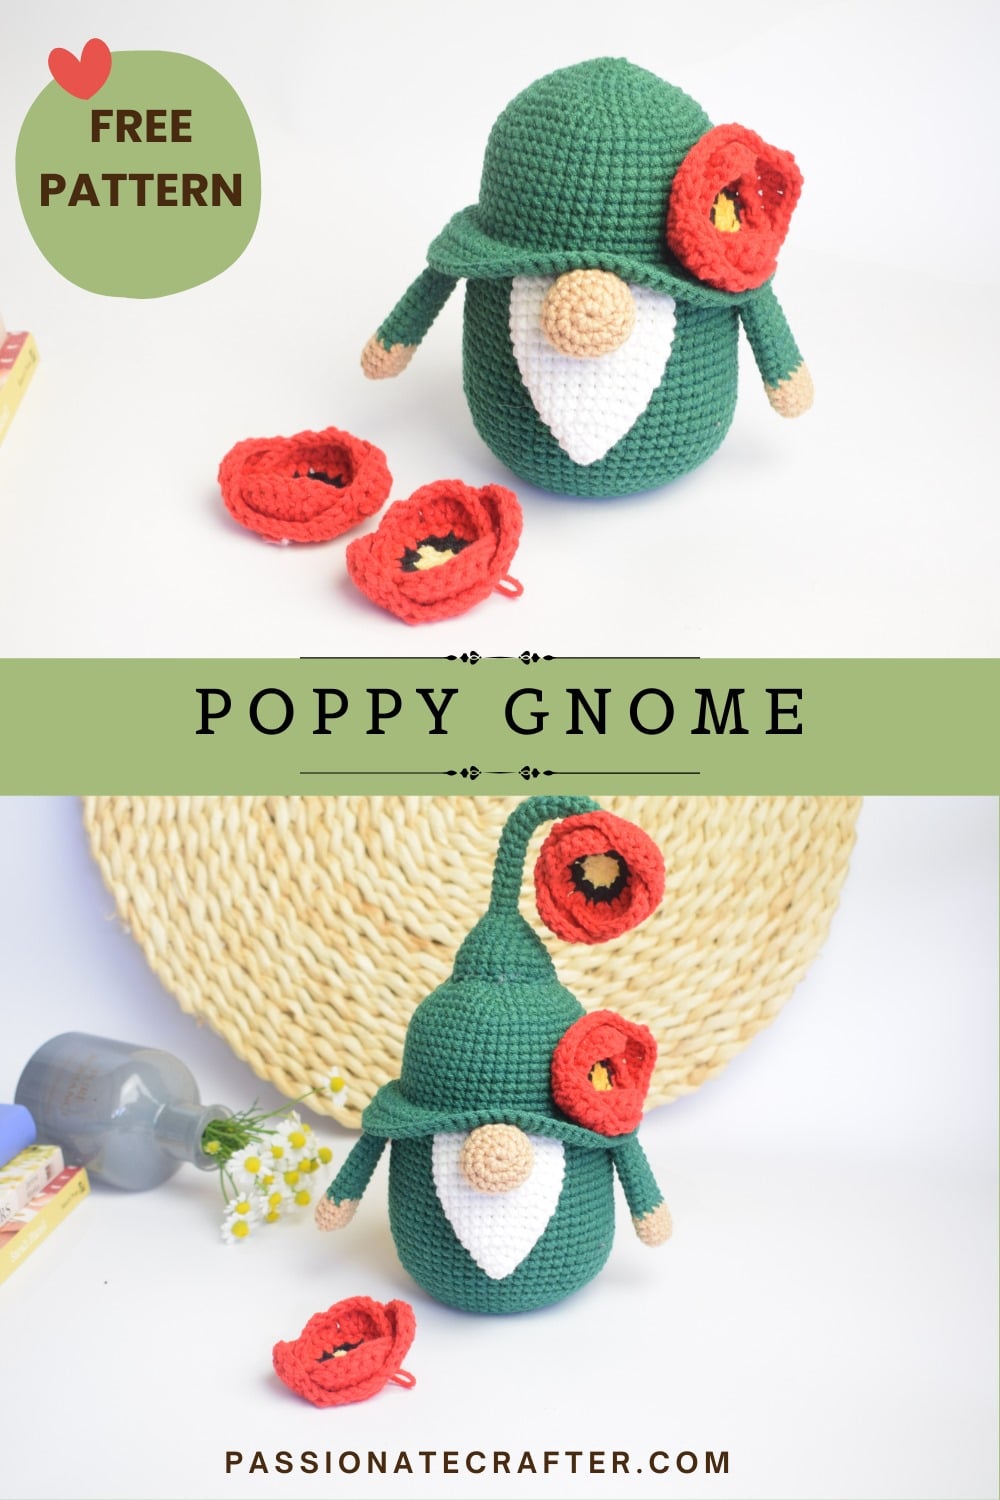
Before we start with the pattern itself, save this pattern on your Pinterest board and crochet later.
Don’t forget to pin this for later!
Crochet Poppy Gnome Pattern
Difficulty: Advanced Beginner
Finished size: 17 cm / 6.5 inch
Crochet Terms: The pattern is written in US crochet terms.
Prefer the PDF version?
Grab the ad-free, printable PDF pattern.
Download and print at home. View on your mobile device, tablet, or computer.
Abbreviation
sc- single crochet
sl st- slip stitch
ch- chain
inc- increase (make 2 SC in the same stitch)
hdc inc- make 2 dc in the same stitch
tr- triple crochet
dec- decrease ( work 2 SC stitch together)
MR- magic ring
()– repeat the stitches in the () indicated times
FO- fasten off
BLO- back loop only
ch sp- chain space
picot- ch 3, sl st in 3rd from your hook.
Yarn Used
Sport/ fine weight yarn- Yarn Art Jeans 55% Cotton, 45% Acryl 50 g, 160 m in colors red- 10gr, beige- 5gr, yellow-5gr, black- 5gr, green 30gr, white 10gr.
Materials:
- Poly fiberfill for stuffing
- tapestry needle
- hook size 2.75mm
- stitch marker
- pipe cleaner ( optional )
Pattern notes:
The pattern is worked in continuous/ spiral rounds. Do not join your rounds
with a sl st.
Mark the first stitch with a stitch marker or piece of yarn. Move the marker after completing the round. For my amigurumi, I use the Yarn Under method.
Use safety pins to secure your pieces before sewing.
I am using the magic ring/circle to start my amigurumi.
How to crochet a magic ring / magic circle?
The magic circle, also known as the crochet magic ring or adjustable loop, is perfect for creating a neat, secure beginning for any project worked in the round. See a step-by-step photo tutorial here.
Or watch my video tutorial on how I make a magic ring. Alternate beginning to magic ring: Chain 2 and make n-number of stitches in the second chain from your hook.
Starting from the hat
-with a green color
Rnd 1: MR of 6 sc (6)
Rnd 2: 6 inc (12)
Rnd 3: (sc, inc) x6 (18)
Rnd 4: (2 sc, inc) x6 (24)
Rnd 5: (3 sc, inc) x6 (30)
Rnd 6: (4 sc, inc) x6 (36)
Rnd 7: (5 sc, inc) x6 (42)
Rnd 8: (6 sc, inc) x6 (48)
Rnd 9: (11 sc, inc) x4 (52)
Rnd 10-19: 52 sc (32) [10 rounds]
Continue on the hat’s brim.
The next round is worked in FLO.
Rnd 20: (3 sc, inc) x13 (65)
Rnd 21-22: 65 sc (65)
Rnd 23: (4 sc, inc) x13 (78)
Rnd 24: 78 sc (78) FO.
Continue on the body with a green color.
Rnd 21: Go back to round 20 and insert your hook in any back loop stitch, pull a loop, sc in same, 51 sc (52)

Rnd 22: (12 sc, inc) x4 (56)
Rnd 23-40: 56 sc (56) [18 rounds]
Start stuffing your gnome and continue as you crochet along.
Rnd 41: (12 sc, dec) x4 (52)
Rnd 42: (11 sc, dec) x4 (48)
The next round is worked in BLO.
Only next round!
Rnd 43: 48 sc (48)
Rnd 44: (4 sc, dec) x8 (40)
Rnd 45: (3 sc, dec) x8 (32)
Rnd 46: (2 sc, dec) x8 (24)
Rnd 47: (1 sc, dec) x8 (16)
Rnd 48: 8 dec (8)
FO.
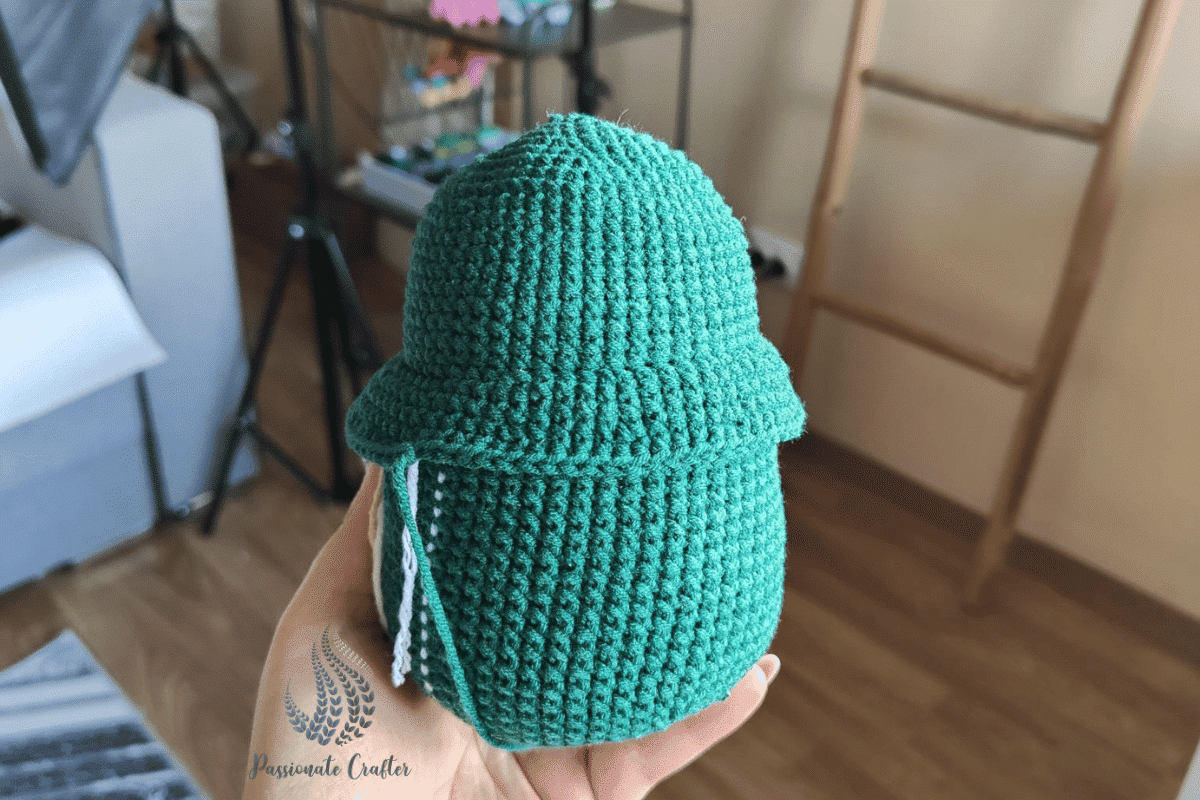
Close the gap with a tapestry needle.

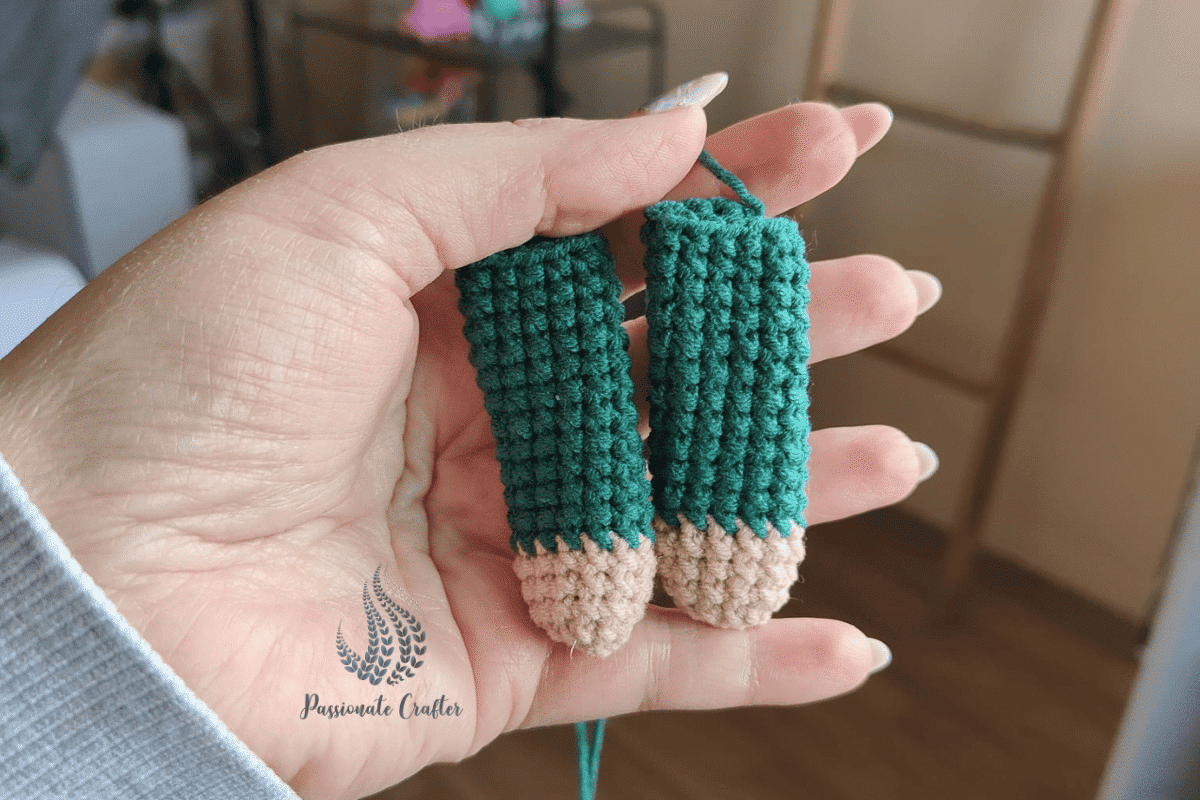
Poppy Gnome’s hands
-with a beige color
Rnd 1: MR of 6 sc (6)
Rnd 2: 6 inc (12)
Rnd 3-5: 12 sc (12) [3 rounds]
FO beige color, attach green
Rnd 6-17: 12 sc (12) [12 rounds]
FO. Leave long tail for sewing.
Poppy gnome’s beard
-with a white color
Rnd 1: MR of 6 sc (6)
Rnd 2: 6 sc (6)
Rnd 3: 6 inc (12)
Rnd 4: (5 sc, inc) x2 (12)
Rnd 5: (6 sc, inc) x2 (14)
Rnd 6: (7 sc, inc) x2 (16)
Rnd 7: (8 sc, inc) x2 (18)
Rnd 8: (9 sc, inc) x2 (20)
Rnd 9: (10 sc, inc) x2 (22)
Rnd 10: (11 sc, inc) x2 (24)
Rnd 11-15: 24 sc (24) [5 rounds]
FO. Leave a longer tail for sewing.

Prefer the PDF version?
Grab the ad-free, printable PDF pattern.
Download and print at home. View on your mobile device, tablet, or computer.
Poppy Gnome’s nose
-with a beige color
Rnd 1: MR of 8 sc (8)
Rnd 2: 8 inc (16)
Rnd 3-6: 16 sc (16) [4 rounds]
Stuff the nose a little.
Rnd 7: 8 dec (8)
FO. Close the gap opening using a tapestry needle.
Leave a longer tail for sewing.
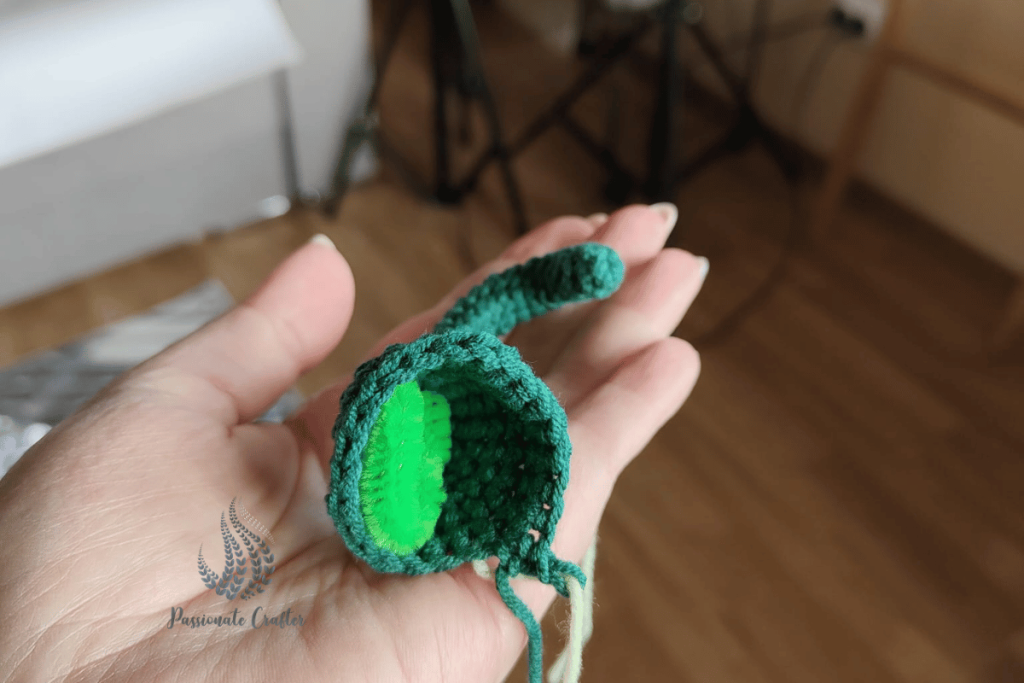
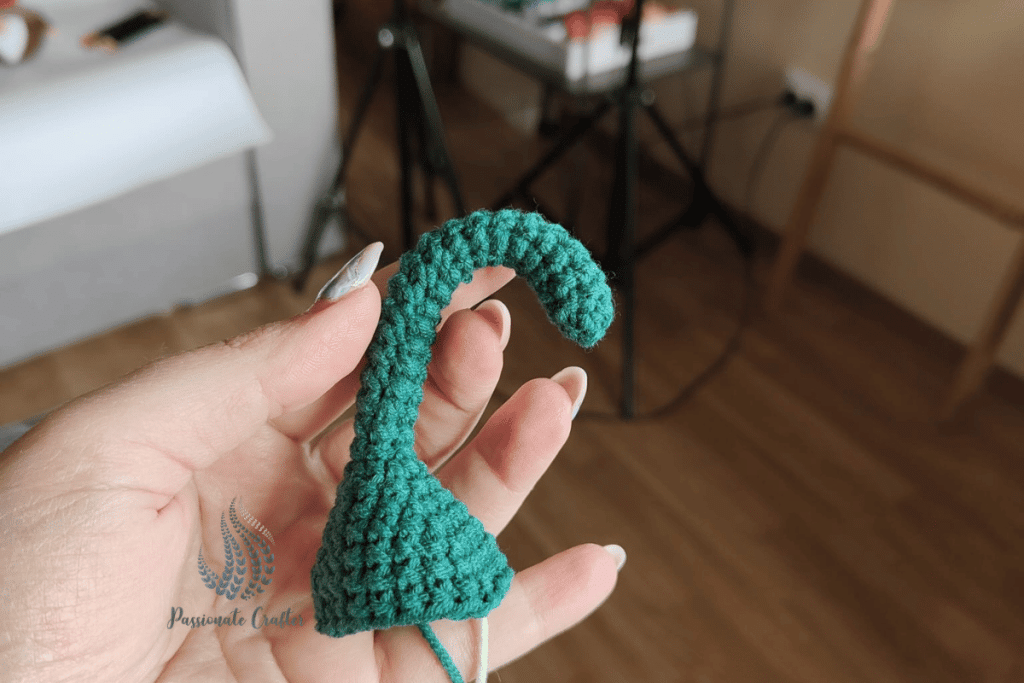
Poppy Gnome stem
-with a green color
Rnd 1: MR of 6 sc (6)
Rnd 2-19: 6 sc (6) [18 rounds]
Rnd 20: 6 inc (12)
Rnd 21: 12 sc (12)
Rnd 22: (3 sc, inc) x4 (16)
Rnd 23: (4 sc, inc) x4 (20)
Rnd 24-26: 20 sc (20) [3 rounds]
FO. Leave a longer tail for sewing. Insert the pipe cleaner and stuff the bottom of your stem.
Crochet poppy applique
-with a yellow color
The poppy is crocheted with hdc st. When written inc it means make 2 hdc in next st.
Rnd 1: MR of 7 hdc, sl st to join (7) FO yellow color and attach black.
Rnd 2: 7 inc, sl st to join (14) FO black color and attach red.
Rnd 3: (1 hdc , 1 inc) x7, sl st to join (21)
The next round is worked in 3rd loop of hdc.
Only the next round!
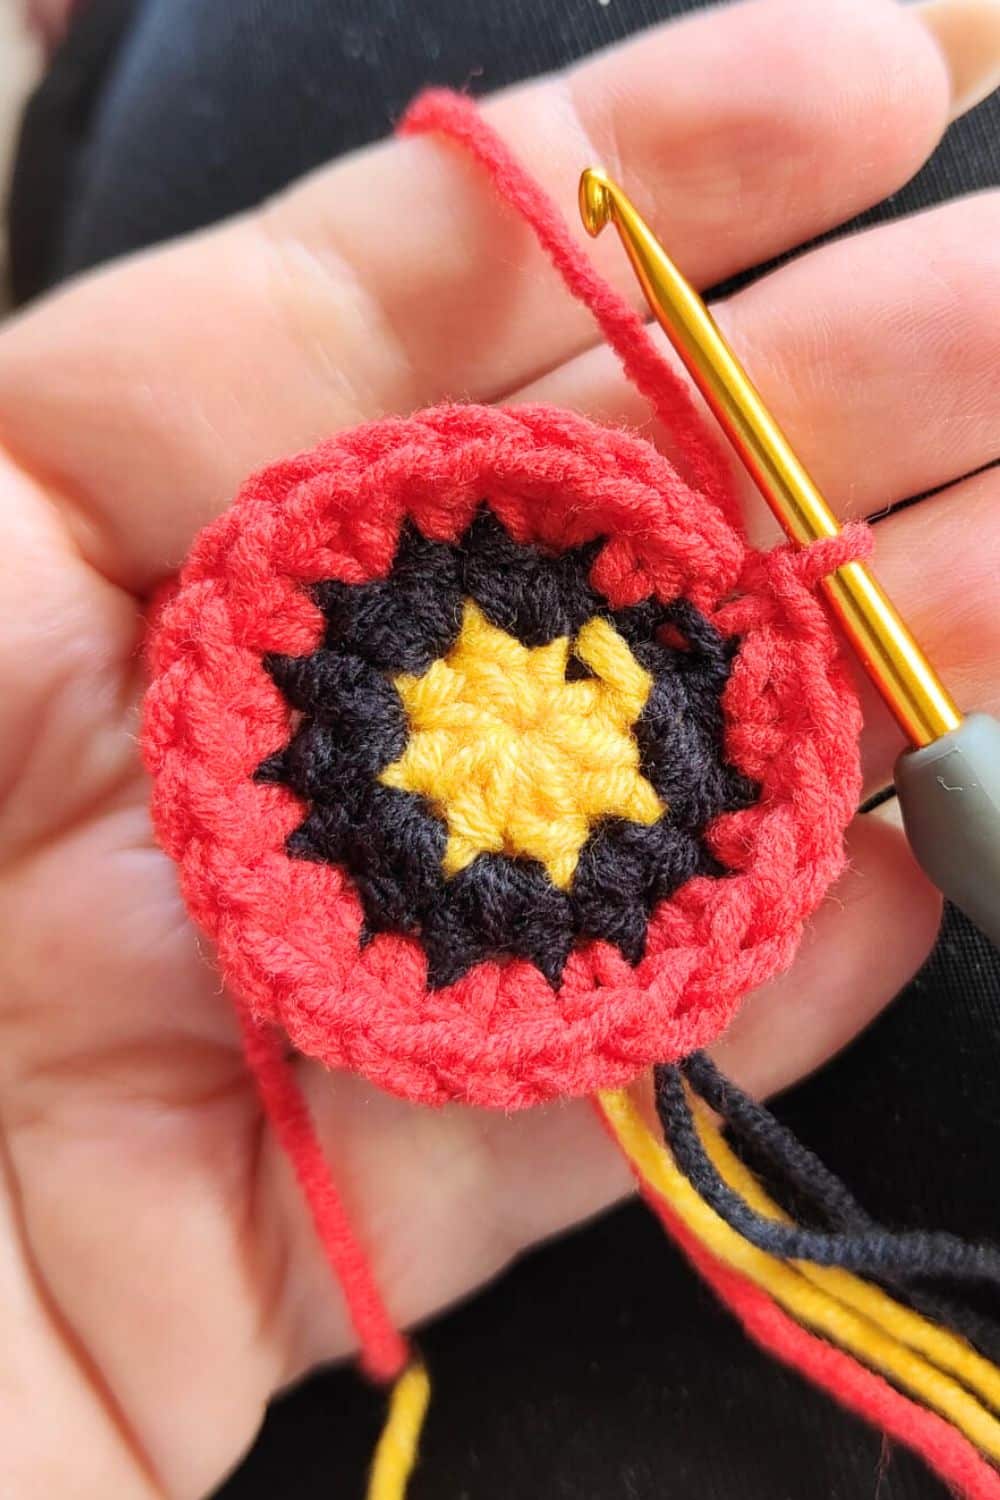
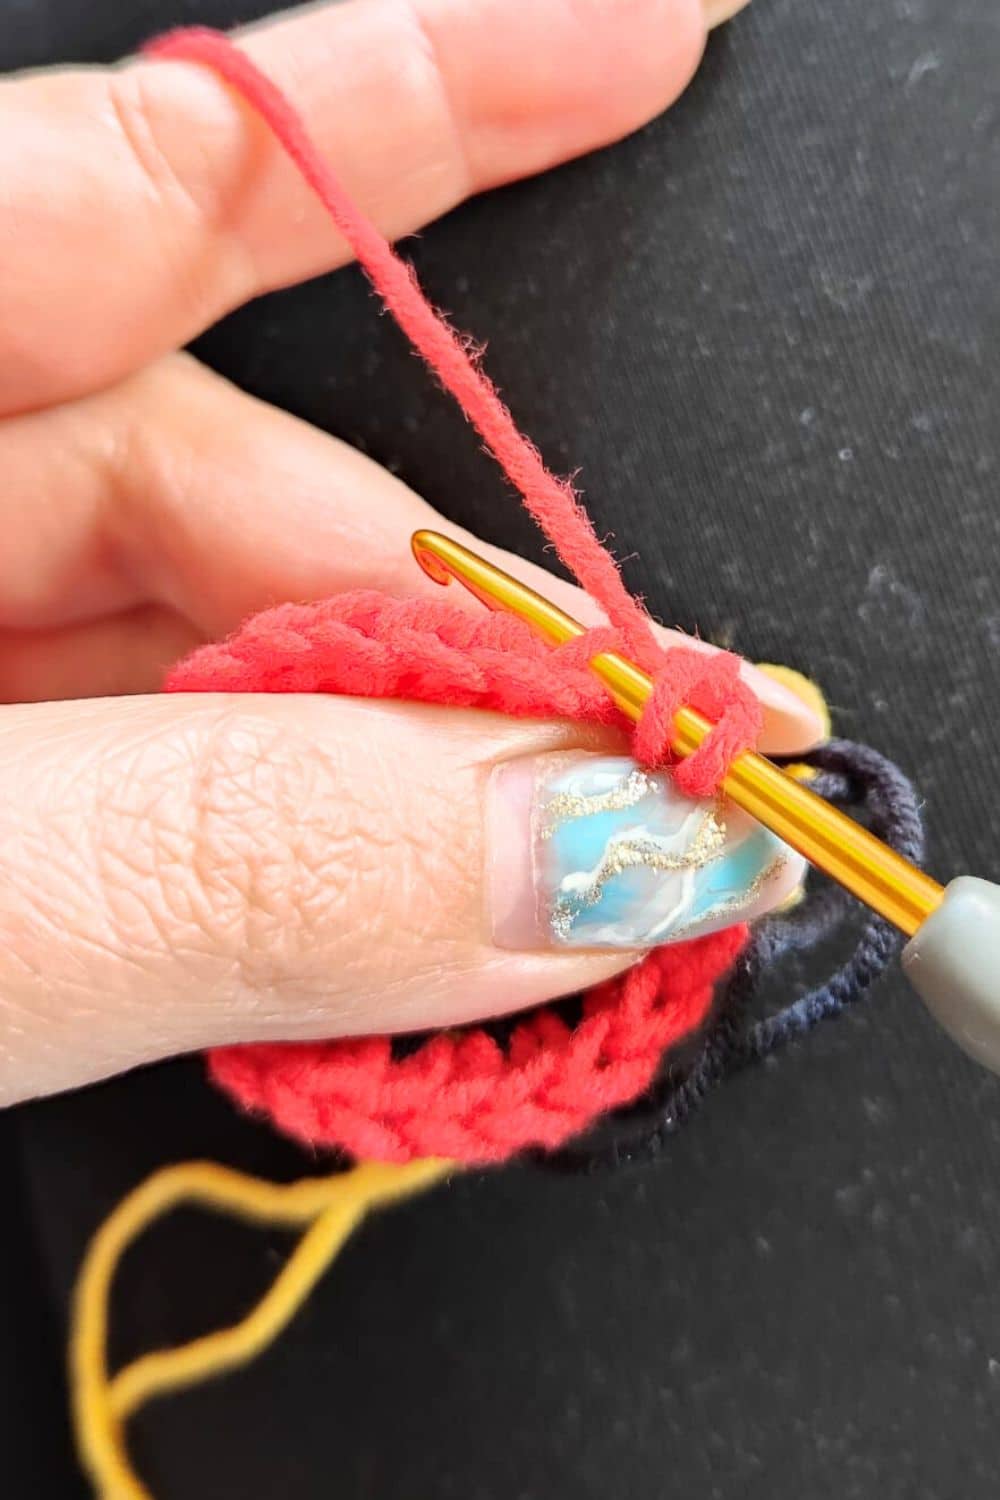
Rnd 4: (2 hdc, 1 inc) x7 (28)
Rnd 5: [2 sl st, 1 sc, 2 hdc, 1 dc, (2 tr all in next) x2, 1 dc, 2 hdc, 1 sc, 2 sl st ] x2, sl st tp join (32)
FO. Don’t leave a long tail.
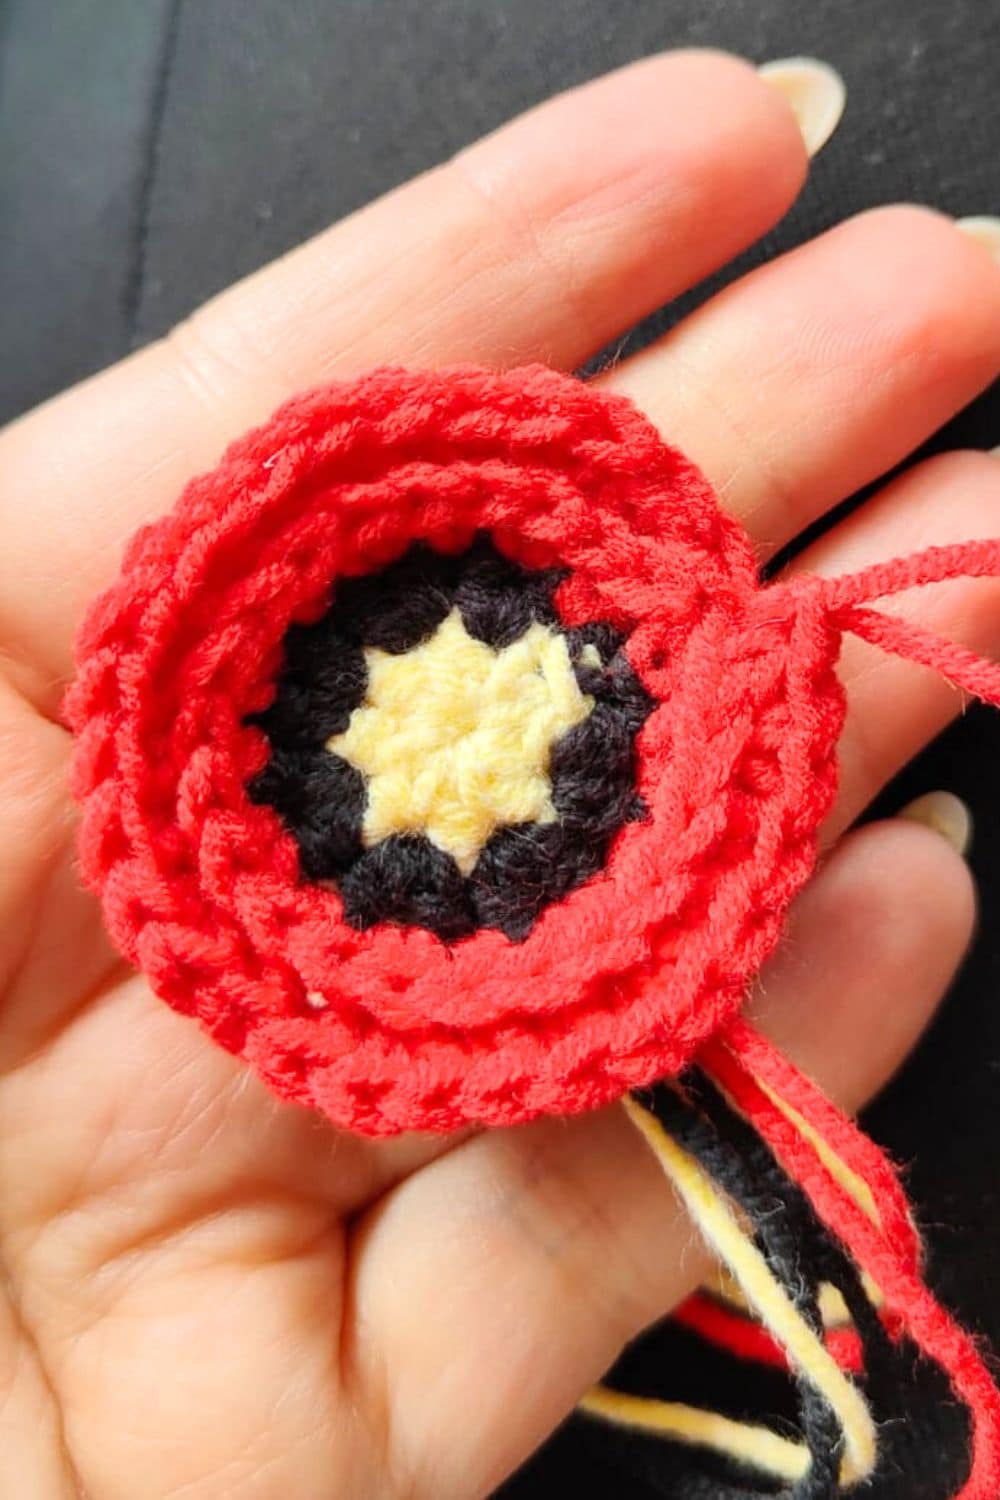
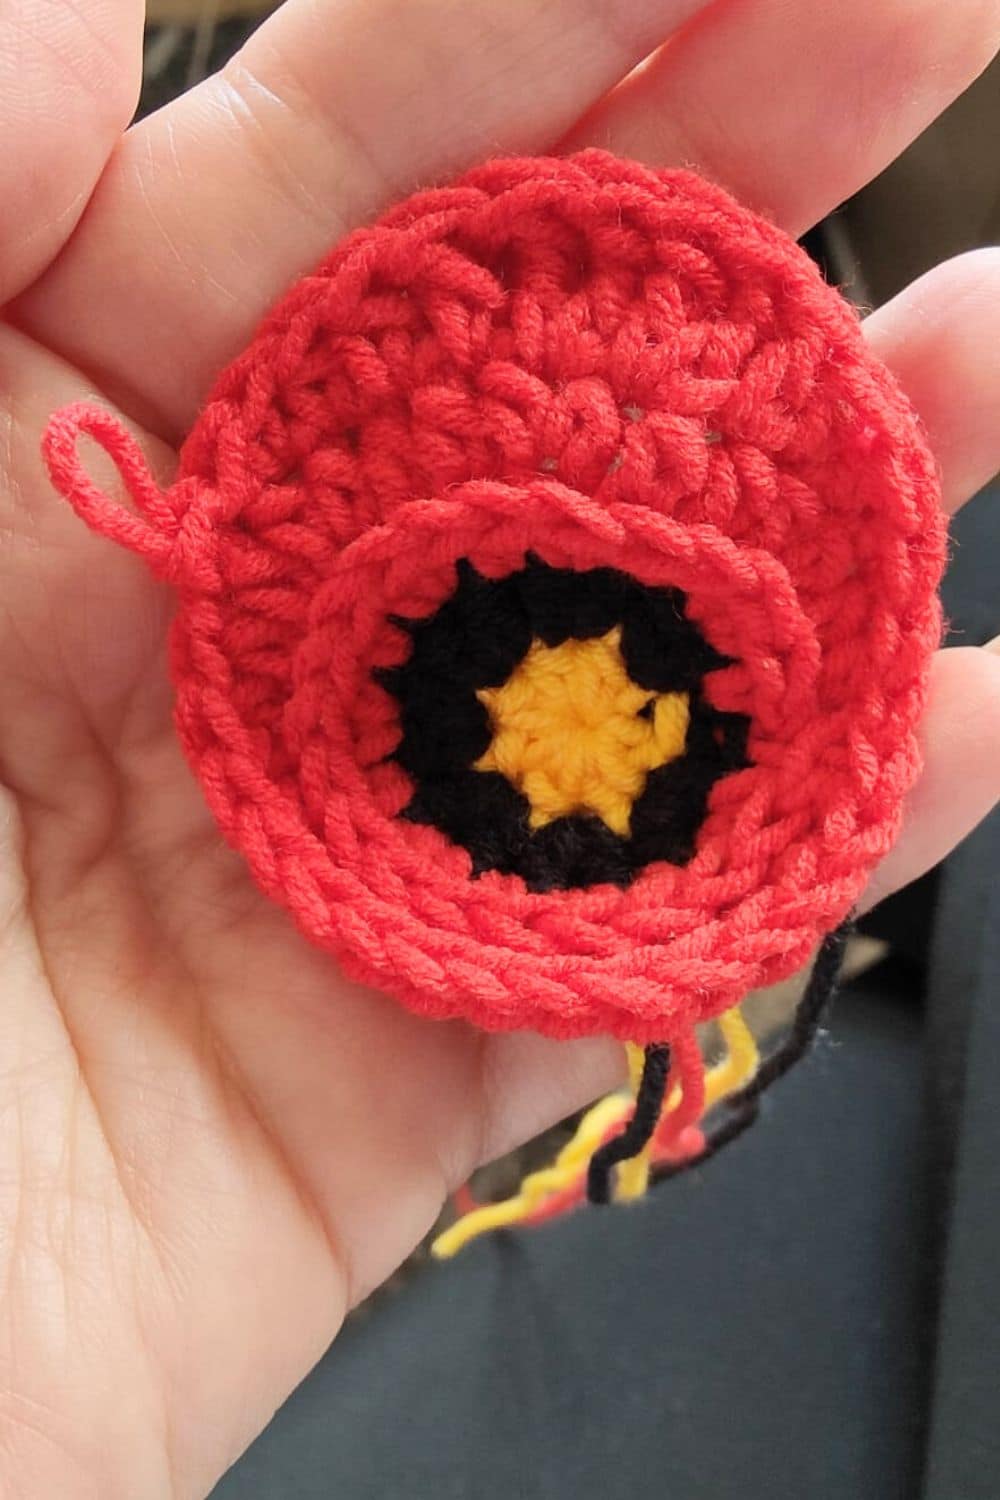
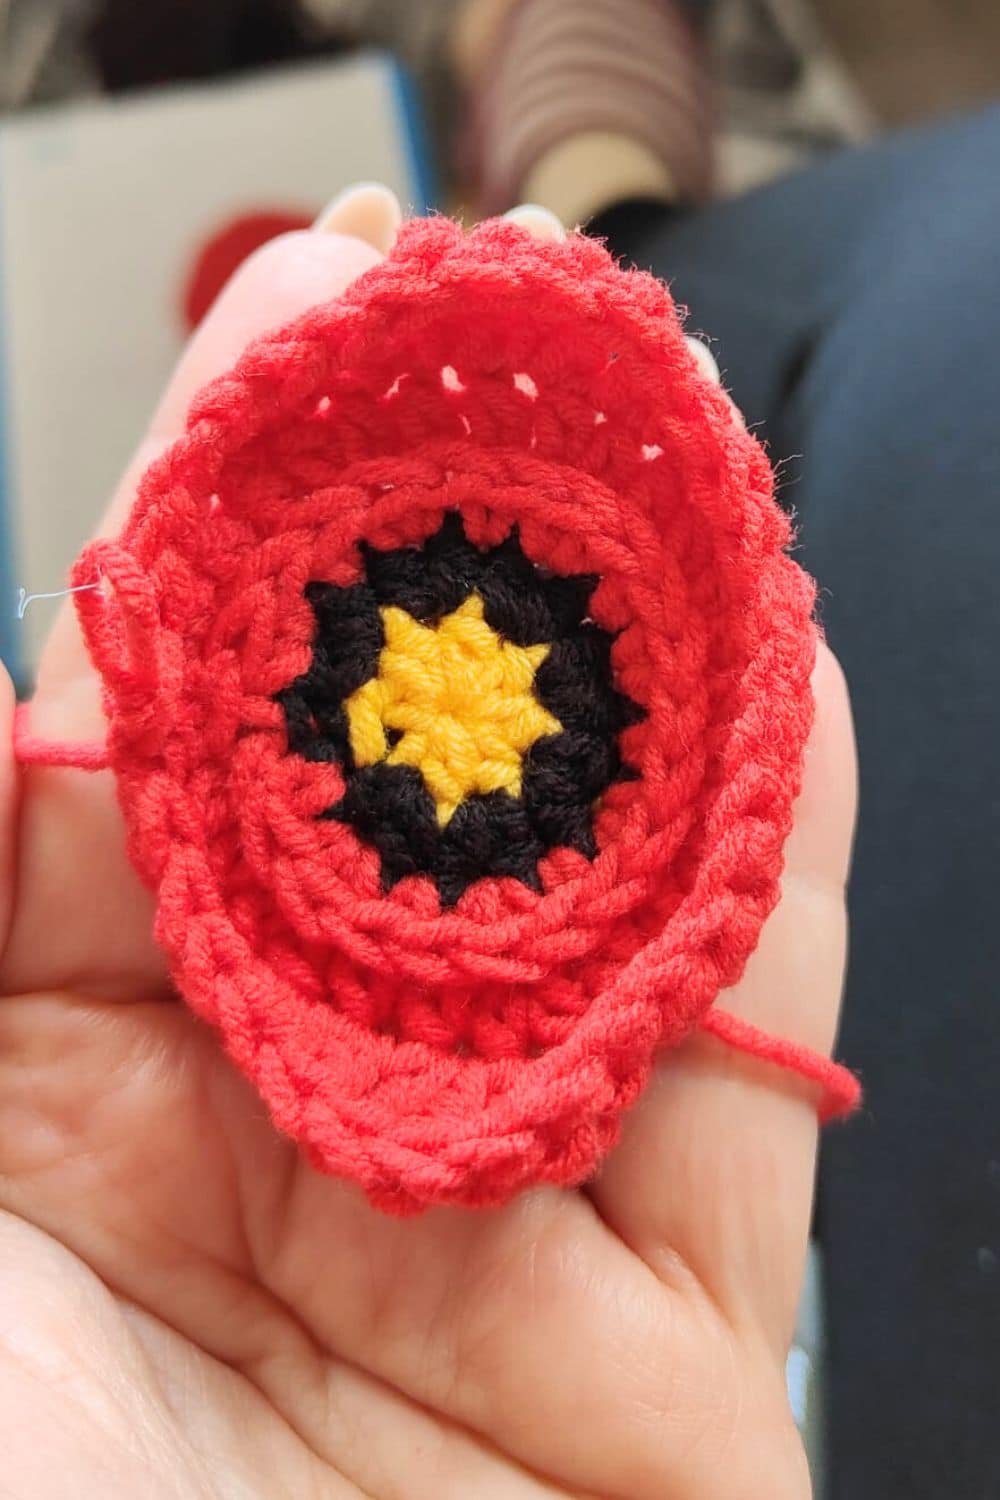
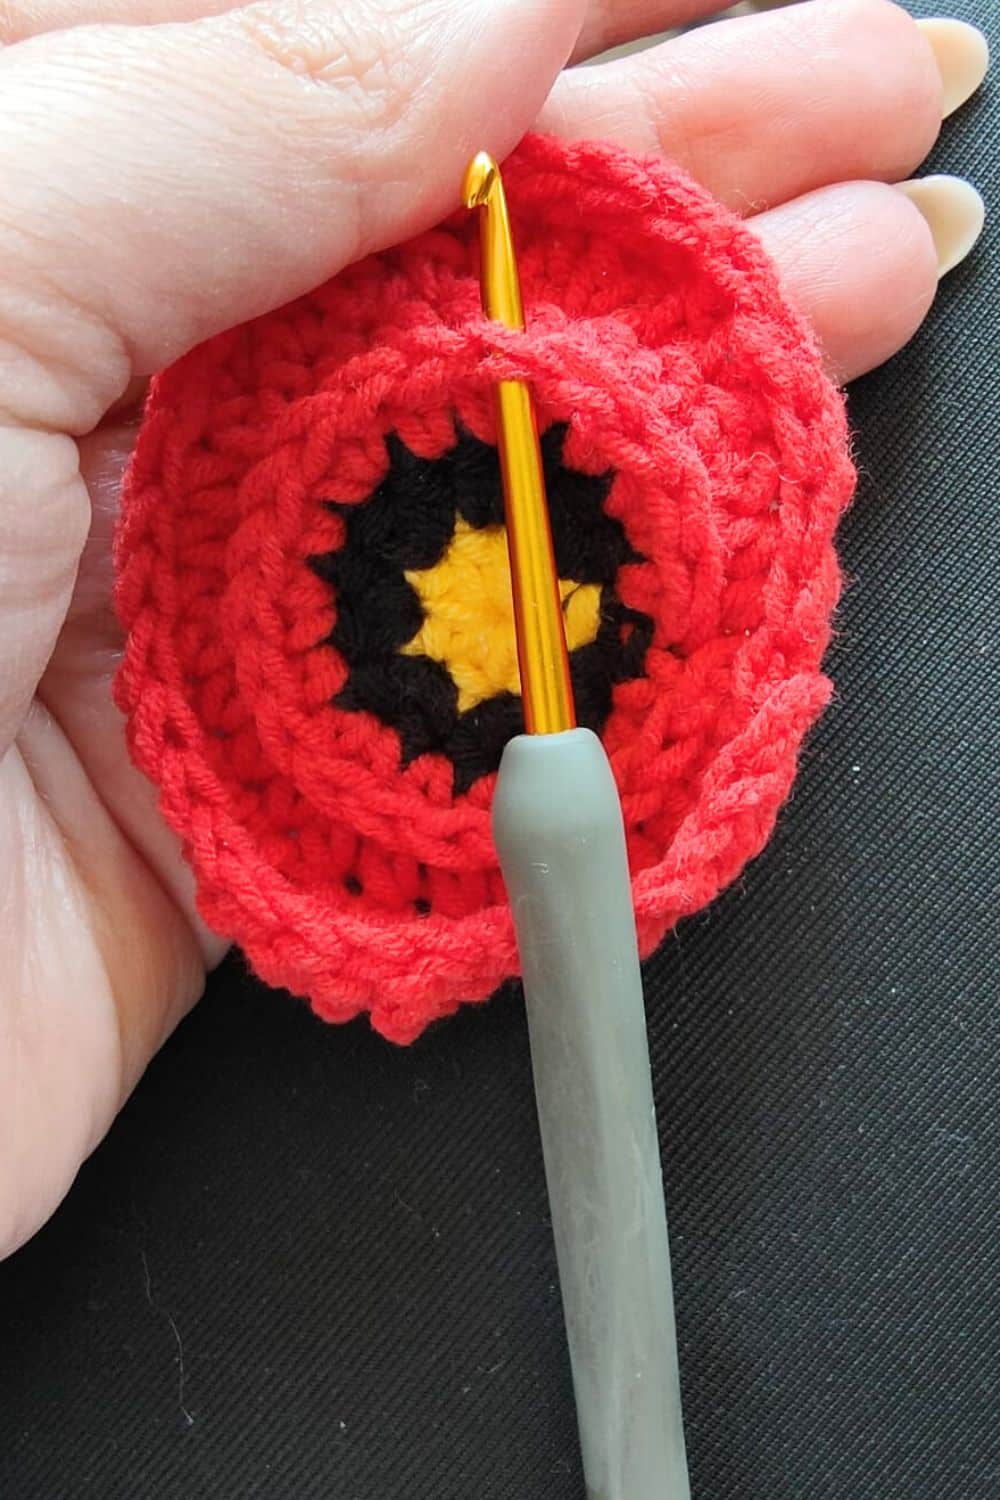
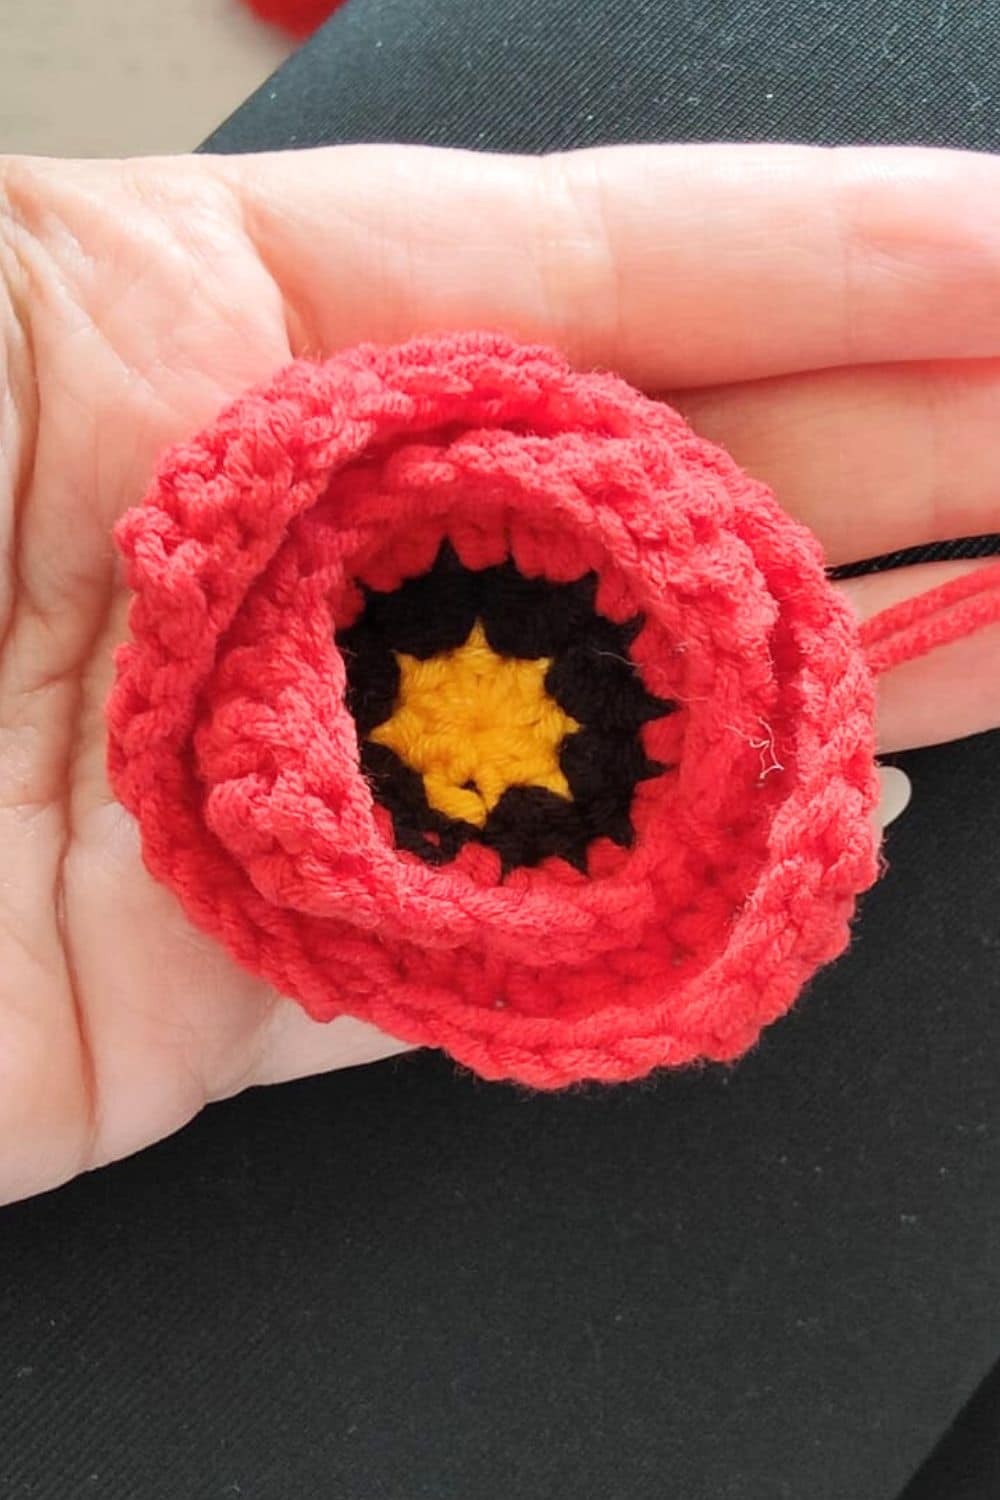
Poppy applique inner petals
-with a red color
Insert your hook in the 6th stitch of rnd 4, pull a loop, ch 1 (counts as sl st), 1 sc, 1 hdc, 1 dc, (2 tr all in next) x2, 1 dc, 1 hdc, 1 sc, 1 sl st, 1 sc, 1 hdc,1 dc, (2 tr all in next) x2, 1 dc, 1 hdc, 1 sc, 1 sl st, 2 sc, sl st to join FO. Leave a longer tail for sewing.
How to assembly your gnome
Use safety pins to place your pieces. Once you like the placement, sew them onto the body.
First, take the beard and sew it right below the brim.
Secondly, take the nose and sew it onto the beard.
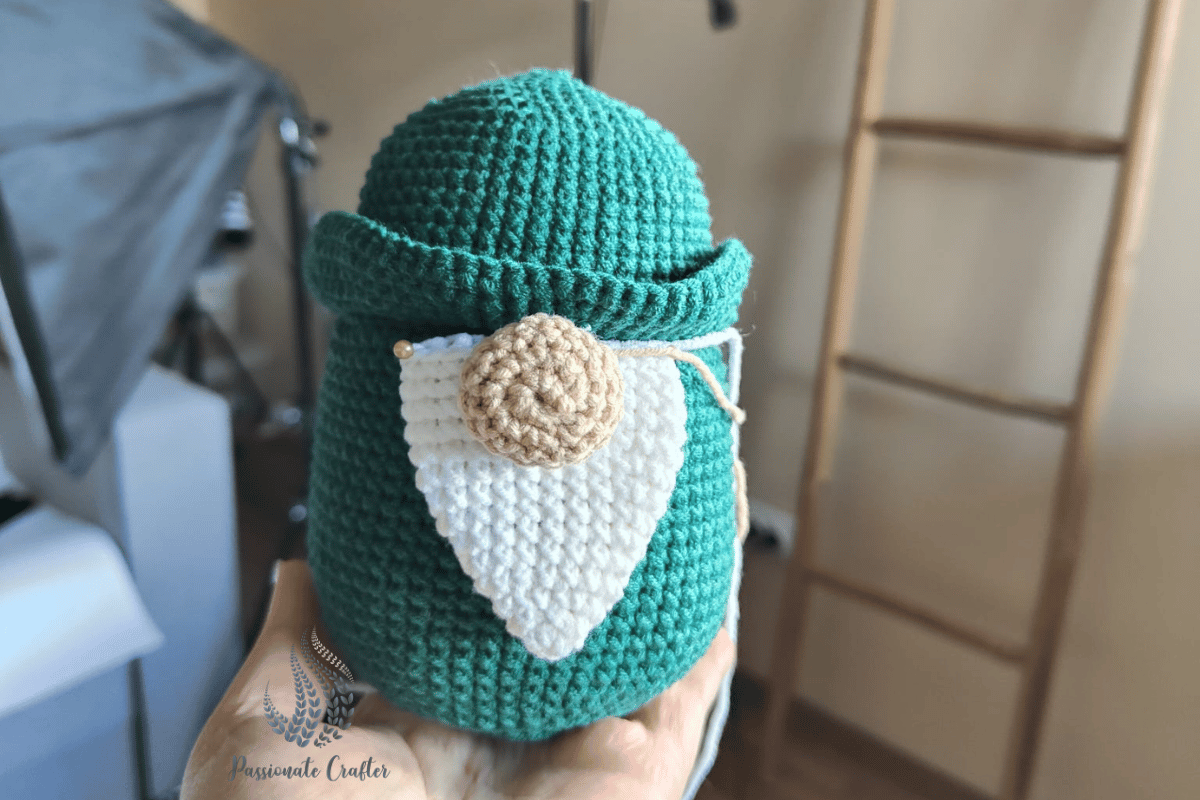
Now, take the hands and sew them on both sides, leaving 4-5 stitches between the beard and the hands.
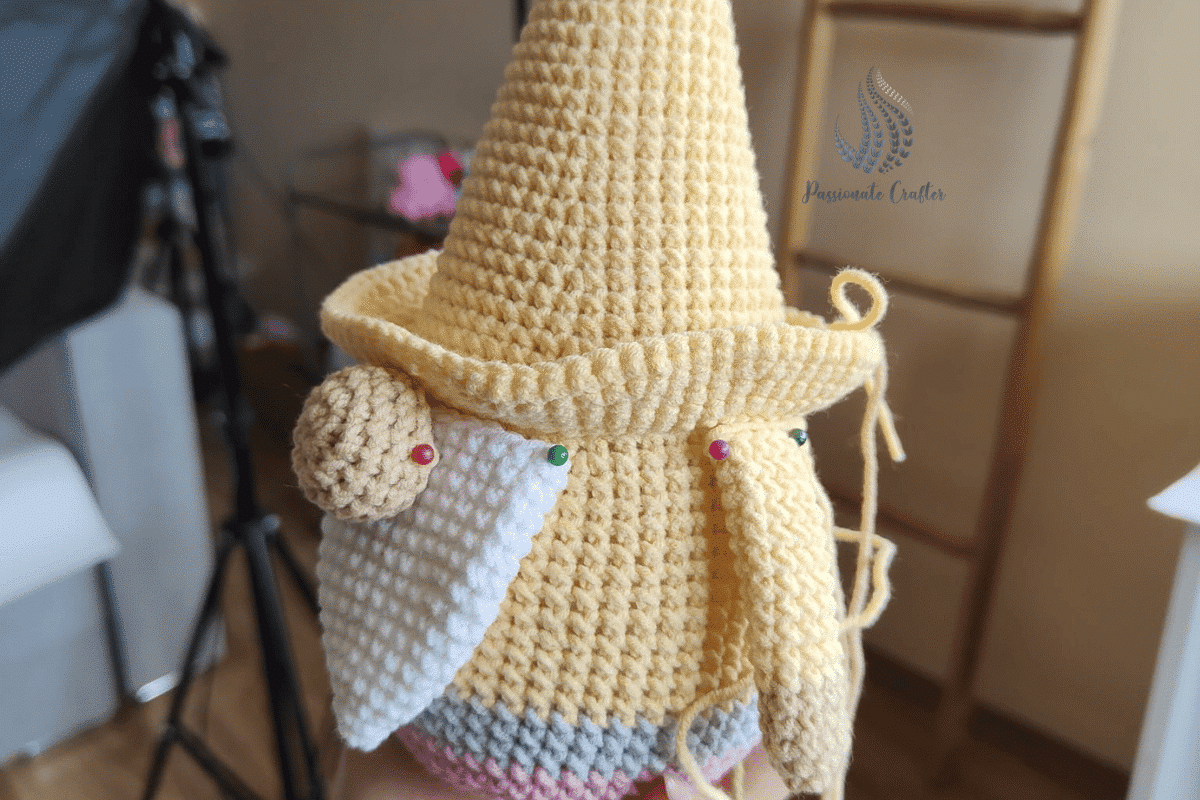
Attach one of the poppies onto the base of the hat’s brim.
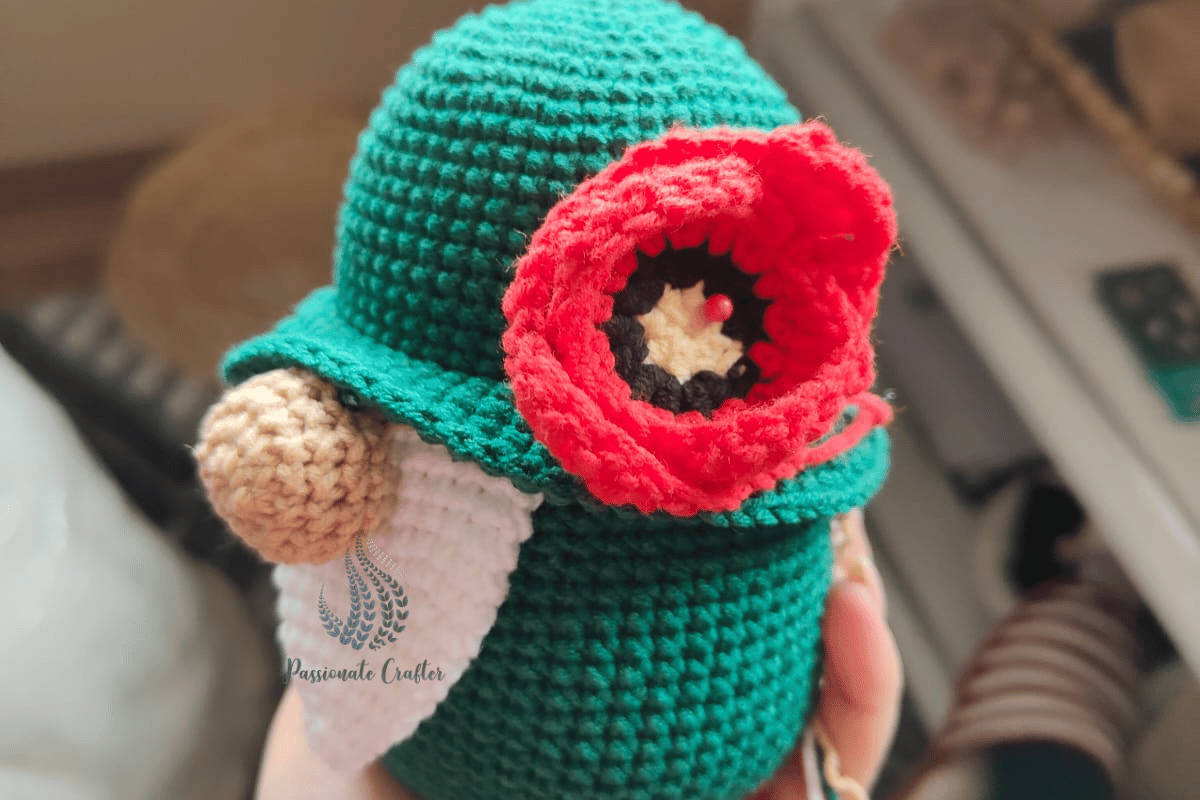
Sew the stem on top of your gnome, and then attach the second poppy.
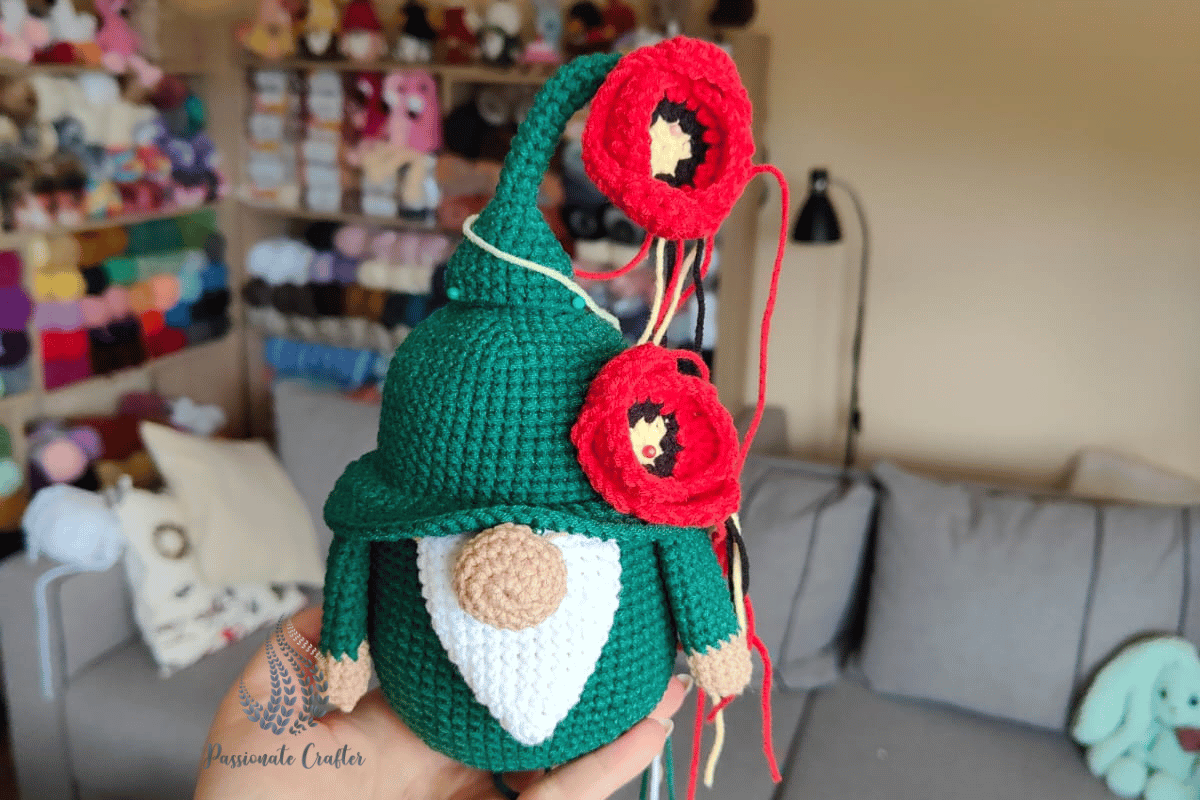
Your Poppy Gnome is finished. Happy crocheting! I hope you enjoyed the Poppy gnome pattern as much as I did.
Prefer the PDF version?
Grab the ad-free, printable PDF pattern.
Download and print at home. View on your mobile device, tablet, or computer.
Invitation to our Facebook group
You are welcome to share your projects made with our patterns with the community and us. We are thrilled to see your creations, and you are very welcome to share them on our FACEBOOK PAGE HERE, our FACEBOOK GROUP, or on INSTAGRAM by using the hashtag #passionatecrafterr.
Follow us on Pinterest and Instagram for more content and crochet patterns.
What’s Next?
Pin this post: Save this tutorial to your Pinterest boards so you can return to it later.
Share Your Thoughts: I’d love to hear your feedback. Comment below and tell me your thoughts!
Share on Instagram or Facebook: We will be thrilled to see your creations, and you are very welcome to share them by using the hashtag #passionatecrafterr or tag us @passionatecrafterr
More free crochet gnome patterns
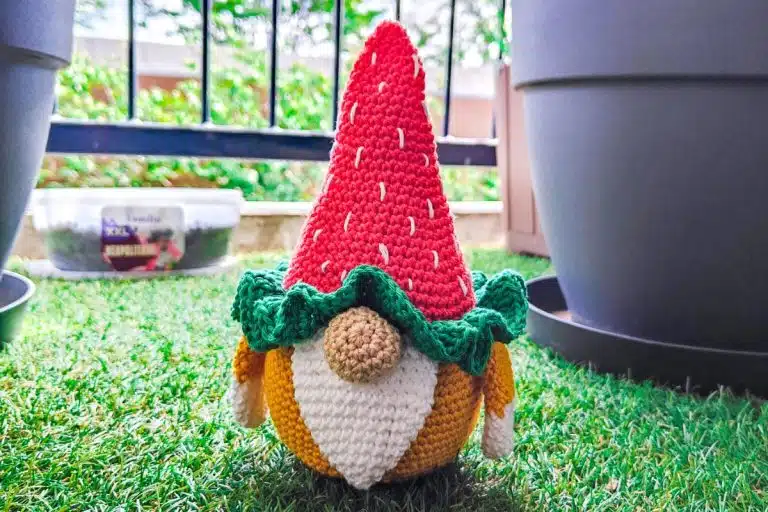
Here are the summer gnomes from last year’s gnome CAL, which were a big hit. From watermelon lovers to cupcake lovers. We’ve got you covered.


The latest patterns on the blog
Here are the latest patterns from the blog. If you missed some, check them out below.