

If you’re looking for a simple yet stunning crochet stitch, this wave stitch pattern is perfect for you! It’s a one-row repeat worked in the back loops only, which creates a beautiful textured effect that mimics gentle waves. Whether you’re making a cozy blanket, a scarf, or even a garment, this stitch adds a lovely flowing design without any complicated techniques.

Is the crochet wave stitch suitable for beginners?
If you know the six basic crochet stitches, you can easily master this pattern! There’s no need to skip stitches or work tricky increases and decreases—just follow the straightforward instructions, and you’ll have a smooth, rhythmic stitch that’s relaxing to crochet. The back loop technique enhances the ripple effect, giving it a soft, 3D texture that looks great in solid colors or even with color changes for a striking effect.

This tutorial also includes tips on how to straighten the edges at both the top and bottom of your work. Many wave or ripple patterns can leave uneven edges, but this method ensures a clean, polished finish. Whether you’re a beginner looking for an easy textured stitch or an experienced crocheter in search of a quick, satisfying project, this wave stitch is a must-try!

Ready to get started? Grab your yarn and hook, and let’s dive into this beautiful and effortless wave stitch pattern!
Materials needed:
- For the swatches I used 4.5 mm crochet hook
- The yarn I used is Lion brand Color Theory Yarn 100% Acrylic, 100gr/3.5 oz, 225m/246yds which is 4 Medium / Worsted yarn weight. But you can use any yarn you have in your stash.
- scissors
- yarn needle
Abbreviation
ch(s)- chain(s)
sc- single crochet
hdc – half double crochet
dc- double crochet
st(s)- stitch(es)
rep- repeat
dc2tog- double crochet two together
**- repeat the stitches in the ** indicated times
[]- repeat the stitches in the [] indicated times
Related post: How to crochet the mini cable stitch
Special stitches
Double crochet two together(dc2tog)-YO, insert your hook into the next st, grab your yarn and pull through, ( 3 loops on the hook ), YO, and pull through the first two loops, ( two loops on the hook ), YO, insert your hook into the next st, grab your yarn and pull through, ( 4 loops on the hook ), YO, and pull through the first two loops, ( 3 loops on the hook ), YO, pull through all the loops.
Pattern notes
- For this pattern instead of starting with a ch2, I used the stacked single crochet stitch. Check the special stitch section for more details. If it is easier for you use ch2 at the beginning of the row. But keep in mind it is NOT counted as a stitch.
- For the tutorial I used a 4.5 mm crochet hook and Lion brand Color Theory yarn.
- You can use any yarn you have in your stash, this stitch works very well on almost any yarn.
- The pattern is multiple of 12+13 sts. If you would like to make a bigger project start with a chain that can be divided by 12 and add 13 more chains.
How to crochet the ripple stitch step-by-step photo tutorial
Row 1 (RS): ch 37, 1 sc in 2nd ch from the hook, 1 sc in each st across, turn
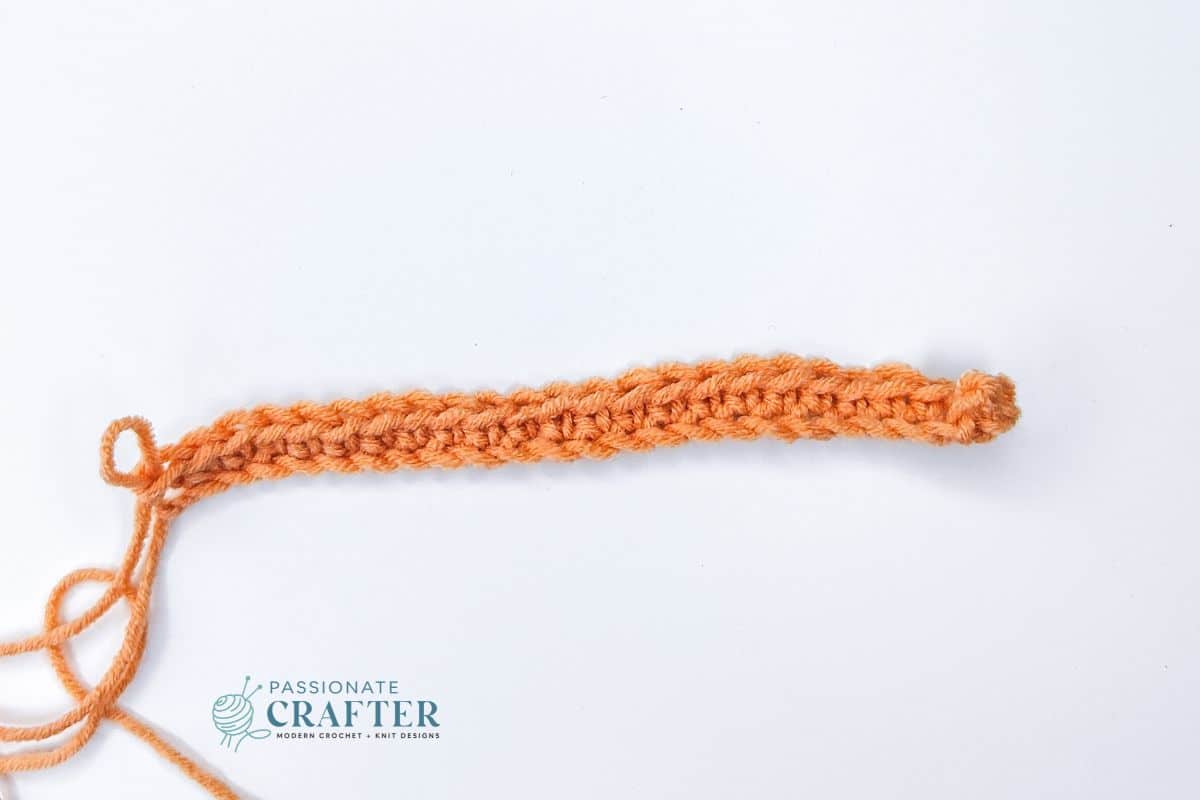
From now on here and throughout the pattern we will work in the back loops only!
Row 2 (WS): ch2 (does not count as a st here and throughout the pattern), * 1 dc in next, 1 hdc in next 2, 1 sc in next 6, 1 hdc in next 2, 1 dc in next * rep to the end, turn
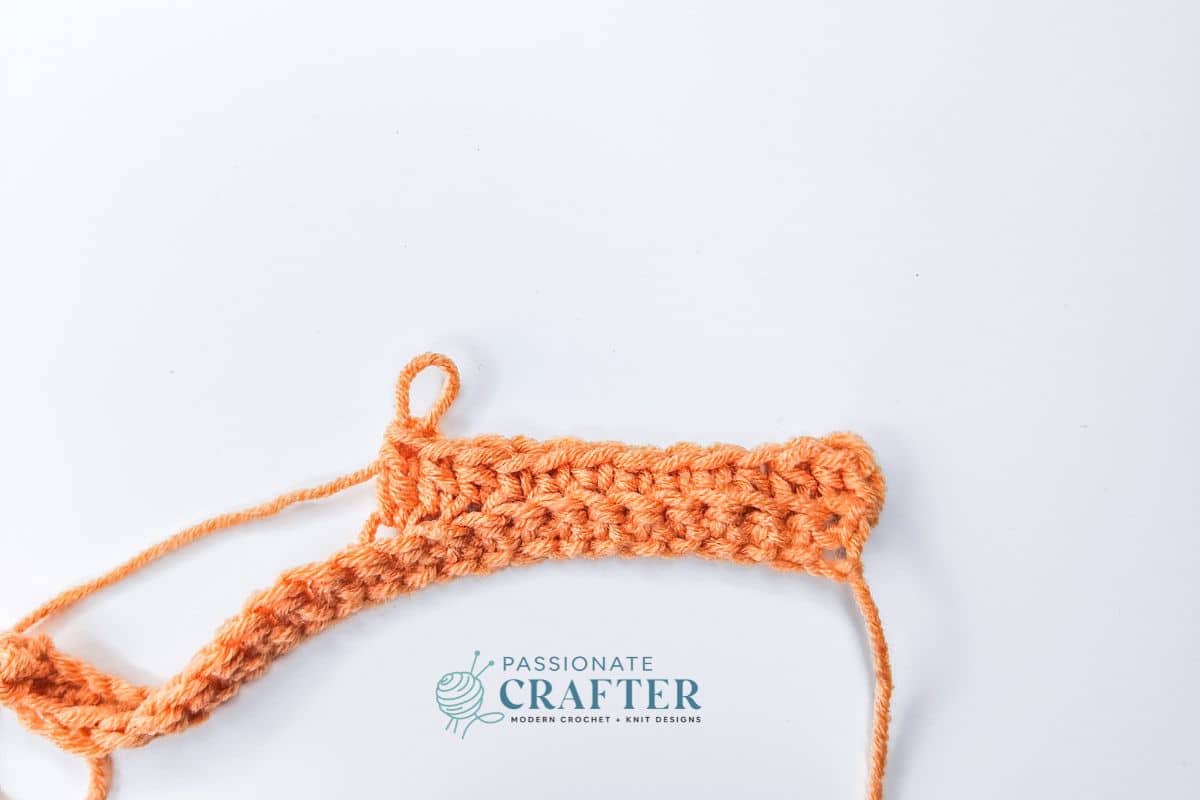
Final look of row 2
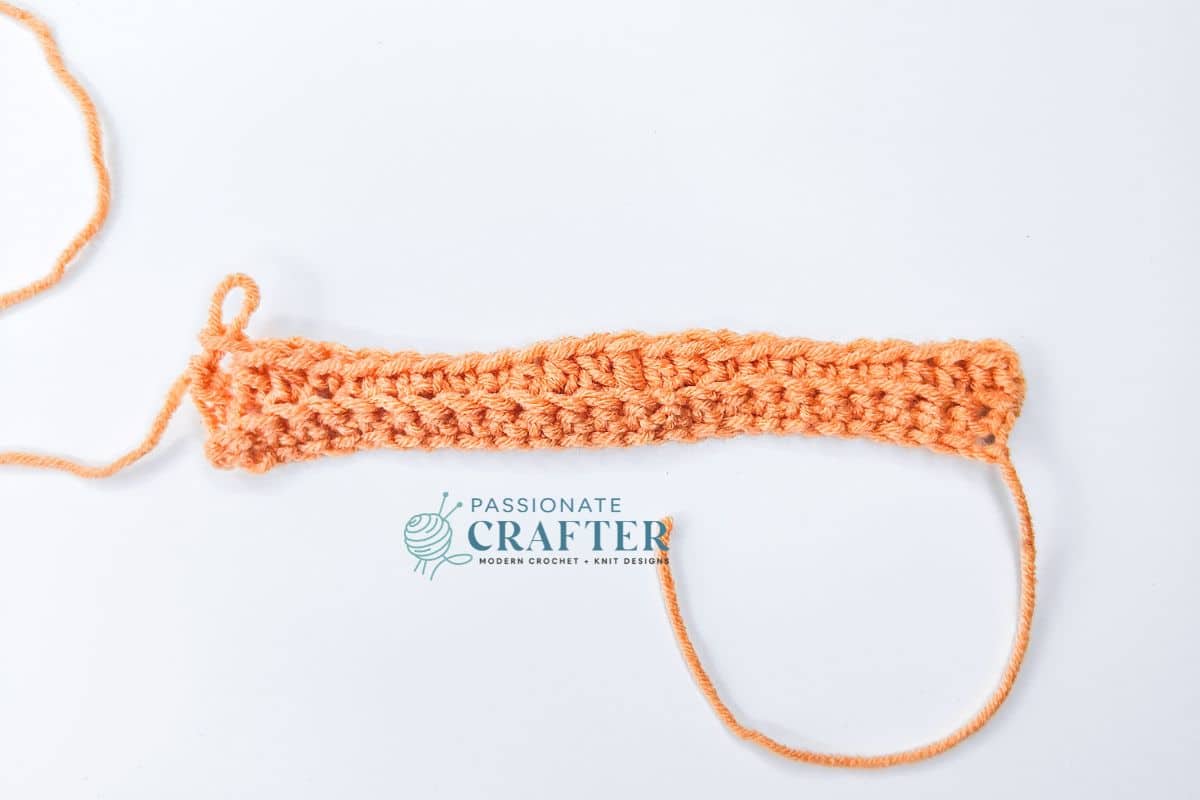
Row 3 (RS): ch2, 2 dc in base of initial ch2, 1 dc in next 3,
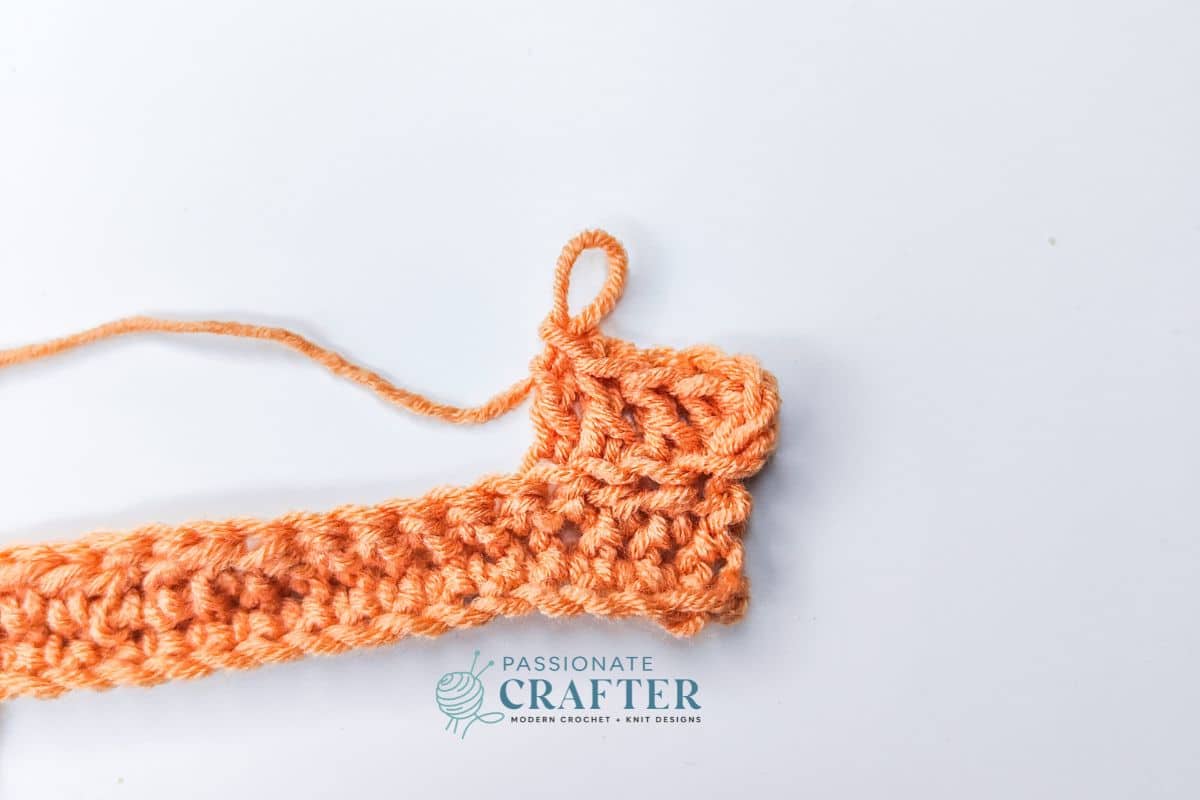
[ dc2tog over next two sts ] twice, 1 dc in next 3,
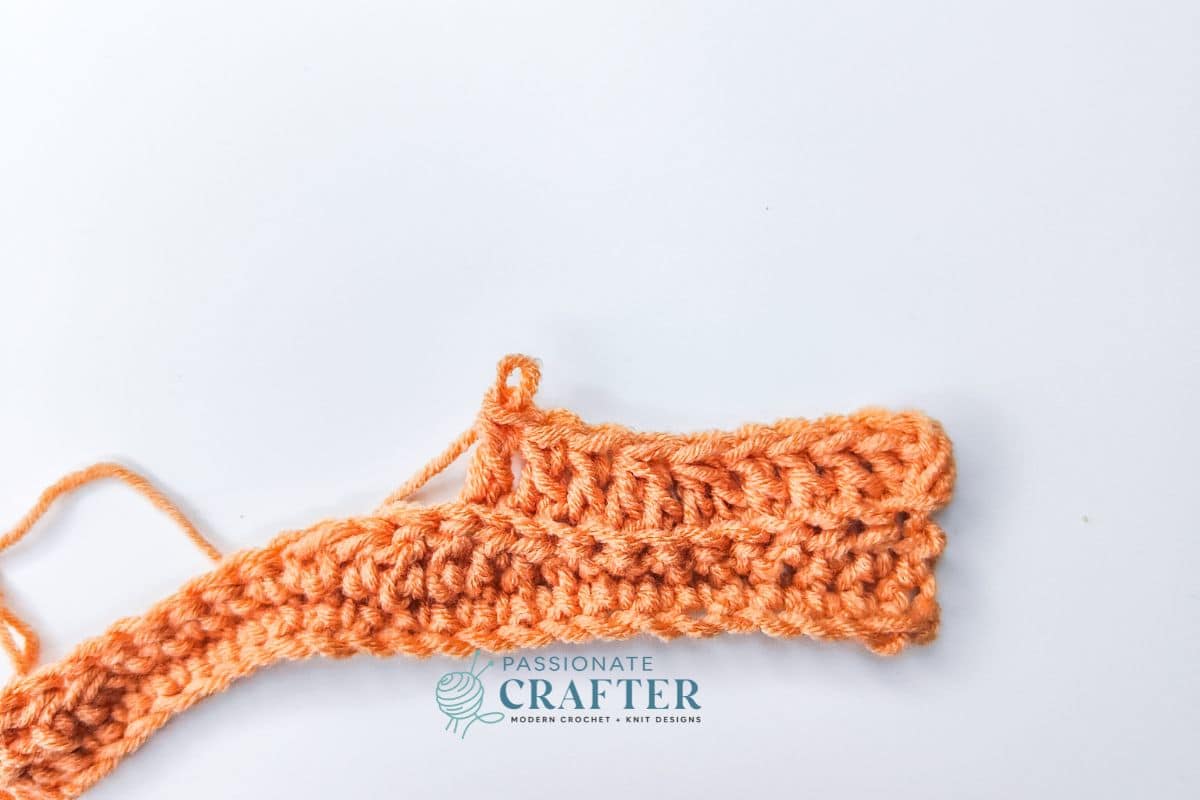
* 2 dc in next 2, 1 dc in next 3, [ dc2tog over next two sts ] twice, 1 dc in next 3 * rep to the last st, 2 dc in last st, turn
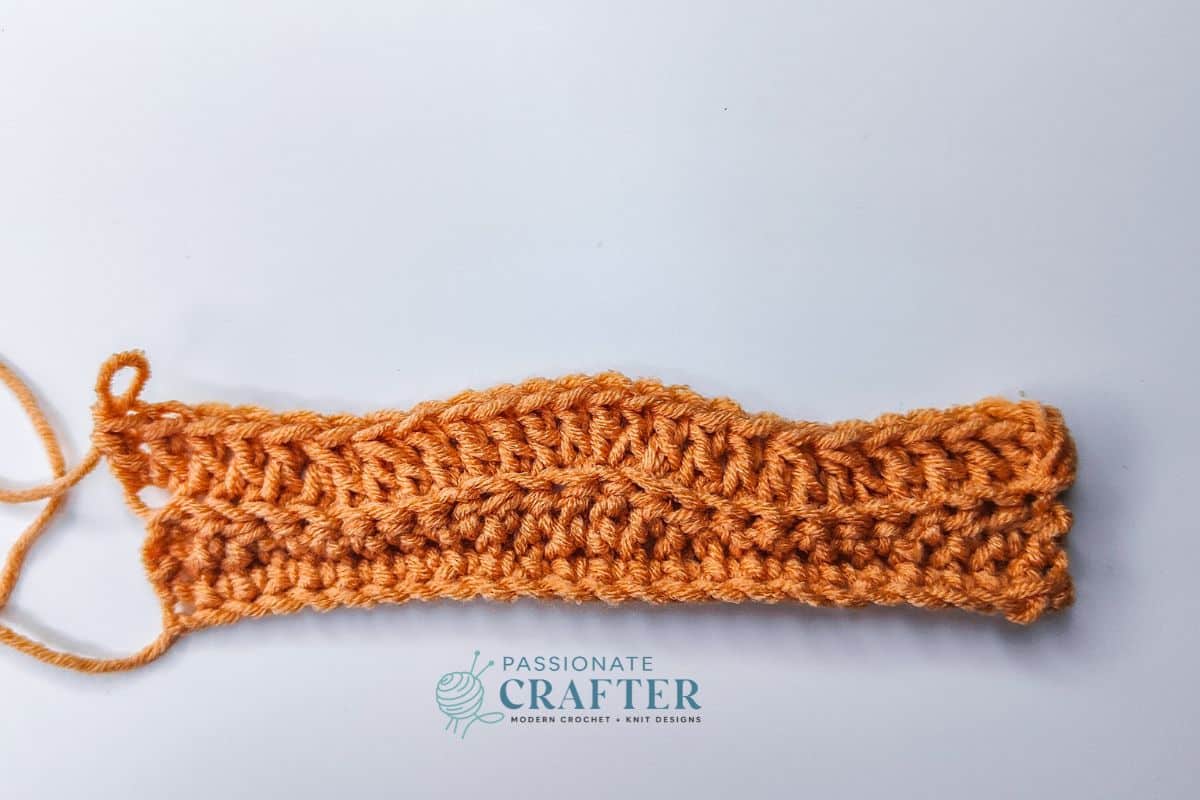
Rep row 3 until the desired length.
Next row: ch1, * 1 sc in next 3, 1 hdc in next 2, 1 dc in next 2, 1 hdc in next 2, 1 sc in next 3 * rep to the end of the row.
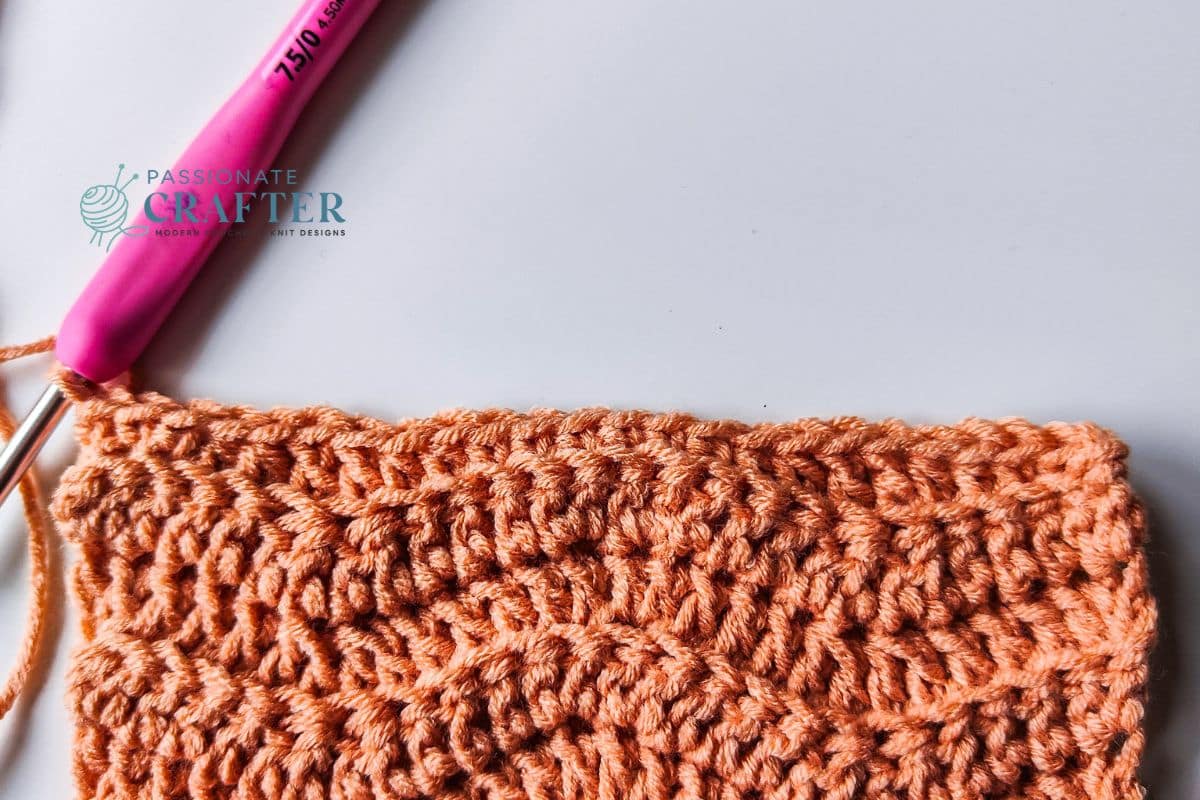
Final row (Optional) ch1, 1 sc in each st across. Fasten off and weave ends in.
Don’t forget to pin this for later!
More crochet stitch patterns


- How to crochet the Mini Cable Stitch Pattern
- How to crochet the modified single crochet two together stitch
- How to crochet the Judith stitch
Invitation to our Facebook group
You are welcome to share your projects made by our patterns with the community and us. Moreover, we are thrilled to see your creations, and you are very welcome to share them on our FACEBOOK PAGE HERE or our FACEBOOK GROUP or on INSTAGRAM by using the hashtag #passionatecrafterr.
Save this tutorial to your Pinterest boards so that you can come back to it later.
We’d love to hear your feedback. Drop a comment below and tell us your thoughts! And don’t forget to follow us on your favorite social platform!


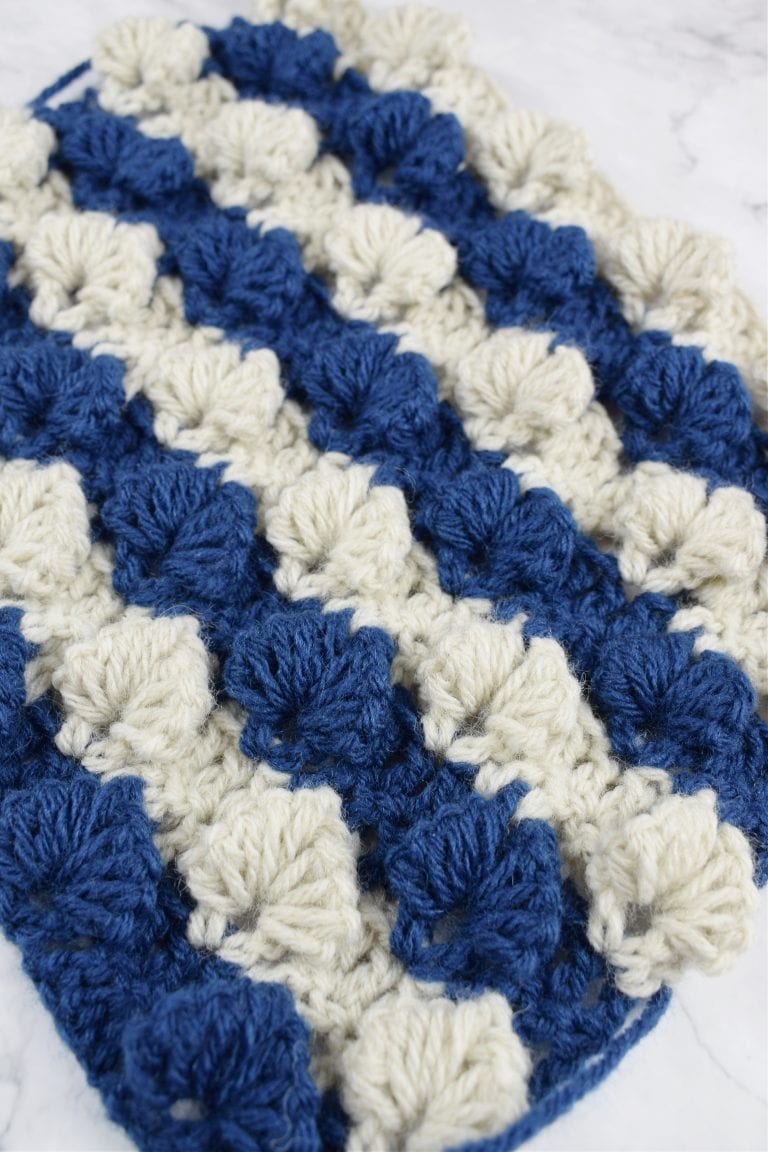



I have made a blanket for a baby using this pattern. The instructions were easy to follow and it was quick to make up. I absolutely love it.