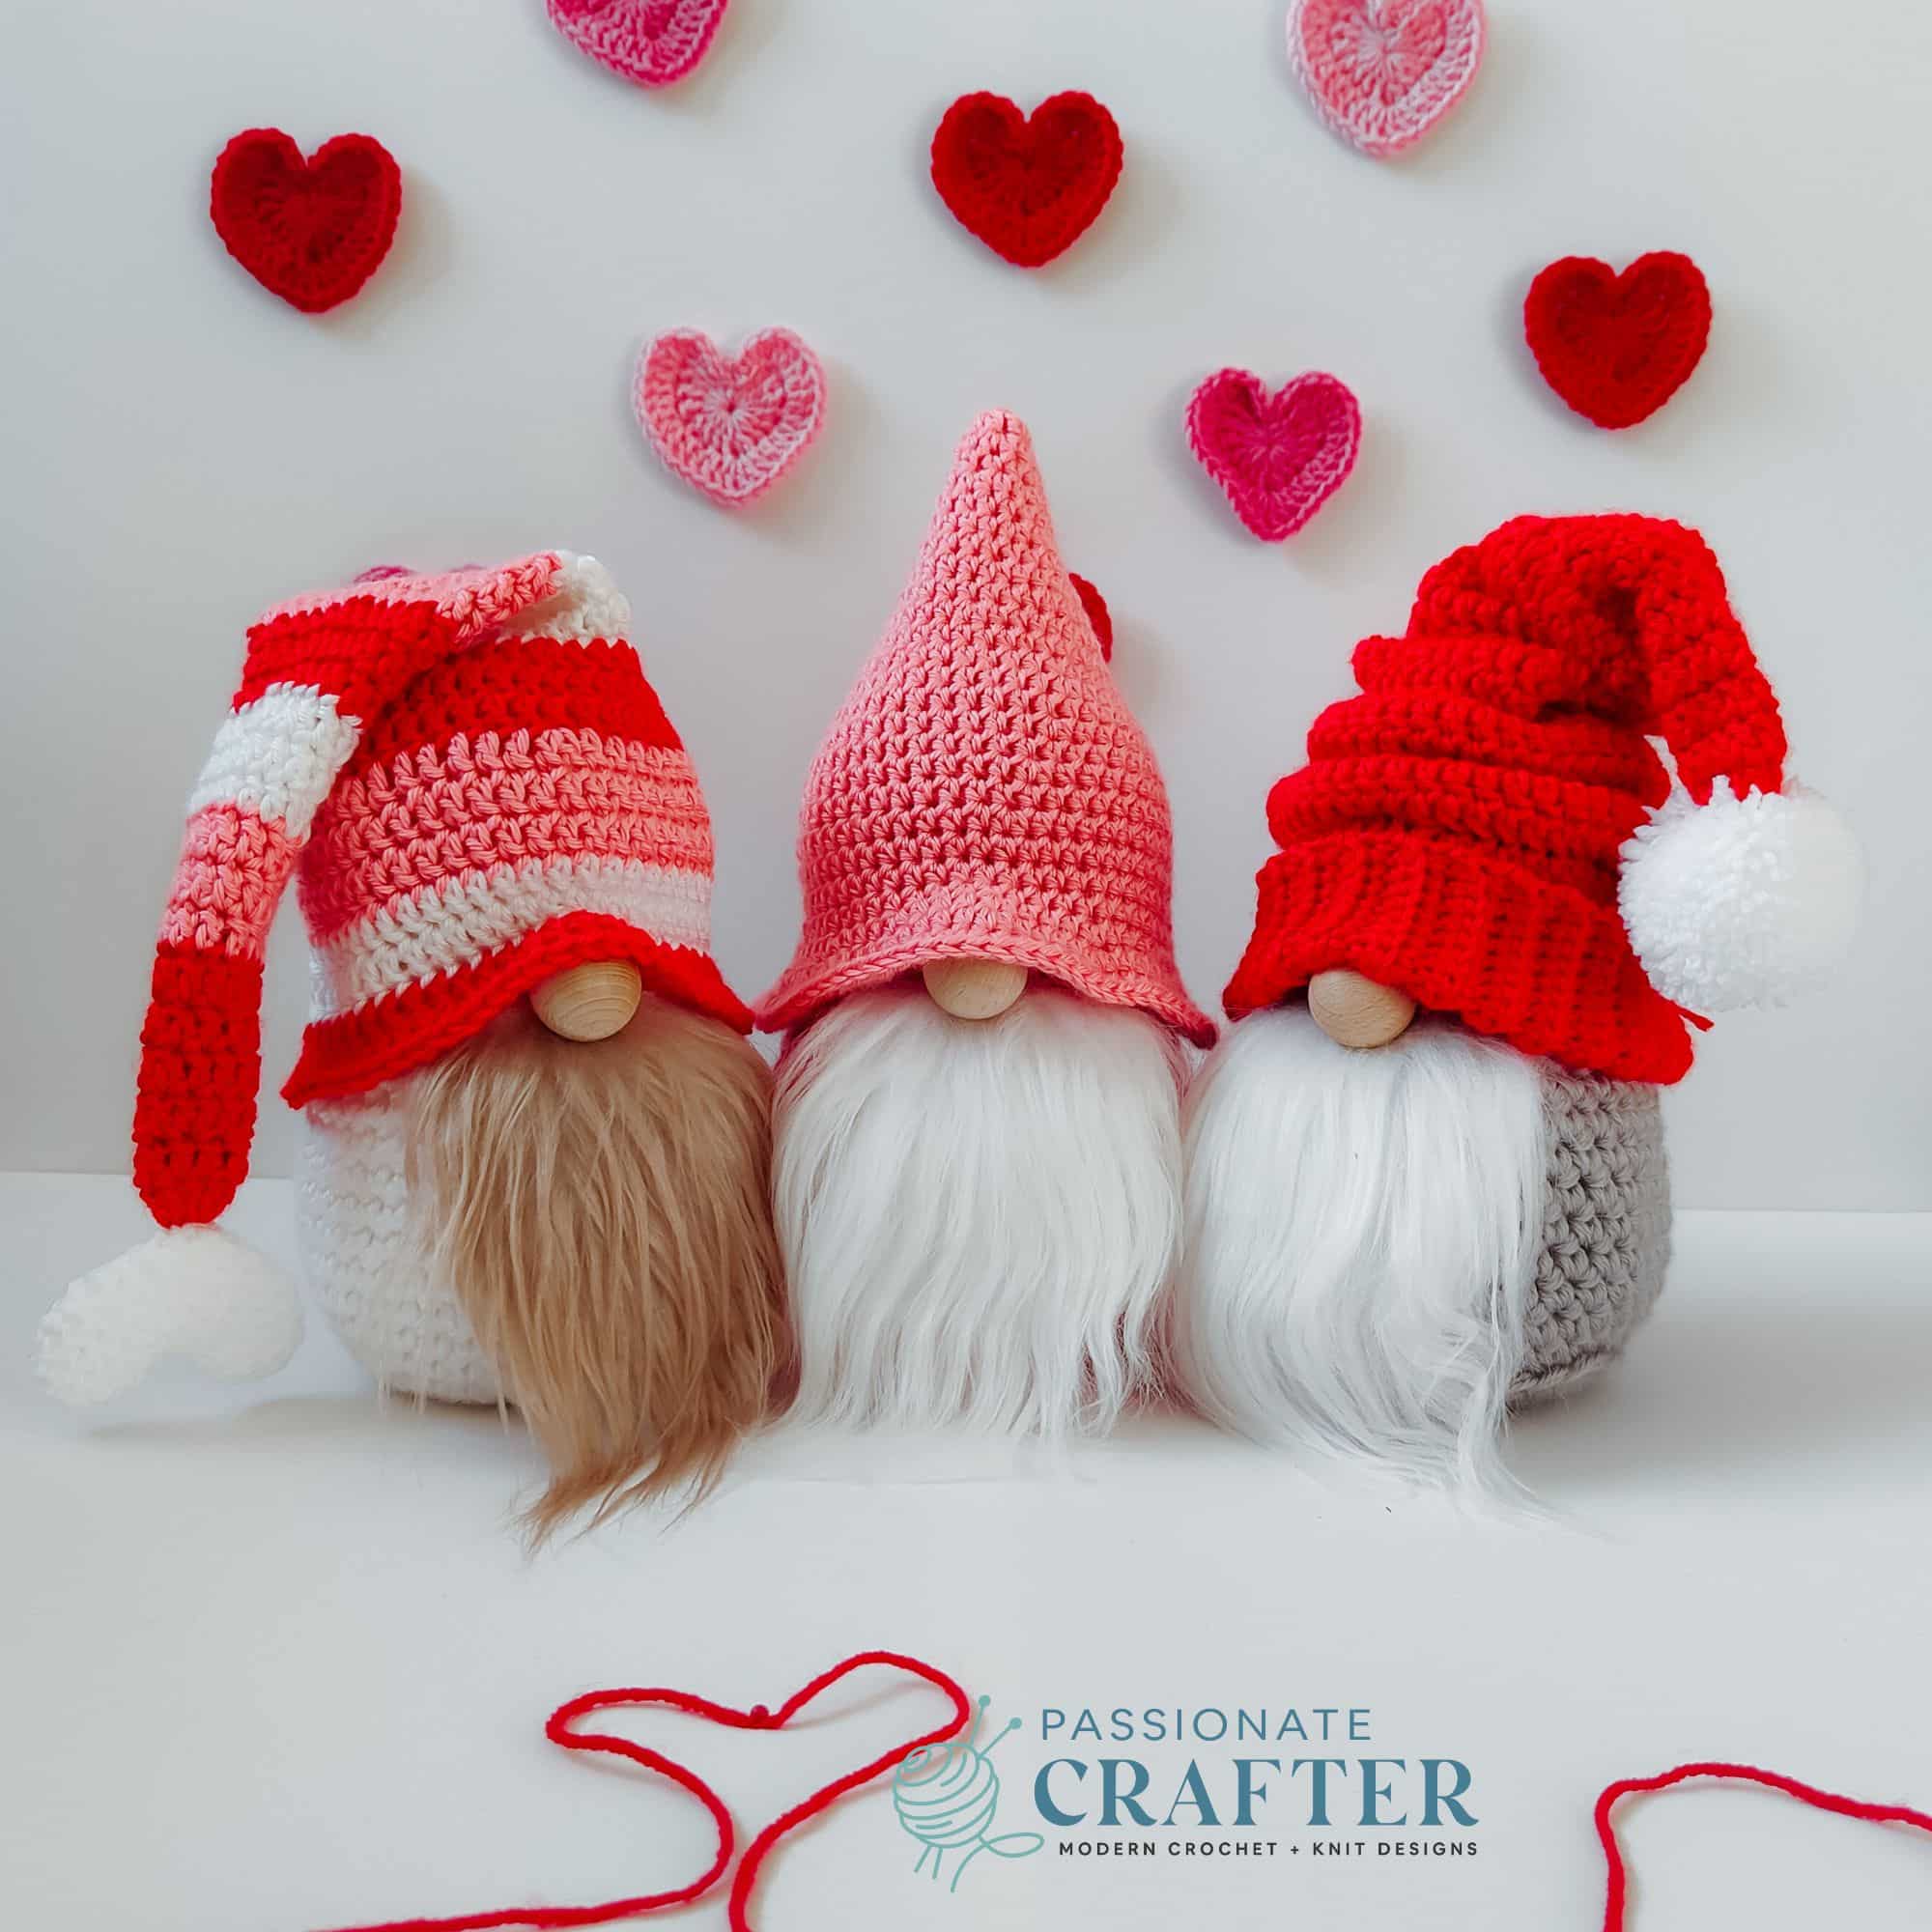
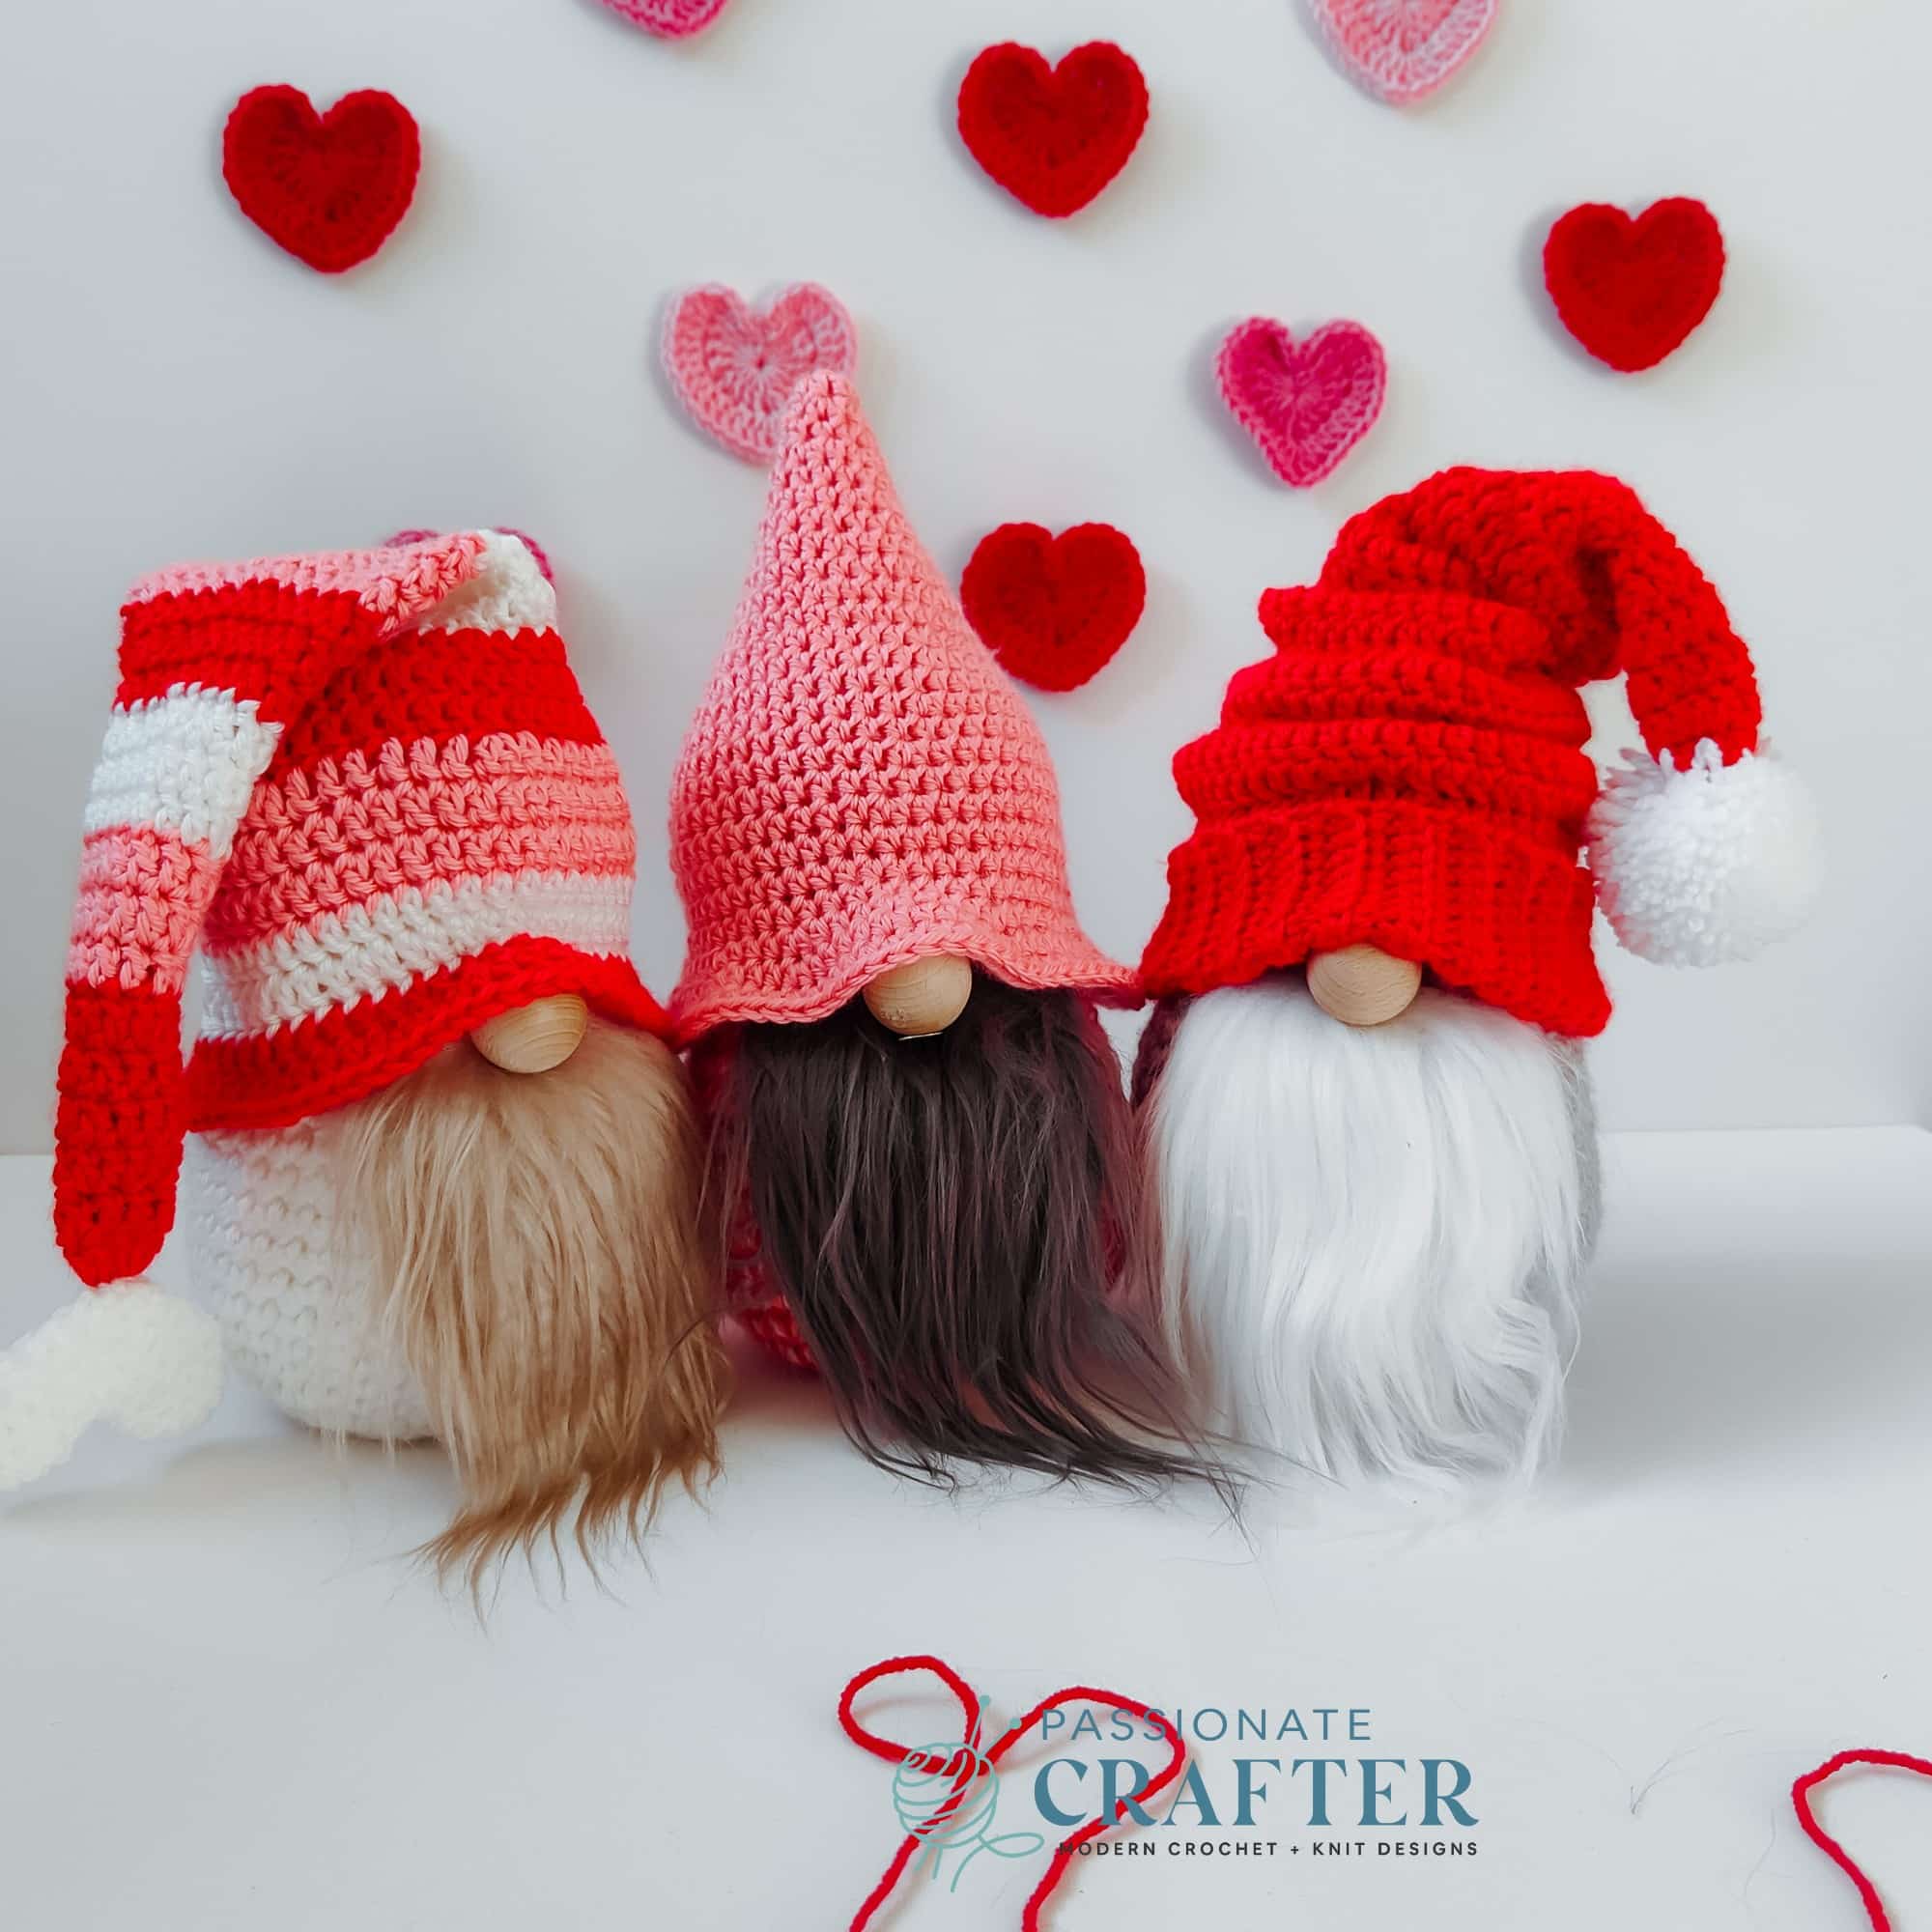
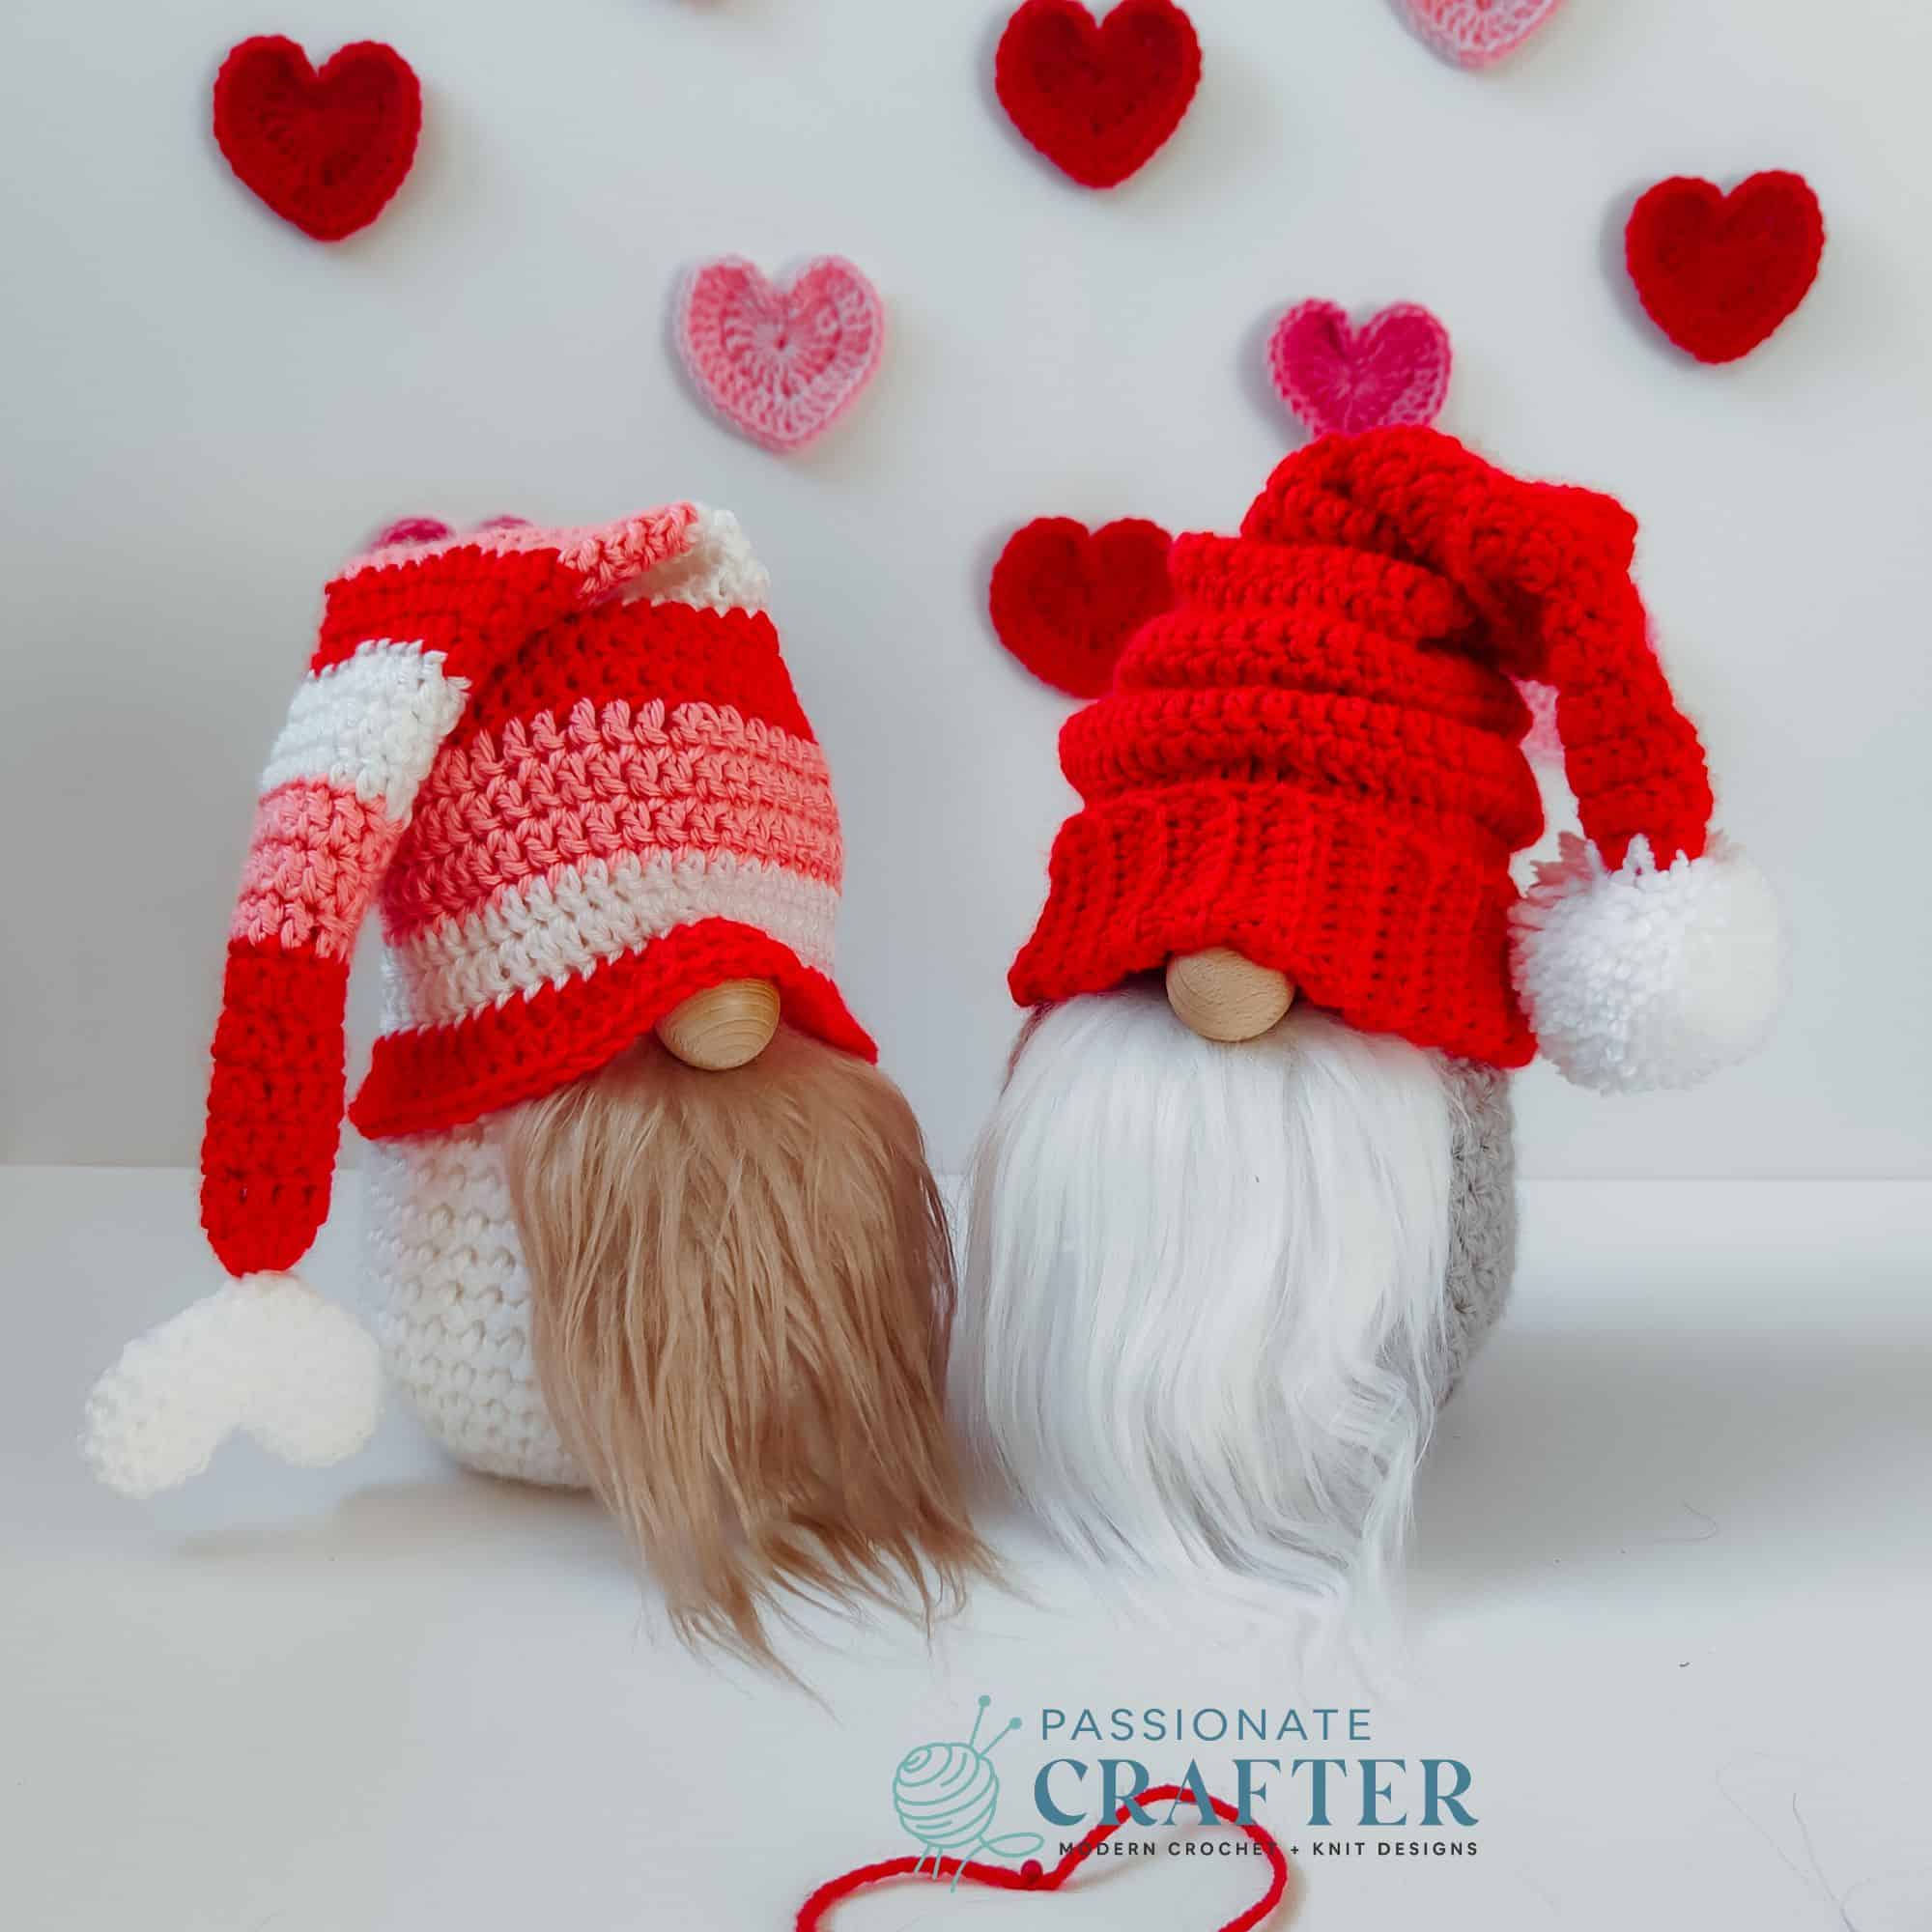
Valentine’s Day is the perfect time to add a touch of handmade charm to your home decor, and what better way to do that than with an adorable crochet gnome? Our latest Crochet Valentine’s Day Gnome pattern is a no-sew design, making it quick, fun, and beginner-friendly. With one body and three interchangeable hat options, you can switch up your gnome’s look whenever you like!
So scroll down for the free pattern or buy the inexpensive ad-free PDF file here.
Crochet Gnome
This Valentine’s Day Gnome is designed with simplicity and versatility in mind. The body is worked in one piece, so there’s no need for sewing! The interchangeable hats give you the freedom to create a different look for every occasion.
The design features a faux pre-cut beard for a soft, fluffy texture and a wooden ball nose for a polished and professional finish. Whether you want to make a single gnome or a whole set, this pattern has everything you need!
Best Yarn for Crochet Gnome
To achieve the perfect look and feel, we used Caron Simply Soft yarn in four colors—red, white, grey, and pink. This worsted-weight yarn is soft, durable, and provides excellent stitch definition. To give the gnome’s body a bulky weight appearance, we tripled the strands of yarn while working on it, whereas the hat is made using a single strand of yarn for a more delicate look.
Yarn Requirements
The yarn we used for the Gnomes is Caron simply soft, 100% Acrylic, 6oz/170.1g, 315yds/288m in colors: white, red, pink (strawberry), and feathered grey. The total amount used is as follows:
- Gnome’s body – 120g
- Hat Option 1- 60g
- Hat Option 2- 70g
- Hat Option 3- 45g
Crochet Gnome Size
The finished size of the gnome varies depending on the hat style you choose, but it measures approximately 25-30 cm (10-12 inches) tall. This makes it the perfect size to display on a shelf, mantle, or even as a festive centerpiece for Valentine’s Day!
Skill Level
Easy, written in standard American terms.
Gauge
Gnome’s body: 8.5 sts x 9.5 rows = 4”/10cm in single crochet stitch. (stuffed) with 8 mm crochet hook.
Hat Option 3: 15 sts x 12 rows = 4”/10cm in hdc st with 4.5 mm crochet hook.
Hat Option 1 and 2: 15 sts x 8.5 rows = 4”/10cm in dc st with 4.5 mm crochet hook.
Yarn Substitutes
Bernat Premium – 100% Acrylic, 7.0 oz/198 g, 360 yds/ 329 m solid colors
Mary Maxim Starlette- 100% Ultra Soft Acrylic, 3.5 oz (100 g), 180 yds (164.592 m)
Premier yarns Anti-pilling Every day worsted– 100% Anti-Pilling Acrylic, 3.5 oz/100 g, 180 yds/165m
Crochet Hooks Needed
Size US G/7 (4.5 mm) crochet hook
Size US L/11 (8 mm) crochet hook
Materials Needed
stitch markers
scissors
yarn needle
Muslim Cotton drawstring bags 4.1 x 3.3 inch
Faux Fur Beard 8.66×3.54inch
Polyfiber filling
rice/decorative stones/beads for filling the bags.
wooden ball 30 mm for the nose
hot glue gun
Abbreviation
ch(s)- chain(s)
st(s)- stitch(es)
sc- single crochet
dc- double crochet
hdc-half double crochet
FLO- front loop only
BLO- back loop only
dec- decrease= work 2 single crochet stitches together
inc- increase = work 2 dc stitches in the next st
sl st- slip stitch
sk- skip
rep- repeat
**- repeat the stitches in the ** indicated times
Construction
This pattern is completely no-sew, meaning the body is worked as a single piece, making it sturdy and easy to assemble. The interchangeable hats allow you to switch between three different styles to match your mood or decor. Simply slide on a different hat for an entirely new look—no need to make multiple bodies!
How to change #4 weight yarn to #6 weight yarn from 1 skein.
Arrange the yarn into a large S-shape, as shown in the diagram. Bring the strands together and pull the working yarn through the loop formed. Repeat this process, continuously pulling the working yarn through each new loop as you proceed. CHECK THE VIDEO TUTORIAL HERE
Video for the Crochet Gnome pattern
If you’re a visual learner, don’t worry! This pattern comes with a step-by-step video tutorial to guide you through the entire process. Whether you’re a beginner or an experienced crocheter, you’ll find the tutorial helpful in bringing your Valentine’s Day gnome to life.
Crochet Gnome pattern
Get The PDF Version
Grab the ad-free, printable PDF pattern.
Download and print at home. View on your mobile device, tablet, or computer.
Print this pattern
Below you will find the free crochet pattern of the crochet snowman amigurumi. But I know some of you prefer a hard copy instead of using a screen.
If so the Premium PDF pattern is just for you!
You can buy the ad-free, beautifully formatted, print-friendly PDF pattern from our Ravelry shop here or our Etsy shop here!
We are grateful to those who support our small business by buying the Premium printable PDFs. The PDF pattern includes all the instructions and photo tutorials from this post without the ads!
Pattern notes
- Instead of using 3 strands of worsted weight yarn, you can crochet the gnomes body using category #6 bulky weight yarn.
- If you crochet all 3 gnomes in the same colors as mine you will need a full skein of white, plus extra 15 gr white to make the pom pom and the heart. And you will have some leftovers from the red, pink and grey colors.
- To join my rounds for hat option 1 and 2 I used the reverse slip stitch.
Special stitches
Reverse slip stitch – Insert your hook into the stitch from back to front, keeping the working yarn to the front, yarn under pulling through the loop on the hook.
Gnome’s body
with grey color yarn and 8 mm hook
( work in continuous rnds without joining. Use st marker to indicate your first st or string of yarn)
Rnd 1: Start with a MR and 6 SC into it (6)
Rnd 2: * 2SC in next st * rep 6 times (12)
Rnd 3: * SC in next st, 2SC in next * rep 6 times (18)
Rnd 4: * SC in next 2 sts, 2SC in next * rep 6 times (24)
Rnd 5: * SC in next 3 sts, 2SC in next * rep 6 times (30)
Rnd 6: * SC in next 4 sts, 2SC in next * rep 6 times (36)
Rnd 7-15: SC in each st around (36)
Add a weighted bag and start filling the body and continue to fill as you crochet along.
Rnd 16: * SC in next 4, DEC in next* rep 6 times (30)
Rnd 17: * SC in next 3, DEC in next* rep 6 times (24)
Rnd 18: * SC in next 2, DEC in next* rep 6 times (18)
Rnd 19: * SC in next 2, 2 SC in next* rep 6 times (24)
Rnd 20: * SC in next 3, 2 SC in next* rep 6 times (30)
Rnd 21-23: SC in each st around (30)
Rnd 24: * SC in next 3, DEC in next* rep 6 times (24)
Rnd 25: SC in each st around (24)
Rnd 26: * SC in next 2, DEC in next* rep 6 times (18)
Rnd 27: SC in each st around (18)
Rnd 28: * SC in next, DEC in next * rep 6 times (12)
Fasten off and leave a tail for sewing. Close the gap with a tapestry needle.
Insert your needle through the front loops of each st from round 28, pull the yarn tight and secure the end. Weave the tail in.
Now take the hot glue gun and attach the beard and the nose. Attach the nose in a way that it will stick partly to the body and partly on top of the beard.
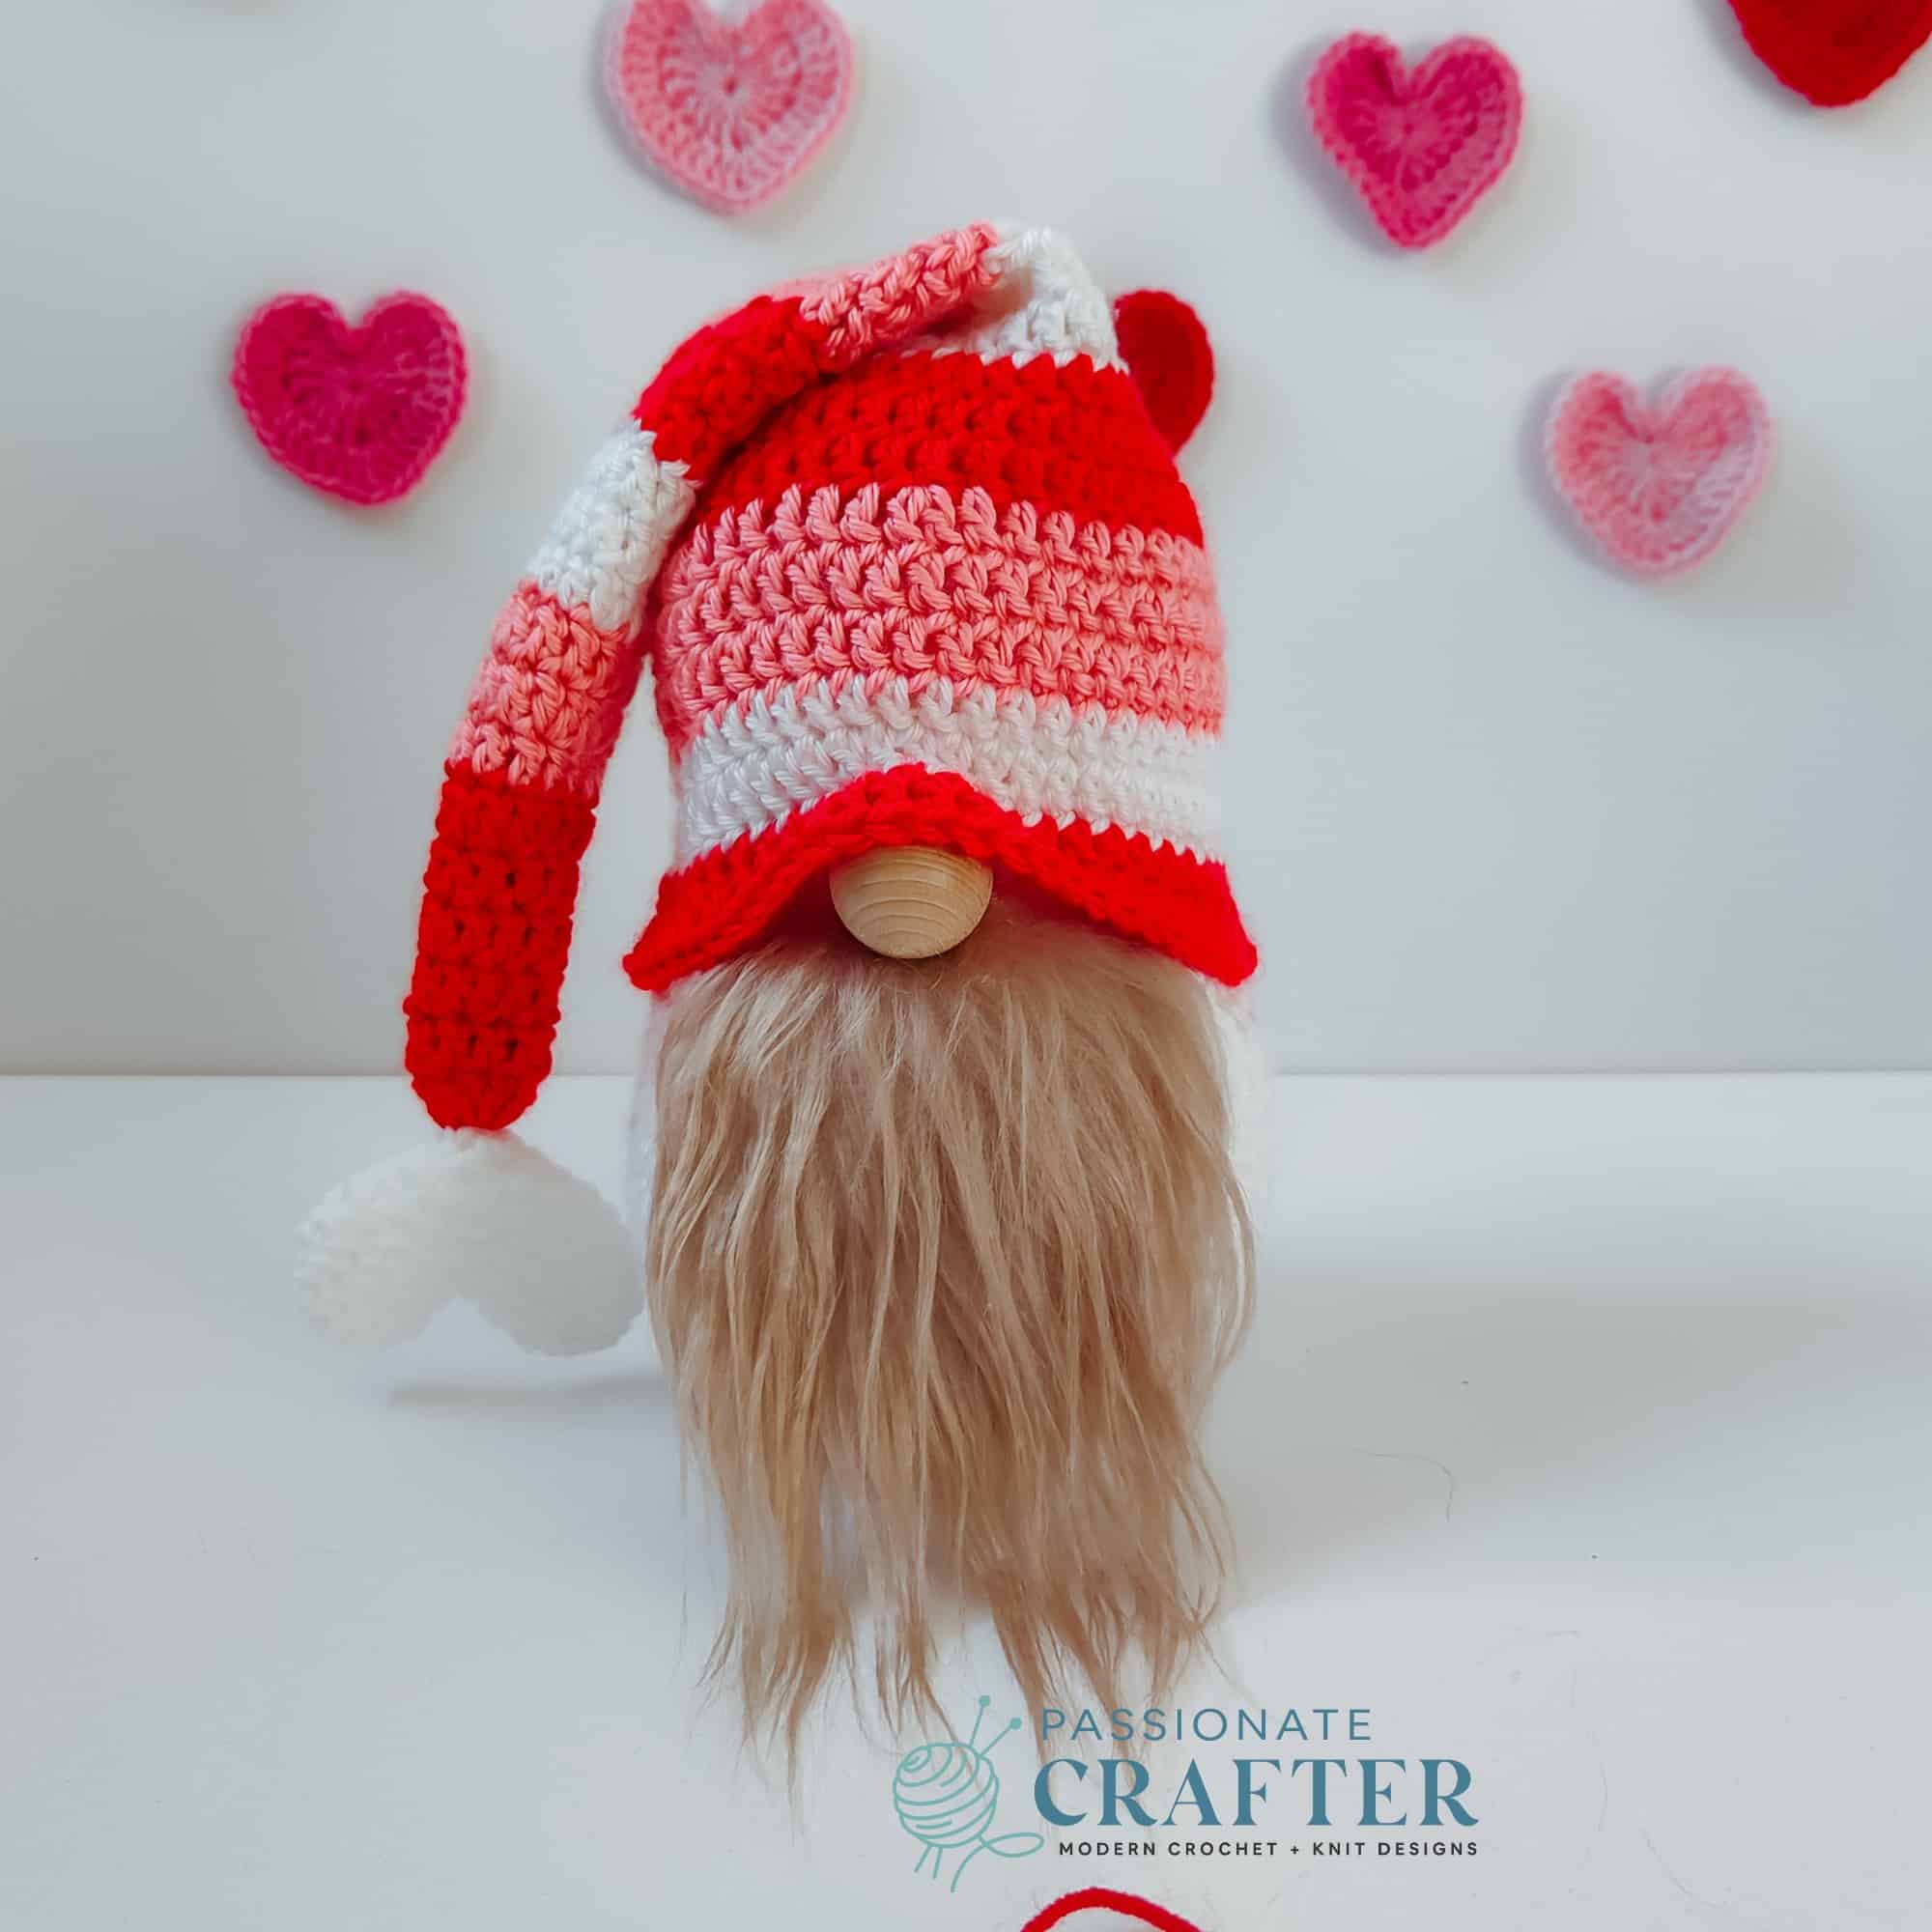
Gnome’s hat Option 1
with red color yarn
Rnd 1: Start with a MR and make 8 DC into it, sl st in the first st (8)
Rnd 2: ch2( does not count as a st here and throughout ) DC in each st around (8)
Rnd 3: ch2, * DC in next 3 sts, INC in next st * rep 2 times, sl st in the first st to join (10)
Rnd 4-5: ch2, DC in each st around, sl st in the first st to join (10)
Rnd 6: ch2, * DC in next 4, INC in next * rep 2 times, sl st in the first st to join (12)
switch to pink color
Rnd 7: ch2, DC in each st around, sl st in the first st to join (12)
Rnd 8: ch2, * DC in next 5 sts, INC in next st * rep 2 times, sl st in the first st to join (14)
Rnd 9: ch2, DC in each st around, sl st in the first st to join (14)
switch to white color
Rnd 10: ch2, * DC in next 6 sts, INC in next * rep 2 times, sl st in the first st to join (16)
Rnd 11: ch2, DC in each st around, sl st in the first st to join (16)
Rnd 12: ch2, * DC in next 3, INC in next*rep 4 times, sl st in the first st to join (20)
switch to red color
Rnd 13: ch2, DC in each st around, sl st in the first st to join (20)
Rnd 14: ch2, *DC in next 4, INC in next st * rep 4 times, sl st in the first st to join (24)
Rnd 15: ch2, DC in each st around, sl st in the first st to join (24)
switch to pink color
Rnd 16: ch2, * DC in next 3, INC* rep 6 times, sl st in the first st to join (30)
Rnd 17-18: ch2, DC in each st around, sl st in the first st to join (30)
switch to white color
Rnd 19: ch2, * DC in next 4, INC* rep 6 times, sl st in the first st to join (36)
Rnd 20-21: ch2, DC in each st around, sl st in the first st to join (36)
switch to red color
Rnd 22: ch2, * DC in next 5, INC* rep 6 times, sl st in the first st to join (42)
Rnd 23-24: ch2, DC in each st around, sl st in the first st to join (42)
switch to pink color
Rnd 25: ch2, * DC in next 6, INC* rep 6 times, sl st in the first st to join (48)
Rnd 26-27: ch2, DC in each st around, sl st in the first st to join (48)
switch to white color
Rnd 28-29: ch2, DC in each st around, sl st in the first st to join (48)
switch to red color
Rnd 30: ch2, DC in each st around, sl st in the first st to join (48)
Rnd 31: ch2, * DC in next 3 sts, INC in next * rep 12 times (60)
Fasten off.

GNOME’S HAT OPTION 2
with red color yarn
Rnd 1: Start with a MR and make 8 DC into it, sl st in the first st to join (8)
Rnd 2: ch2,( does not count as a st here and throughout the pattern ) DC in each st around, sl st in the first st to join (8)
Rnd 3: ch2, * DC in next 3 sts, INC in next st * rep 2 times, sl st in the first st to join (10)
Rnd 4-5: ch2, DC in each st around, sl st in the first st to join (10)
Rnd 6: ch2, * DC in next 4, INC in next * rep 2 times, sl st in the first st to join (12)
The next round is worked in FLO. Only the next round.
Rnd 7: ch2, * DC in next, INC in next * rep 6 times, sl st in the first st to join (18)
Rnd 8-9: ch2, DC in each st around, sl st in the first st to join (18)
The next round is worked in FLO. Only the next round.
Rnd 10: ch2, * DC in next 2 sts, INC in next * rep 6 times, sl st in the first st to join (24)
Rnd 11-12: ch2, DC in each st around, sl st in the first st to join
The next round is worked in FLO. Only the next round.
Rnd 13: ch2, * DC in next 3 sts, INC in next st * rep 6 times, sl st in the first st to join (30)
Rnd 14-15: ch2, DC in each st around, sl st in the first st to join (30)
The next round is worked in FLO. Only the next round.
Rnd 16: ch2, * DC in next 4 sts, INC in next st * rep 6 times, sl st in the first st to join (36)
Rnd 17-18: ch2, DC in each st around, sl st in the first st to join (36)
The next round is worked in FLO. Only the next round.
Rnd 19: ch2, * DC in next 5 sts, INC in next st * rep 6 times, sl st in the first st to join (42)
Rnd 20-21: ch2, DC in each st around, sl st in the first st to join (42)
The next round is worked in FLO. Only the next round.
Rnd 22: ch2, * DC in next 6 sts, INC in next st * rep 6 times, sl st in the first st to join (48)
Rnd 23-26: ch2, DC in each st around (48)
Now, we will continue with the hat’s brim. To do so:
Row 1: ch14, sc in next 13 sts, sl st in next two sts of the hat’s body, turn
From now on, work in BLO
Row 2: sk two sts, sc in next 13, turn
Row 3: sc in next 13 sts, sl st in next two sts of the hat’s body, turn
Repeat rows 2 and 3 all around.
Sl st to join the hats brim. Now to turn the hat to the look of the some kind slouchiness follow the instructions from our Winter slouchy hat gnome or check the mini video tutorial.
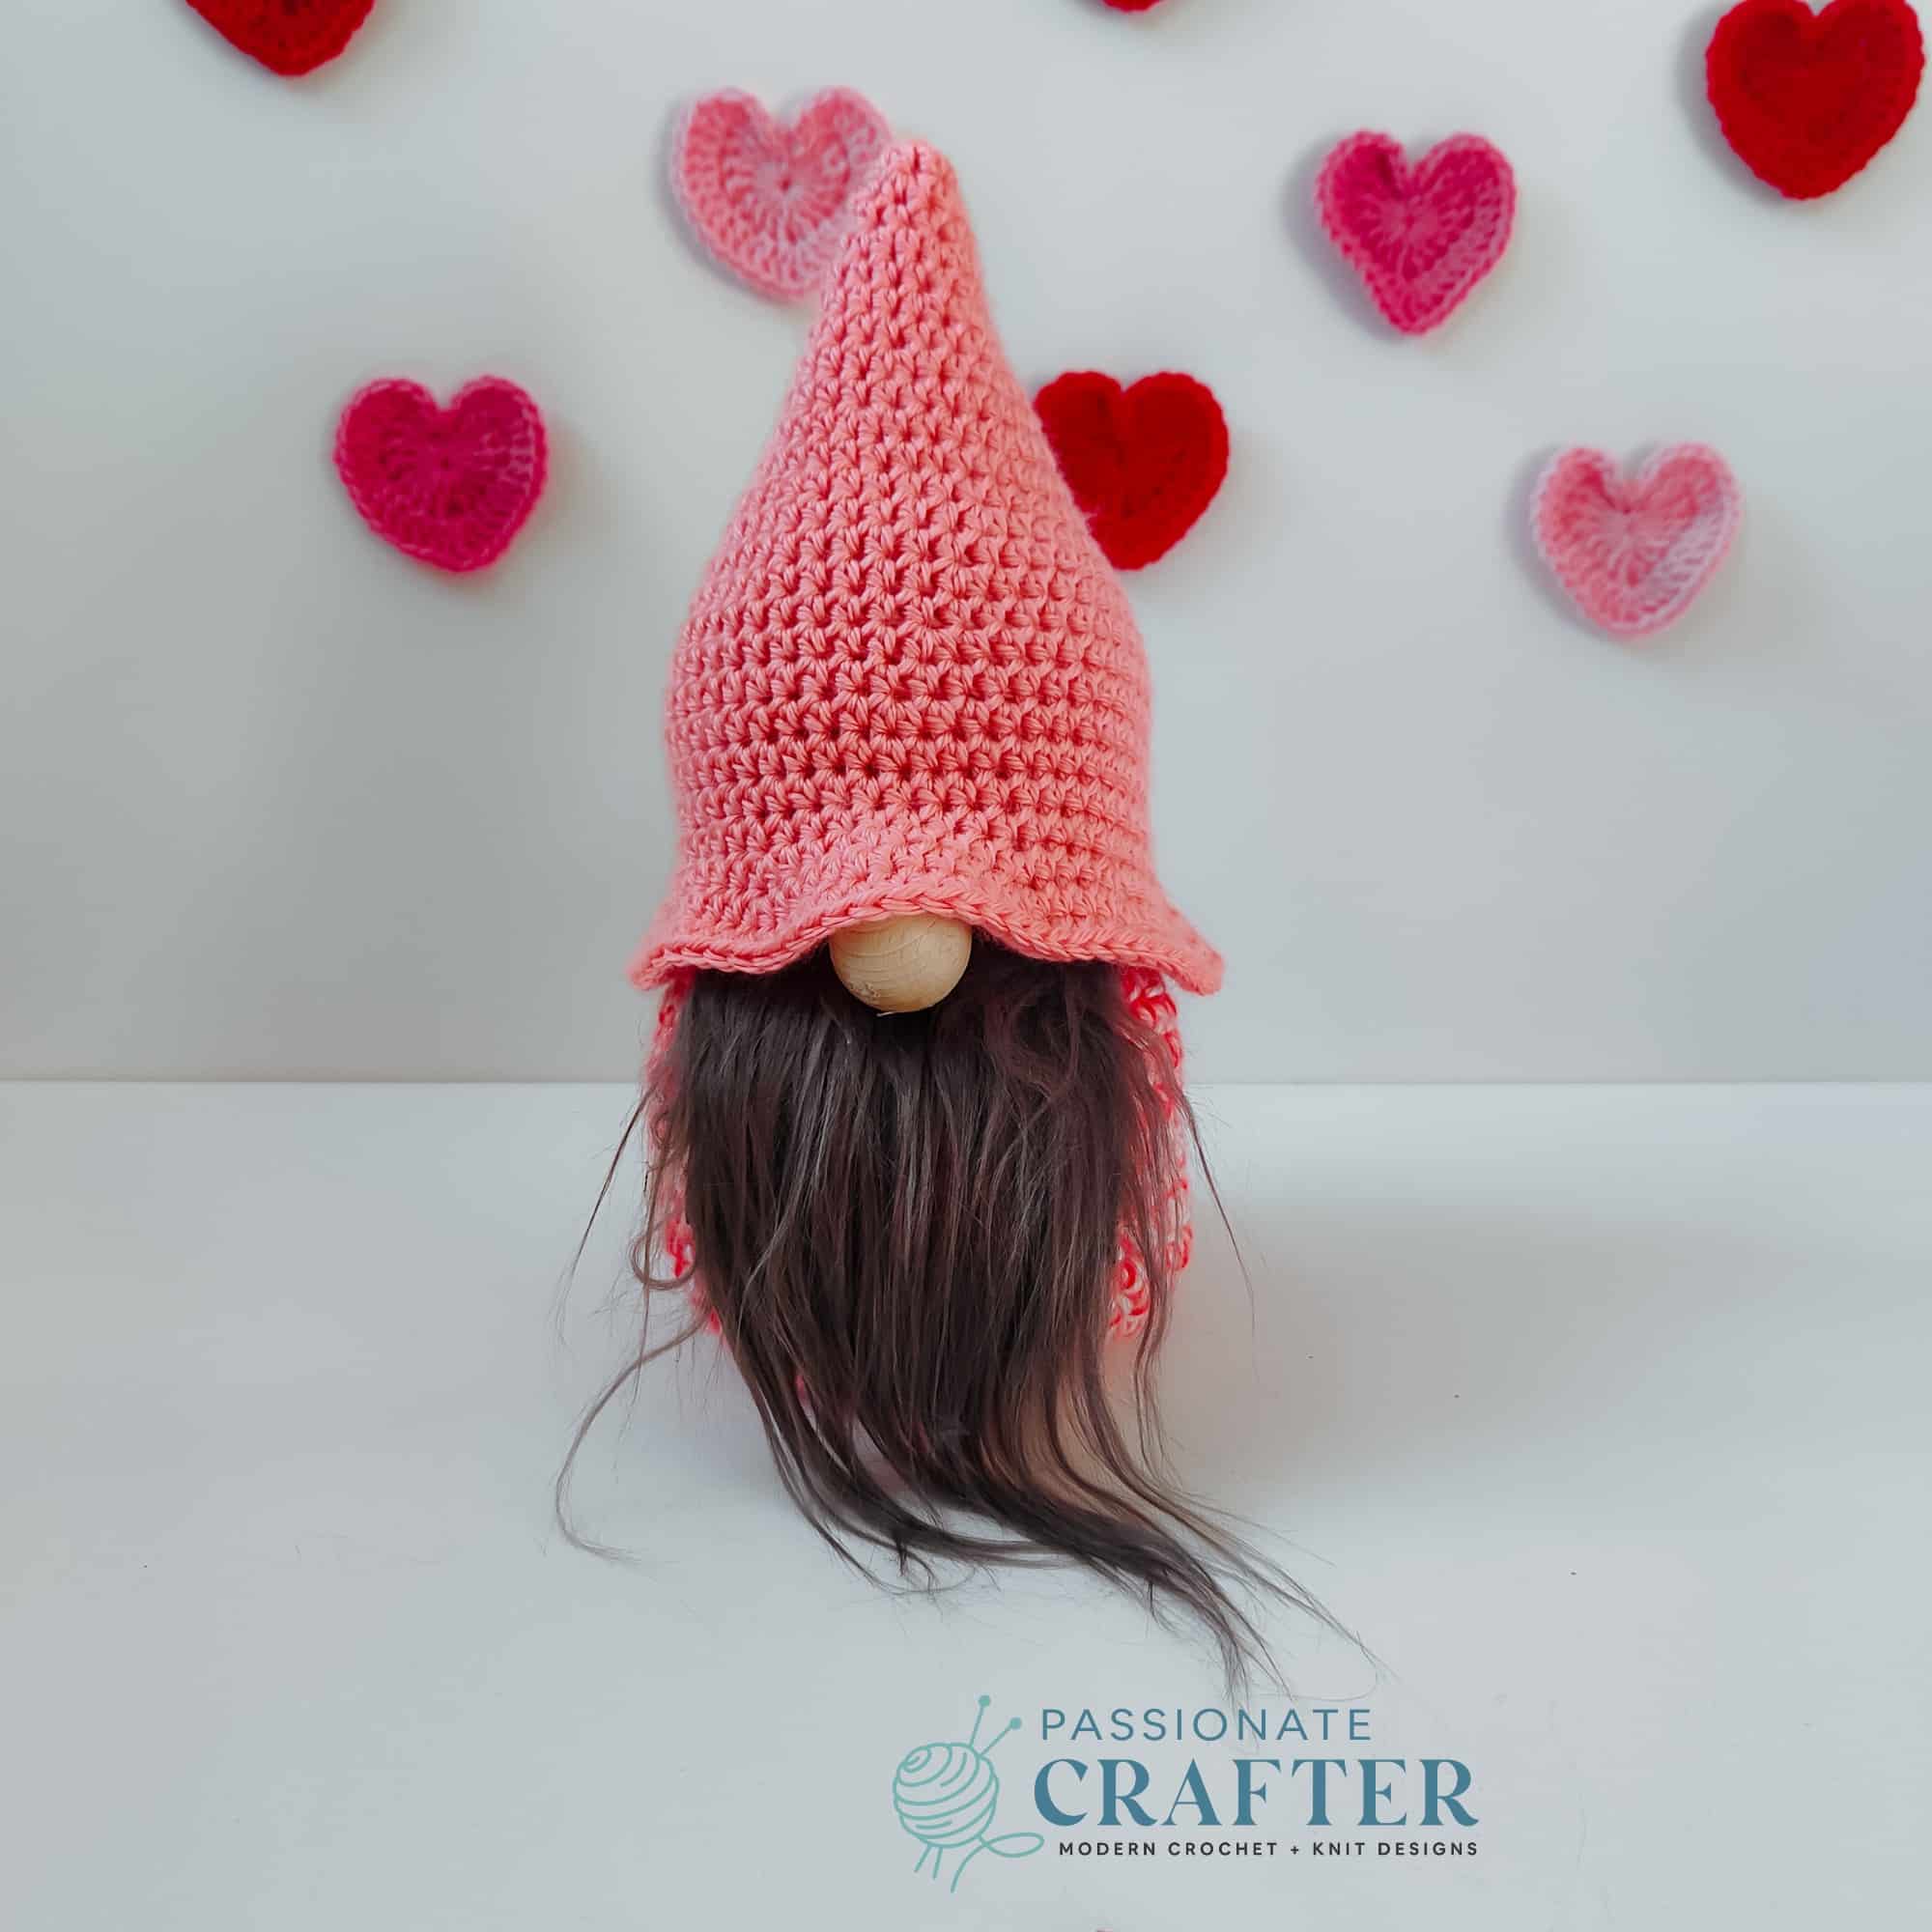
GNOME’S HAT OPTION 3:
with pink color yarn ( work in continuous rnds without joining. Use st marker to indicate your first st or string of yarn )
Rnd 1: Start with a MR and 6 HDC into it (6)
Rnd 2: HDC in each st around (6)
Rnd 3: * 2HDC in next st * rep 6 times (12)
Rnd 4: HDC in each st around (12)
Rnd 5: * HDC in next st, 2HDC in next * rep 6 times (18)
Rnd 6: HDC in each st around (18)
Rnd 7: * HDC in next 2 sts, 2HDC in next st * rep 6 times (24)
Rnd 8: HDC in each st around (24)
Rnd 9: * HDC in next 3 sts, 2HDC in next st * rep 6 times (30)
Rnd 10: HDC in each st around (30)
Rnd 11: * HDC in next 4 sts, 2HDC in next st * rep 6 times (36)
Rnd 12-13: HDC in each st around (36)
Rnd 14: * HDC in next 8, 2HDC in next st, * rep 4 times, (40)
Rnd 15: HDC in each stitch around (40)
Rnd 16: * HDC in next 9 sts, 2HDC in next st * rep 4 times, (44)
Rnd 17: HDC in each stitch around (44)
Rnd 18: * HDC in next 10 sts , 2HDC in next st, * rep 4 times, (48)
Rnd 19: HDC in each stitch around (48)
Rnd 20: * HDC in next 11, 2HDC in next st * rep 4 times (52)
Rnd 21-23: HDC in each stitch around (52)
Rnd 24: * HDC in next 3 sts, 2HDC in next st * rep 13 times (65)
Rnd 25: * HDC in next 4 sts, 2HDC in next st * rep 13 times (78)
Rnd 26: HDC in each st around. (78)
Fasten off.
How to crochet the heart pom pom
with red, pink or whatever color you choose
Rnd 1: Start with a MR, and make 5 SC into it. (5)
Rnd 2: *inc 1* 5 times (10)
Rnd 3-4: SC in each stitch around (10)
Fasten off and make one more piece repeating rnd 1-4. When you are done with the second piece do not cut your yarn. We will continue working with it by joining the two pieces.
Rnd 5: Crochet the two pieces together. 10 SC from the first and 10 SC from the second piece. (20)
Rnd 6: *SC in next 8. Dec 1* 2 times (18)
Rnd 7: *SC in next 7, Dec 1* 2 times (16)
Rnd 8: *SC in next 2, Dec 1* 4 times (12)
Rnd 9: *SC in first, Dec 1* 4 times (8)
Rnd 10: *dec 1* 4 times (4)
Fasten off and close the gap as we did with the gnome’s body. Do NOT stuff the heart.
How to make a pom pom
Use a small size pom pom maker.
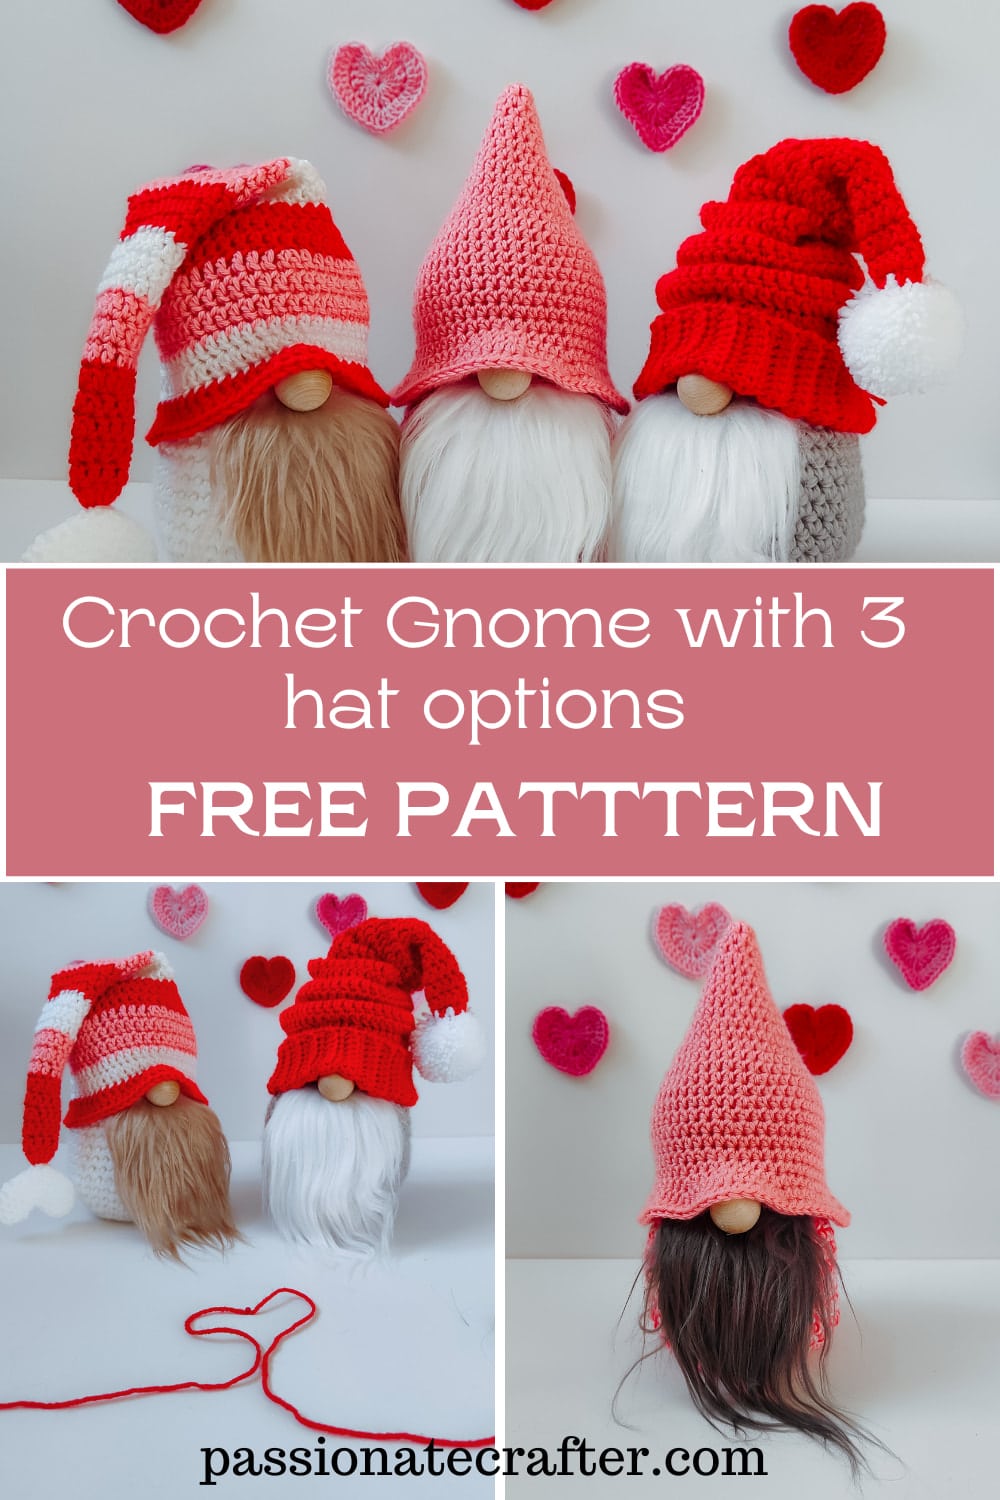
Save it to your Pinterest board
Don’t forget to pin this for later!
Join our Community
Invitation to our Facebook group
You are welcome to share your projects made by our patterns with the community and us. Moreover, we are thrilled to see your creations, and you are very welcome to share them on our FACEBOOK PAGE HERE or our FACEBOOK GROUP or on INSTAGRAM by using the hashtag #passionatecrafterr.
What is next?
Save this tutorial to your Pinterest boards so that you can come back to it later.
We’d love to hear your feedback. Drop a comment below and tell us your thoughts! And don’t forget to follow us on your favorite social platform!