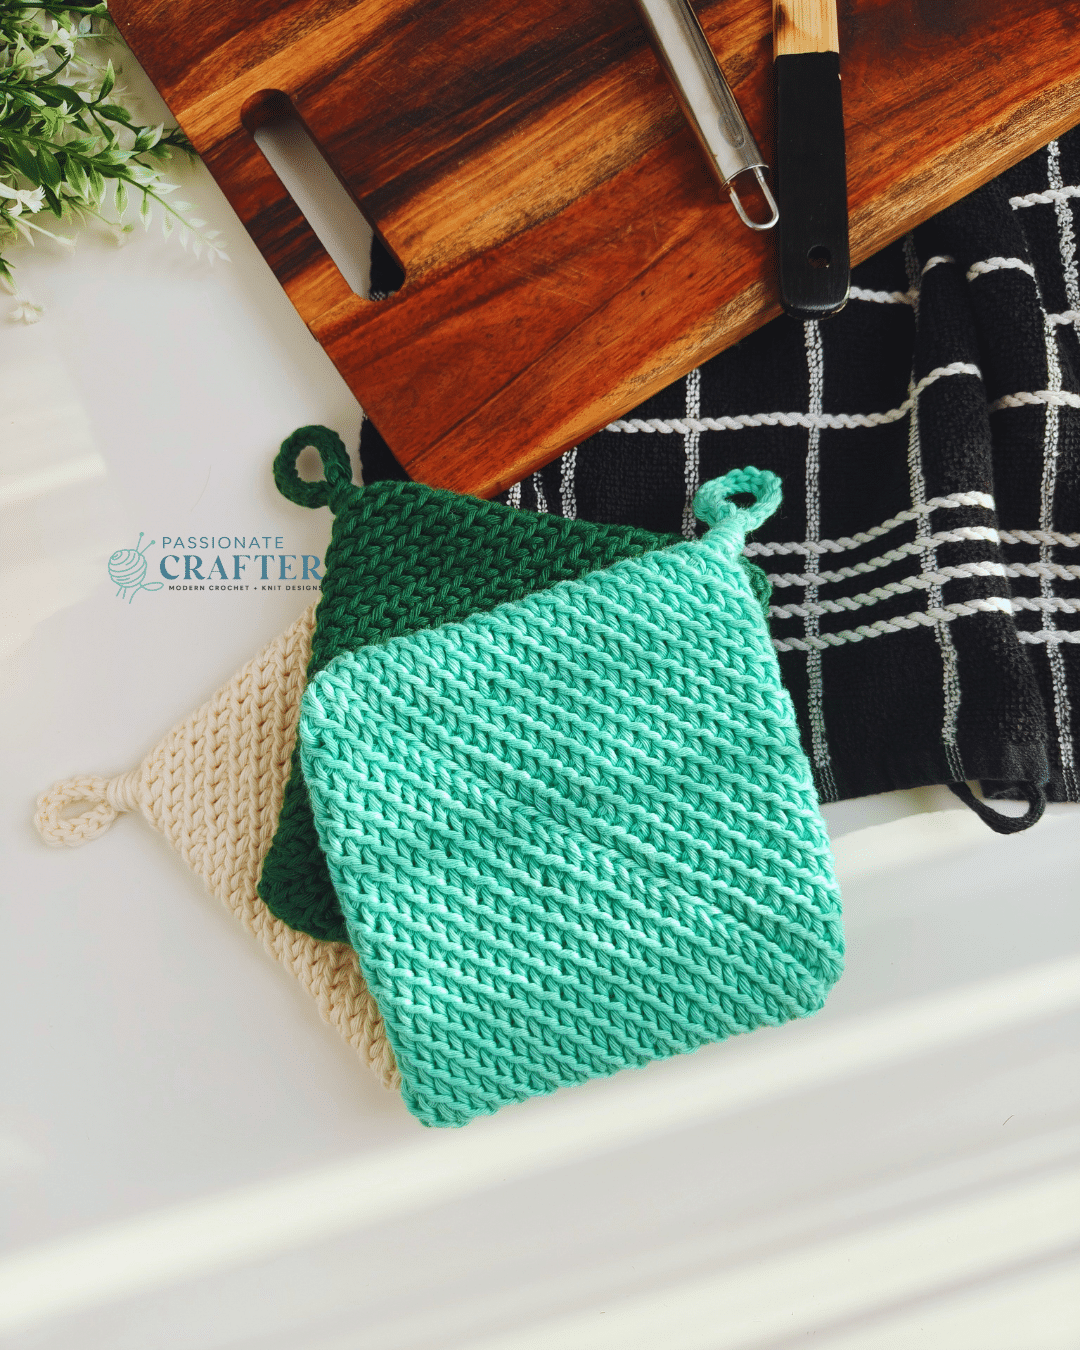
If you’ve been searching for a sturdy, stylish, and truly functional crochet potholder, you’re in the right place! This Double Thick Thermal Herringbone Potholder combines durability with beautiful texture, making it one of the most practical and long-lasting kitchen projects you’ll ever make.
Scroll down for the free pattern or buy the ad-free, beautifully formatted PDF file.
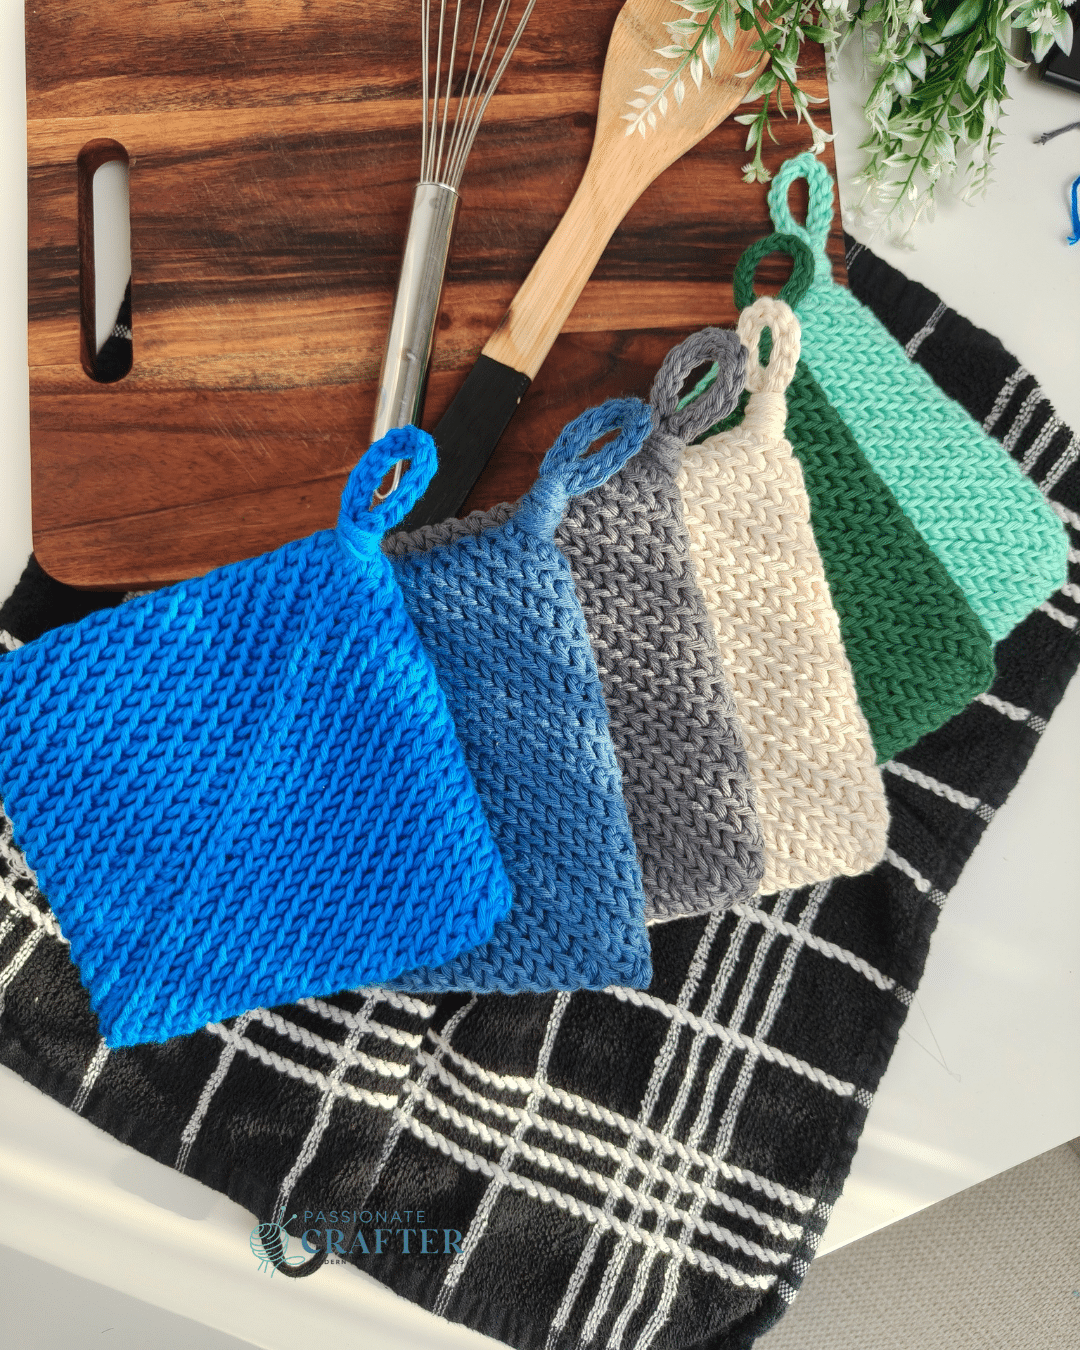
Also, this potholder makes a wonderful gift—whether for Christmas, Mother’s Day, birthdays, housewarmings, or any occasion where a thoughtful handmade present is appreciated. Pair it with a favorite cookbook, bundle it with kitchen essentials, or add it to a themed gift basket with spices, coffee, tea, baking mixes, or homemade treats. It’s a practical gift that feels personal and meaningful.
Years ago, I crocheted a few of these potholders for myself only with the thermal stitch , and I’ve been using them almost every day since. They’ve held up beautifully, proving just how sturdy, functional, and long-lasting this design truly is.
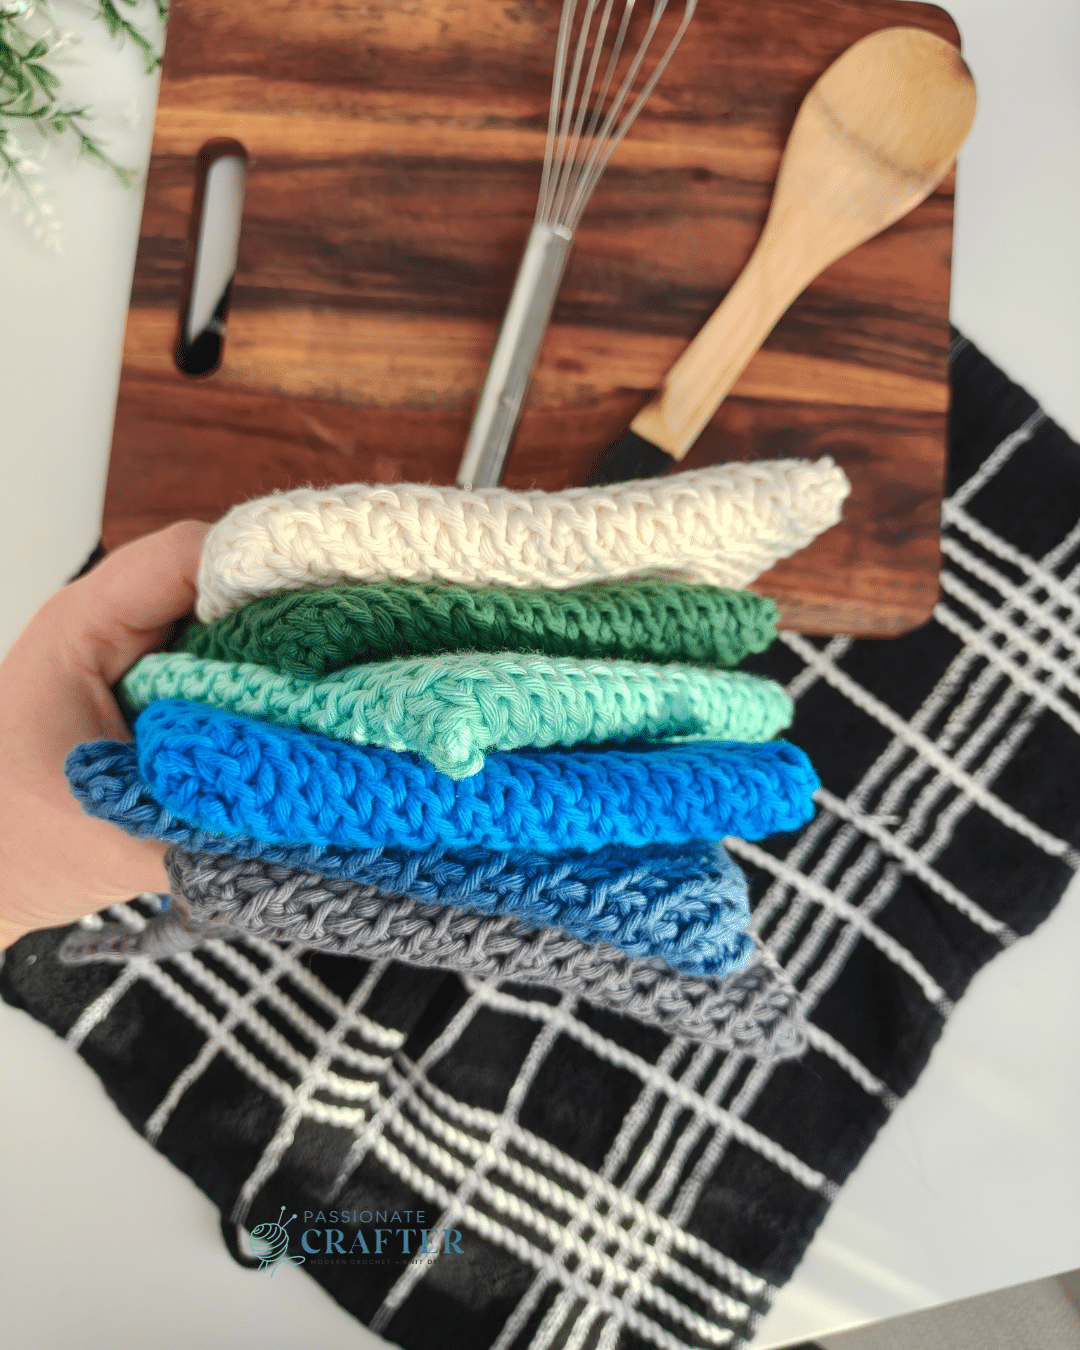
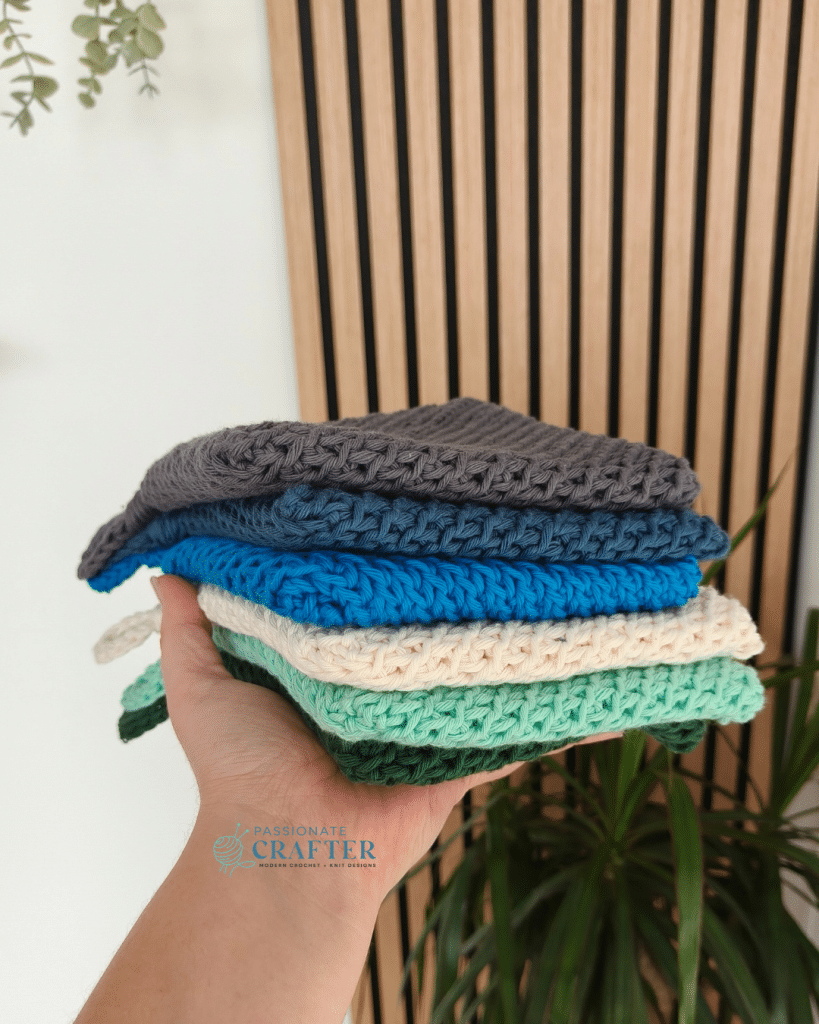
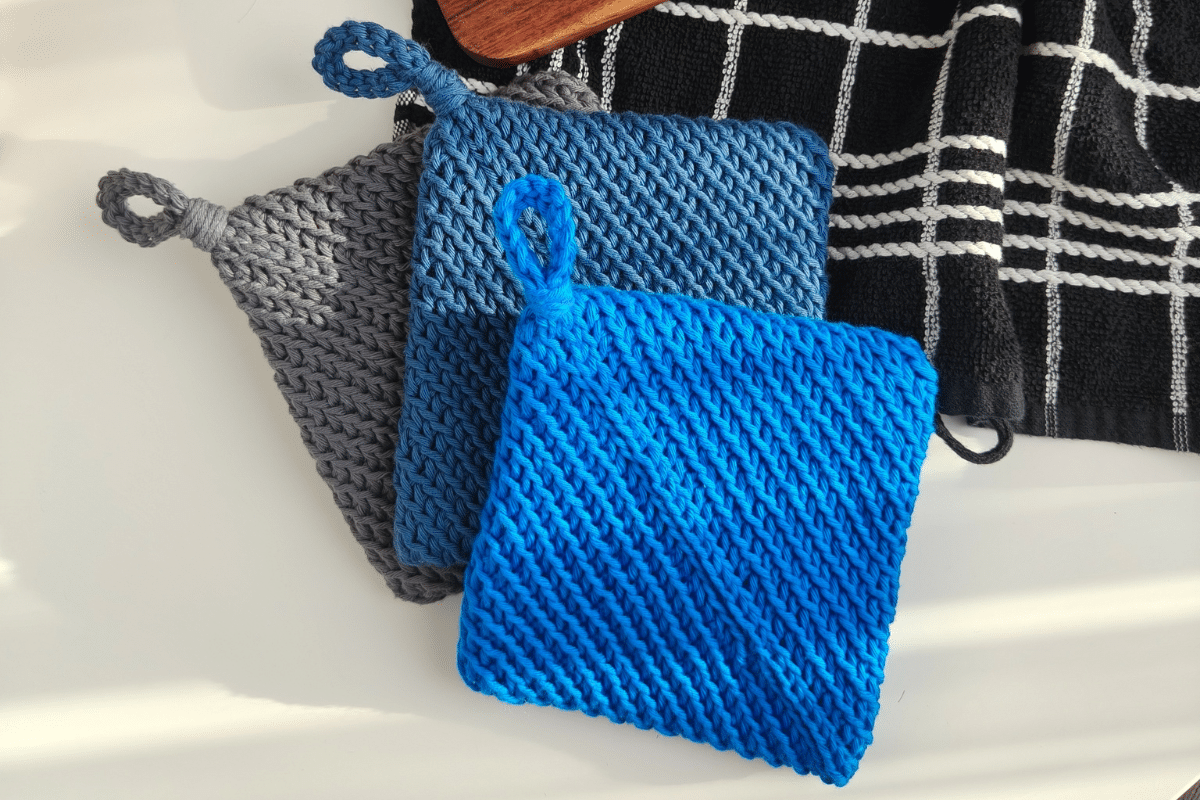
And this year, I decided to gift one set to NJ, so the blue set goes to her as a Christmas gift and the rest is for myself.
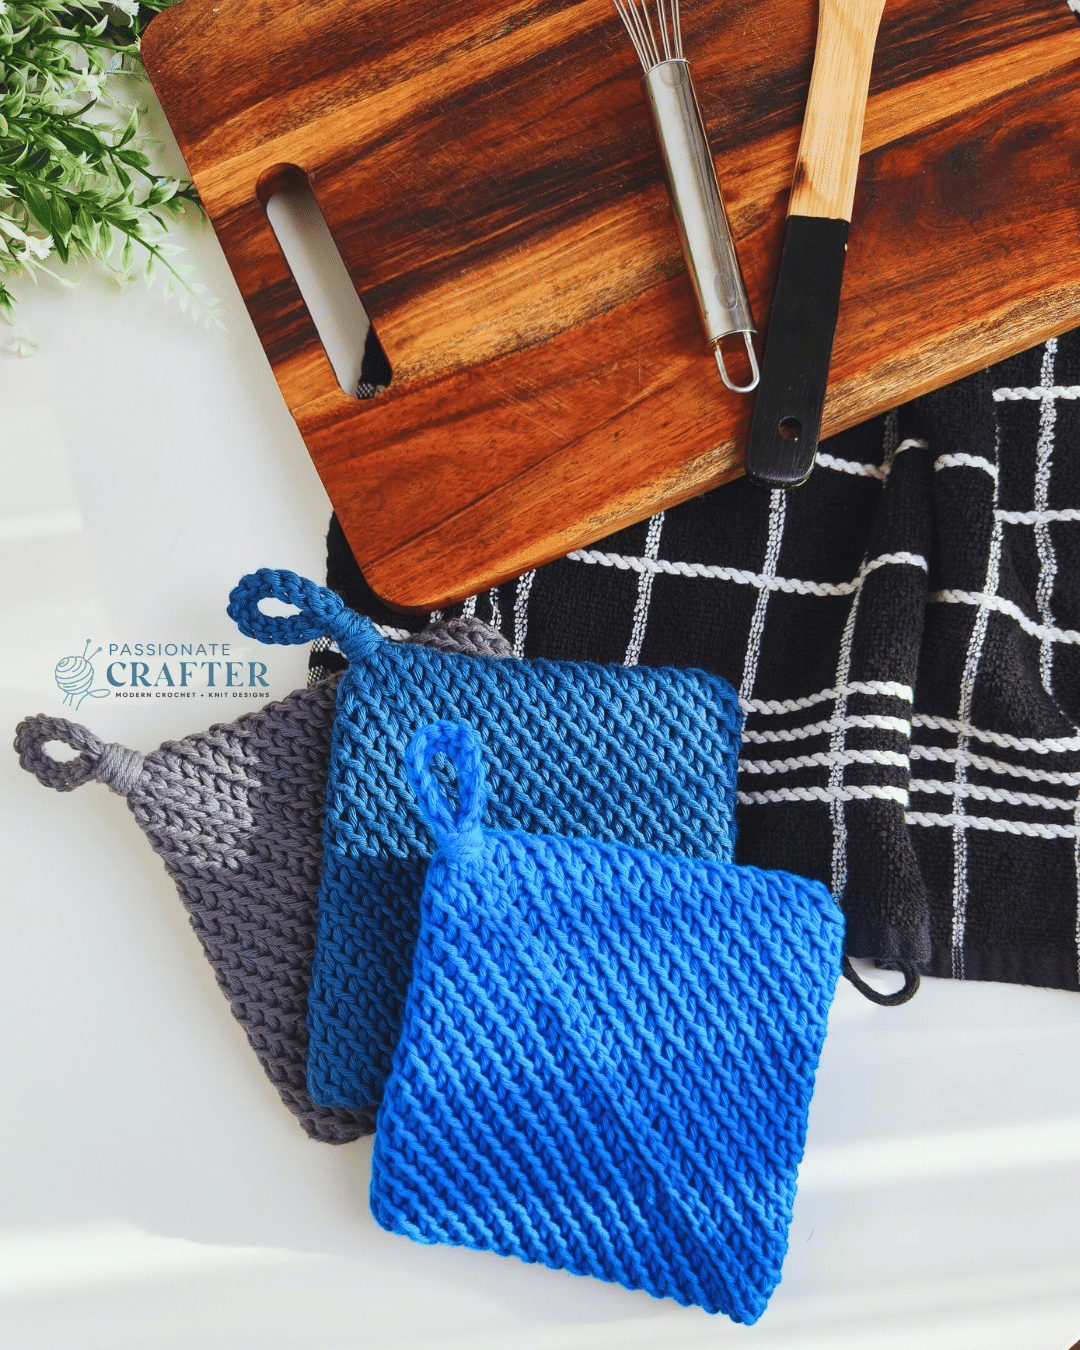
Why You’ll Love This Pattern
- Extra Thick & Protective: The thermal herringbone stitch creates a dense, double-layered fabric that provides excellent heat resistance for everyday kitchen use.
- Quick to Make: Works up fast, making it perfect for last-minute gifts, market prep, or stocking up your own kitchen.
- Versatile Gift Idea: Ideal for Christmas, Mother’s Day, housewarmings, bridal showers, and more. Pair it with a cookbook, kitchen tools, or a gourmet food basket for a thoughtful handmade present.
- Durable & Long-Lasting: This design holds up beautifully — I’ve been using my own set for years, and they remain sturdy, functional, and reliable.
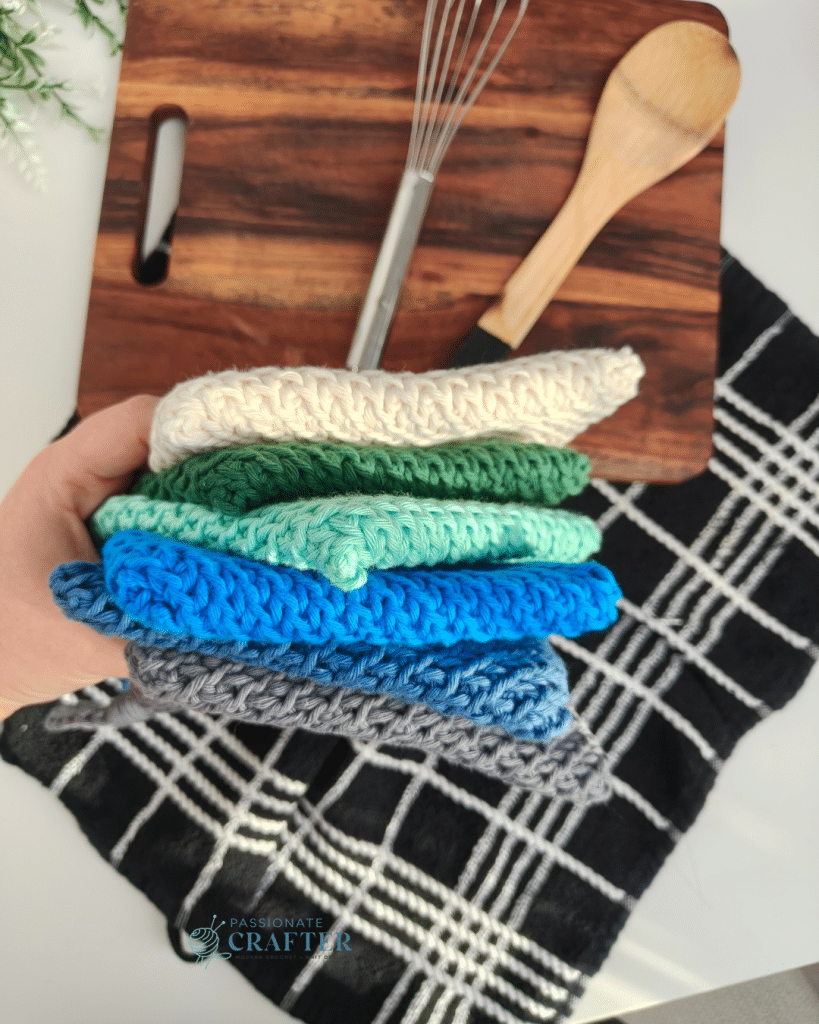
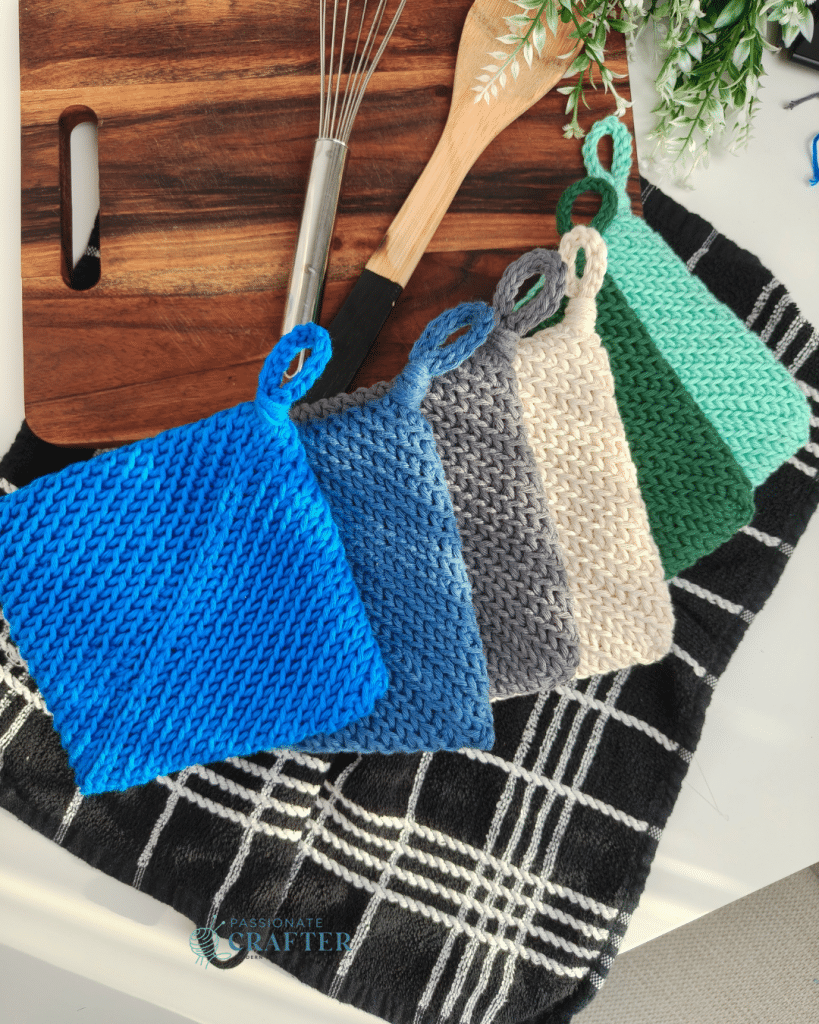
Purchase the Beautifully Designed AD-FREE PDF Download
Related posts:
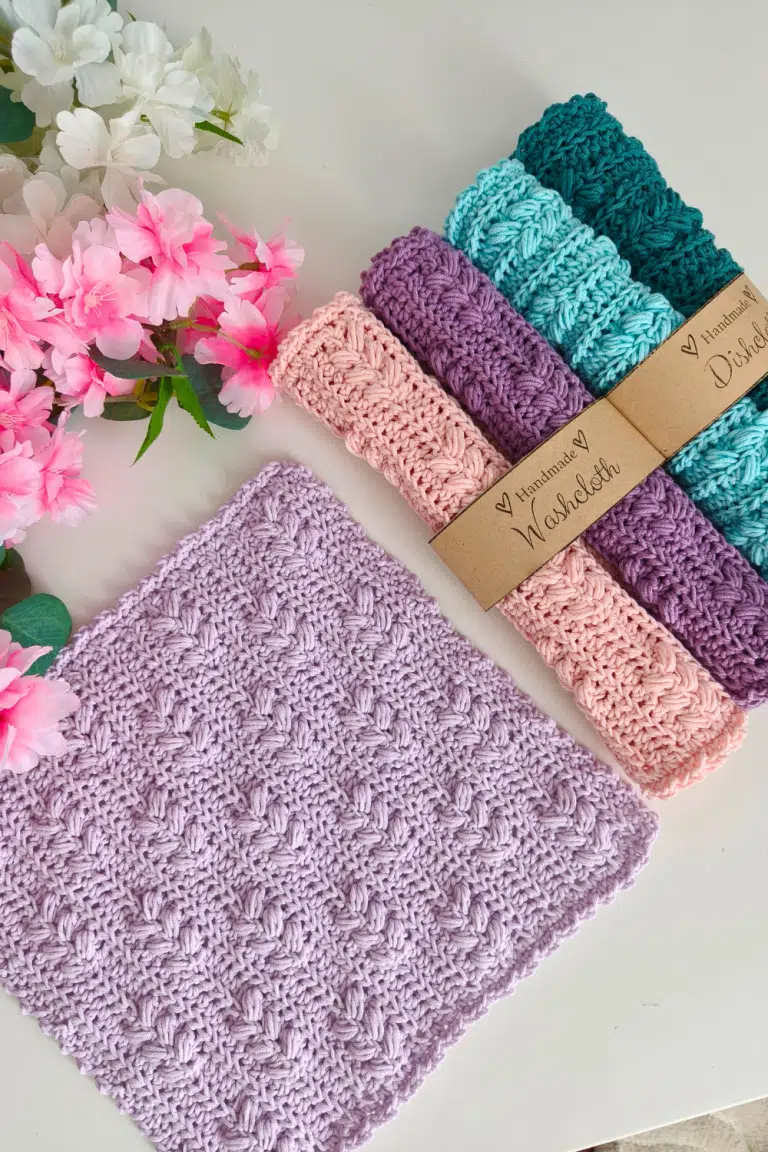
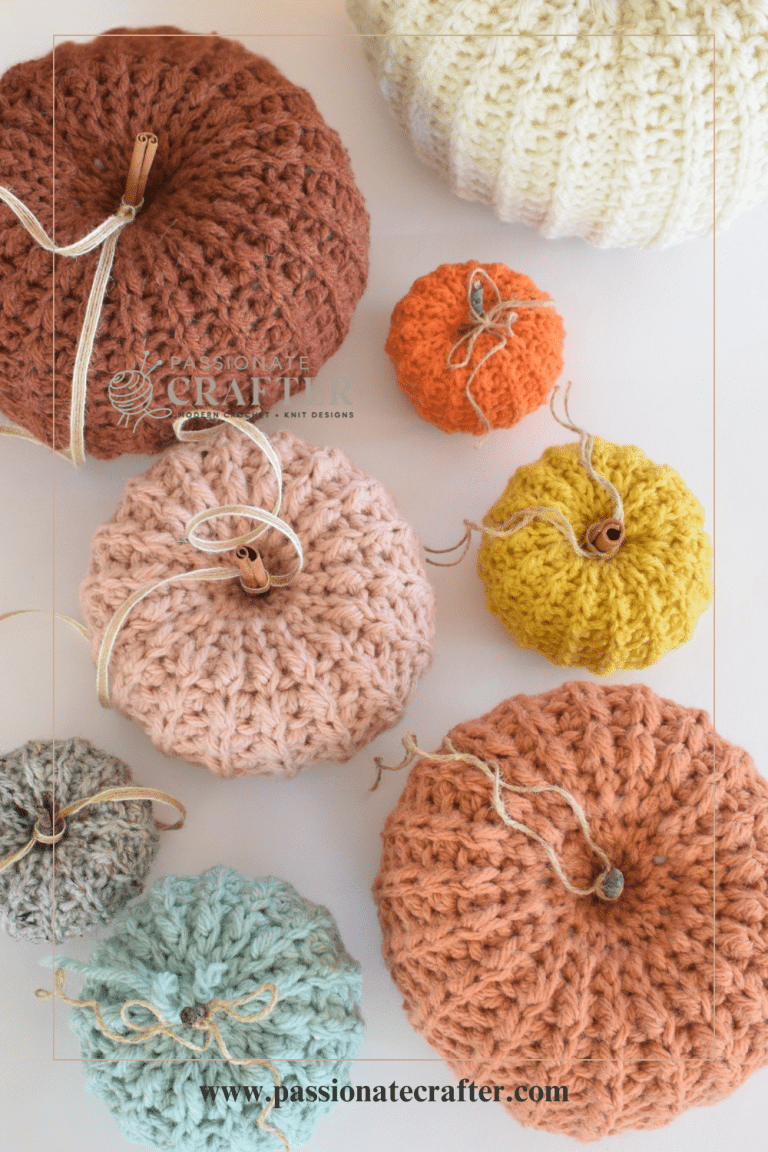
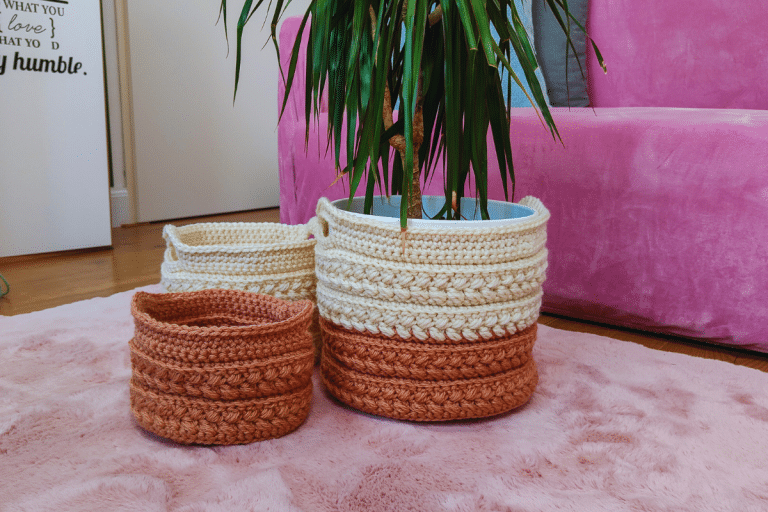
And if you’re in full swing to decorate your home, here are some other homedecor projects to try out: Braided Nesting Baskets, Crochet Christmas Tree Potholder, Crochet Tea Towel, Crochet Heart Coasters and the Mini Easter Baskets.
Construction of the Thermal Herringbone Potholder
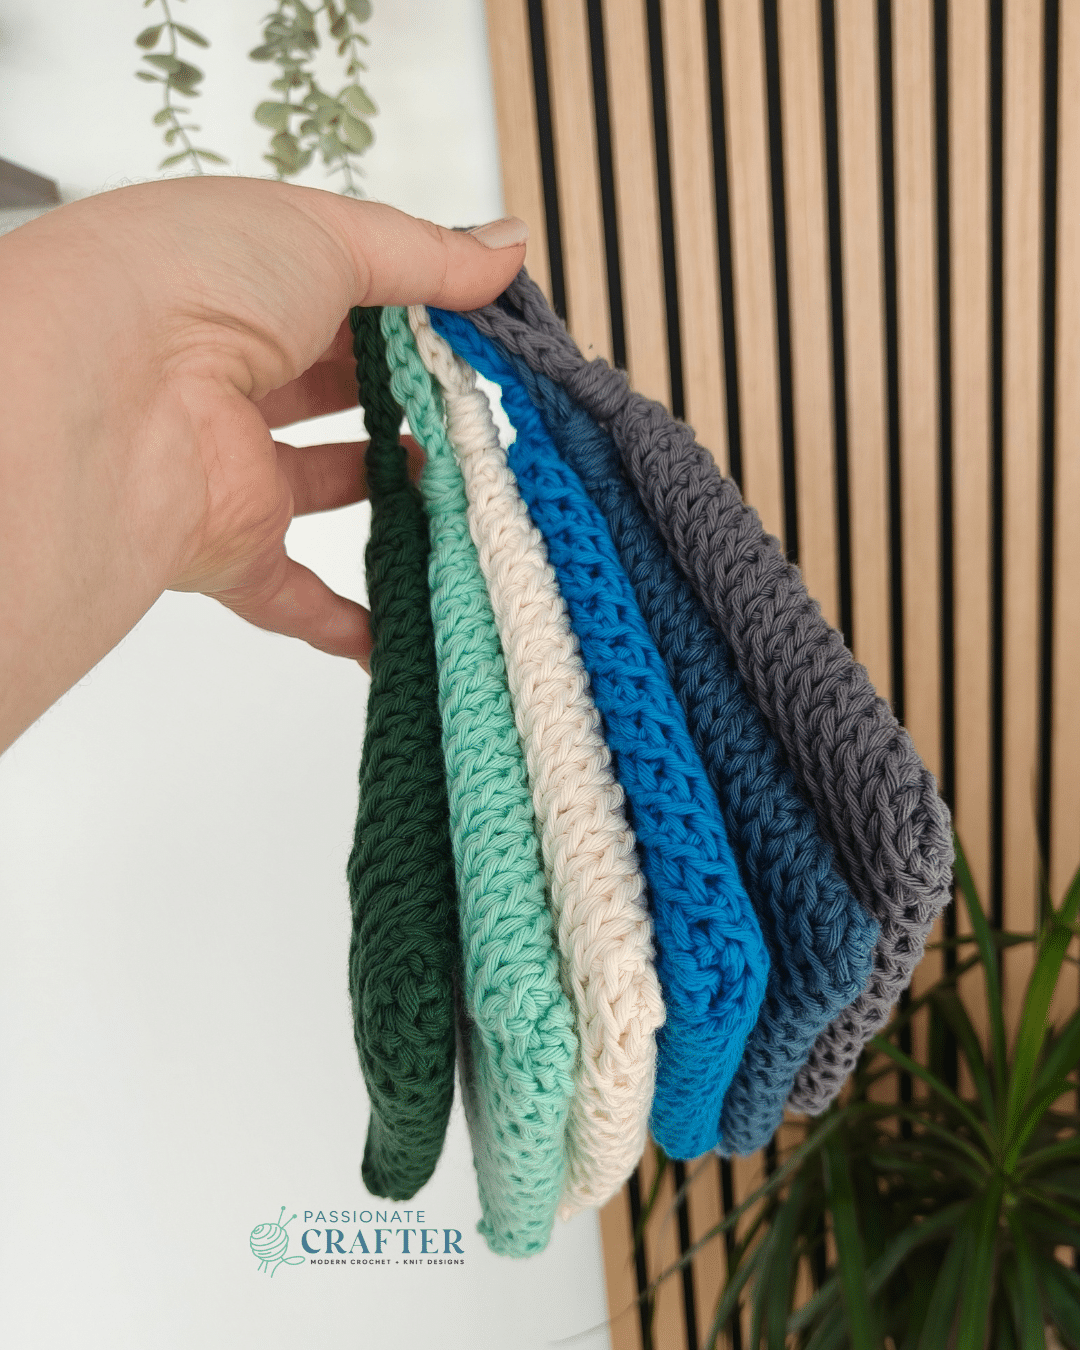
The double thick potholder uses a clever combination of the herringbone stitch and the thermal stitch, giving it structure, flexibility, and a dense, heat-resistant finish. Even better — the entire piece is worked using the magic potholder method, which means it’s crocheted in continuous rounds and naturally folds into a double-thick square with no seams and no complicated shaping.
Crochet Potholder Size
Finished size 15.5 x 15.5 cm
To adjust the size of your crocheted potholder, simply add or remove foundation chains. Remember that the number of starting chains determines the diagonal length of the finished potholder. For reference, the sample sizes measure approximately 20 cm.
Yarn Requirments
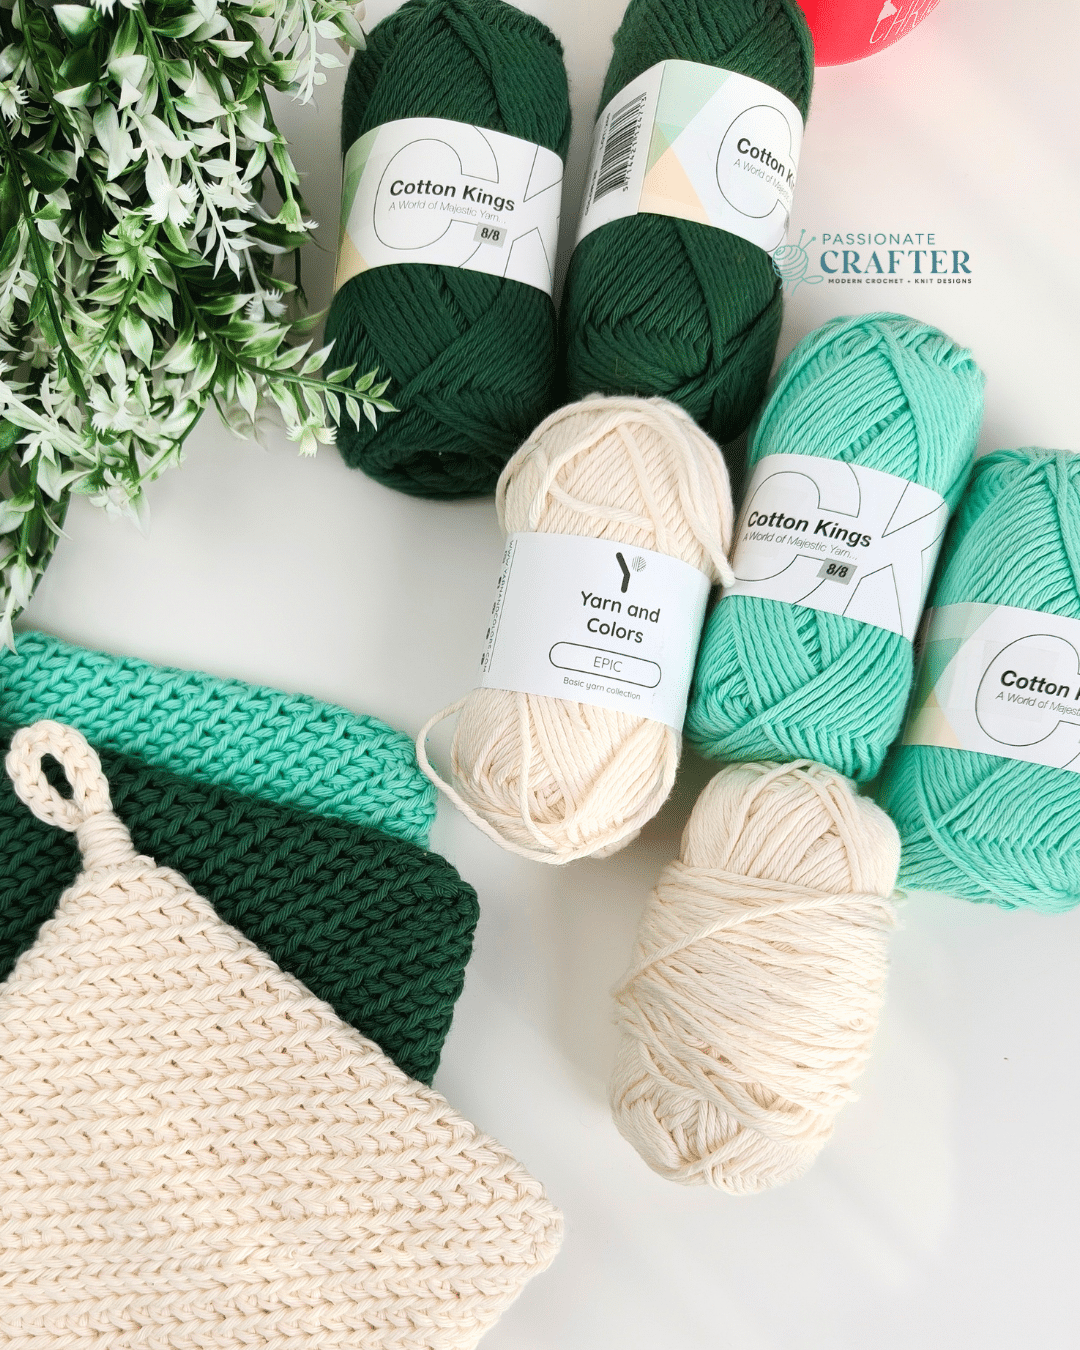
#4 medium worsted / Aran weight yarn
Hobbii Friends Cotton 8/8 or Yarn and Colors Epic, 100% Cotton, 50gr/1.75 oz, 75m/82yds both brands are identical.
shown in colors for Epic: 01-cream, 097-grey, and Cotton 8/8: 84, 93, 100, 112
Depending of your tension the yarn amount needed is between 50-65 gr
Best Yarn for Crochet Potholder
The best yarn for crochet potholders is 100% cotton. Cotton is naturally heat-resistant, durable, and sturdy, making it the ideal fiber for potholders that will be used daily and last for years. It also holds its shape well, even with frequent handling and high heat.
Another great benefit is that cotton is machine washable, which makes maintenance effortless. Whether you’re making potholders for your own kitchen or gifting them to someone else, cotton ensures the finished piece is both practical and worry-free for the recipient.
Substituting Yarn
If you don’t have the same yarn I used, no worries — this pattern is incredibly flexible. It’s designed for medium worsted weight (category 4) yarn, which means you can swap in just about any yarn in that range and still achieve a beautiful result.
Yarn Substitutes for Hobbii Cotton Kings 8/8
- Hobbii Friends Cotton 8/8- 50gr/75m
- Hobbii Rainbow Cotton 8/8- 50gr/75m
- Yarn and Colors Epic- 50gr/75m
- Drops Muskat- 50gr/100m
- Lion Brand 24/7 Cotton Yarn- 100gr/170m
- Dishie Yarn by Knit Picks- 100gr/173m
- Cotton Sprout Worsted Premiere yarns-100gr/150m
Skill Level
Confident Beginner
Gauge
8 sts x 7 rows= 2”/5cm ,but for this project, the gauge is not essential
Crochet Hook Required
5.5 mm crochet hook or any hook to obtain the gauge
Other supplies needed
- Tapestry needle
- a pair of scissors
- stitch marker
Abbreviation ( American Crochet Terms )
ch(s) – chain(s)
st(s) – stitch(es)
rep – repeat
** – repeat the sts in the ** indicated times
{}- repeat the sts in the {} indicated times
FO – fasten off
HS- herringbone stitch
THS- thermal herringbone stitch
BLO- back loop only
sc- single crochet
sl st- slip stitch
PM- Place marker
Special stitches
How to crochet the herringbone stitch(HS): Insert your hook into the front leg of the previous stitch, then into the next chain or stitch, grab your yarn and pull through (3 loops on the hook), grab your yarn and pull through all the loops. (See pics 1-4)
How to crochet the thermal herringbone stitch(THS): Insert your hook into the front leg of the previous stitch, then insert it under the back loop and the 3rd loop of the next st, grab your yarn and pull through the first 2 loops (3 loops on the hook), grab your yarn and pull through all the loops. (See pics 5 and 6)
Video Double Thick Magic Potholder
The Double Thick Potholder Video Tutorial takes you step-by-step through creating these durable and long-lasting potholders.
Watch the tutorial
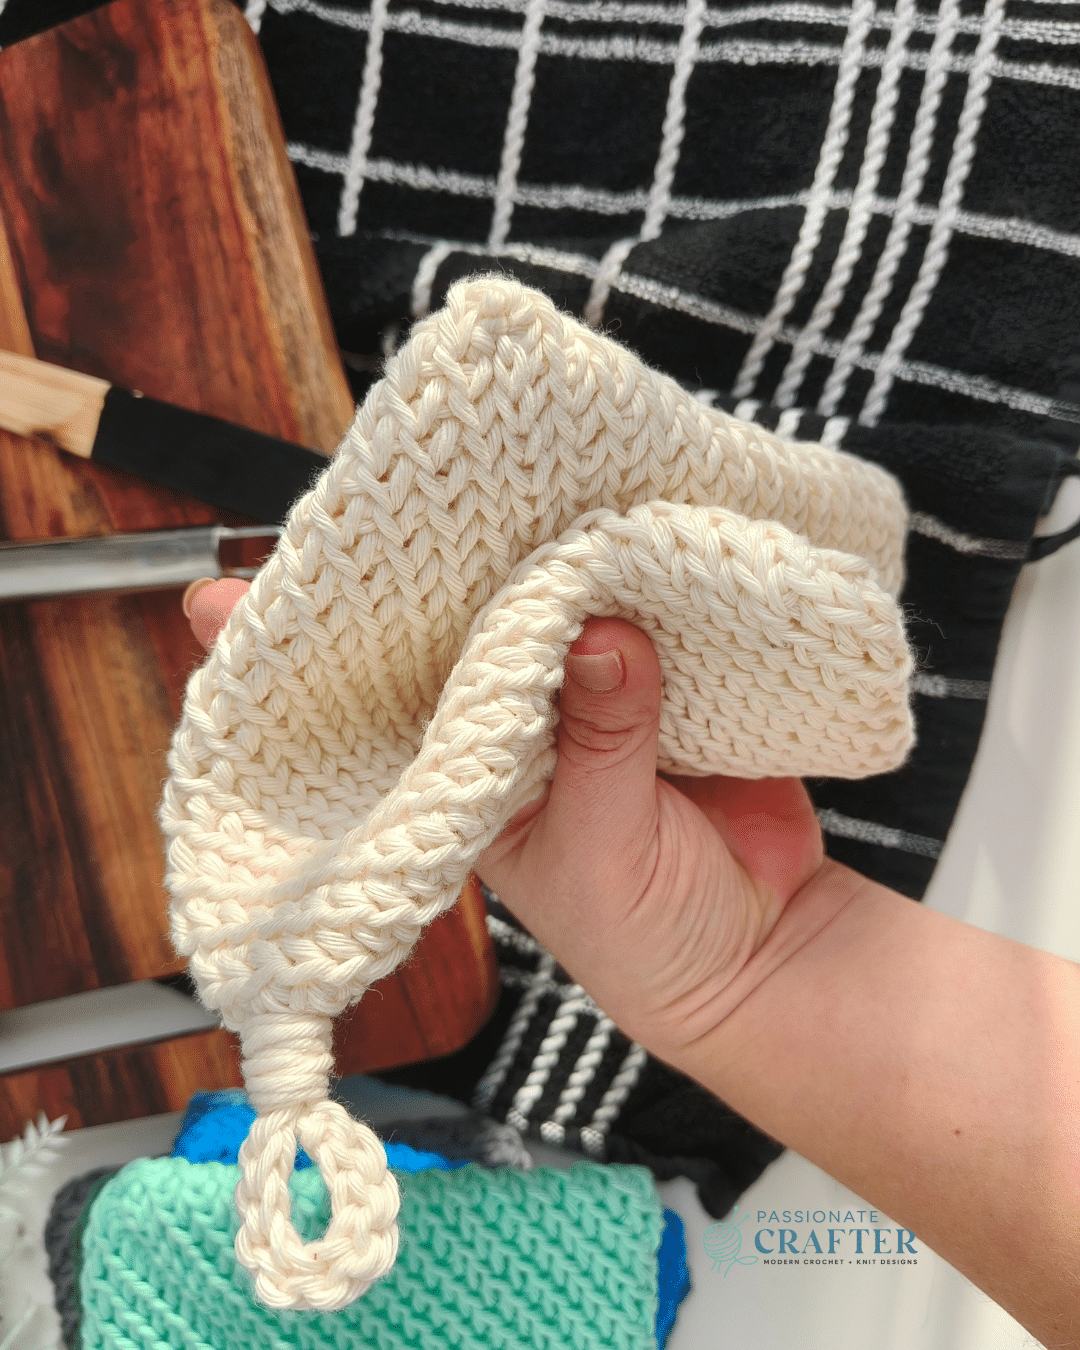
To make this pattern even easier to follow, I’ve created a full step-by-step video tutorial that walks you through the entire process for the potholder from start to finish. In the video, you’ll learn exactly how to work the herringbone stitch and the herringbone thermal stitch, how to form the square shape, and how to keep your stitches even so the potholder comes out smooth and beautifully textured.
Purchase the Beautifully Designed AD-FREE PDF Download
Crochet Double Thick Thermal Herringbone Potholder Pattern
COPYRIGHT
The Double Thick Thermal Herringbone Potholder pattern and its contents are the property of Passionatecrafter LTD and are protected by copyright laws. This pattern may not be copied, shared, distributed, or reproduced in any form without prior written permission, except for sharing links on social media. Unauthorized use of this pattern may result in legal action.
This free crochet pattern is provided for personal use and viewing on the blog only. By accessing and using this pattern, you agree to respect and comply with all copyright terms and conditions.
If you have any questions about these terms or how this pattern may be used, please contact Passionatecrafter LTD. in writing for clarification.
Thank you for respecting my work and creativity!
Pattern support
Support for this pattern is available through the blog post and the accompanying YouTube tutorial only. Any modifications included are outlined in the PDF; if you choose to adjust the pattern or substitute a different yarn weight, you’ll need to make those changes independently.
Thank you for your understanding! I hope you enjoy making this project, and I encourage you to connect with and support fellow makers in the community as we crochet and create together.
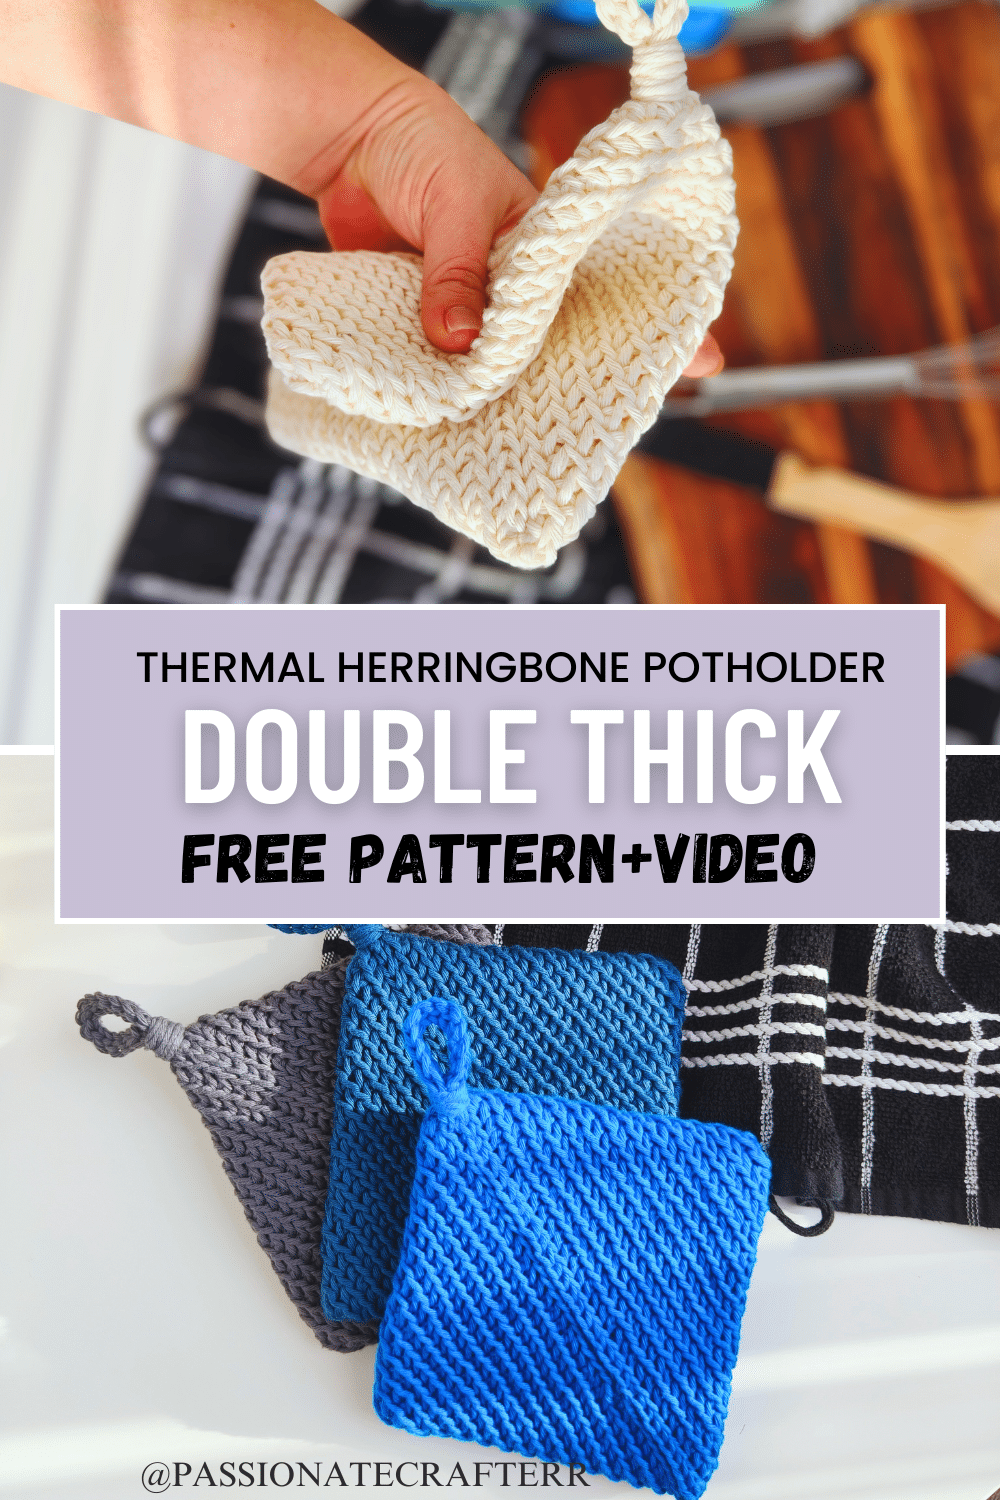
Don’t forget to pin this for later!
Pattern notes
- The pattern is worked in continuous rounds. Use a stitch marker to indicate your first stitch.
- To adjust the size of your crocheted potholder, simply add or remove foundation chains. Remember that the number of starting chains determines the diagonal length of the finished potholder. For reference, the sample sizes measure approximately 20 cm.
Double Thick Potholder Free Pattern
Rnd 1: ch35, 3 sc in second ch from the hook, 1 HS in next 32 chs, 3 sc in next st, continue working to the opposite side of the foundation chain, 1 HS in next 32 chs ( do not join) ( 70 sts)
The next round is worked in BLO
Rnd 2: 1 HS in next 3 sts (PM to the first st), 1 THS in next 32 sts, 1 HS in next 3 sts, 1 THS in next 32 sts (70 sts)
Rnd 3: 1 THS in each st all around (70 sts)
Repeat round 3, 11 more times for total of 14 rounds. FO.
As you finish the first 2 rounds, you will notice that there are holes/gaps in the middle of the foundation chain, to close them use the surface slip stitch method.
How to Crochet a Surface Slip Stitch (Step-by-Step)
Insert your hook from the front of the fabric to the back. Hold your working yarn behind the piece, yarn over from the back, and pull the loop through to the front to anchor your starting stitch. Next, insert your hook again into the next space. Pull up a loop from the back and slip stitch it through the loop already on your hook—this creates your surface slip stitch. Continue working across the surface in this manner, inserting your hook into each space and maintaining a relaxed tension for smooth, even lines.
It is easier to make the surface slip stitch after the first 2-3 rounds, instead at the end.
But still you can make it after you finish crocheting the piece.
After you finish crocheting the rounds fold the piece so foundation chain is perpendicular to “pocket” opening.
Once the piece is folded into a square, it is ready to be seamed.
Insert your hook in one of the corners and using the flat slip stitch method join both sides of the potholder. Work in the BLO. At the end you will have two stitches left. Do not fasten off, continue to the hanger.
Hanger:
work into the back bumps of the chains
Ch 14, sl st in 2nd from your hook, sl st in each ch across, sl st to the 2 sts left from the seaming. FO leave a longer tail to wrap around the hanger. Now using the tail wrap it around the hanger a few times, then secure your end and weave it in.
Purchase the Beautifully Designed AD-FREE PDF Download
More Home decor Patterns

Save this tutorial to your Pinterest boards so that you can come back to it later.
We’d love to hear your feedback. Drop a comment below and tell us your thoughts! And don’t forget to follow us on your favorite social platform!
Invitation to our Facebook group
You are welcome to share your projects made by our patterns with the community and us. Moreover, we are thrilled to see your creations, and you are very welcome to share them on our FACEBOOK PAGE HERE or our FACEBOOK GROUP or on INSTAGRAM by using the hashtag #passionatecrafterr.